
 Pin it
Bite sized morsels of tender chicken encased in a golden, crunchy coating create an irresistible snack that sparks instant joy with every mouthful. These homemade popcorn chicken pieces capture all the nostalgic delight of food court favorites but elevate the experience with quality ingredients and perfect seasoning. The secret lies in the double coating process and buttermilk soak that ensures exceptionally juicy chicken inside that addictively crispy exterior. Made with simple pantry staples, this recipe transforms humble chicken breast into a craveable treat that disappears almost immediately from serving platters at gatherings or family meals.
I first perfected this recipe when hosting a movie night with friends who brought their notoriously picky children. To my amazement, these popcorn chicken pieces vanished faster than anything else on the table, with both adults and children requesting the recipe. The combination of tender interior and crunchy coating creates such satisfying textural contrast that it's nearly impossible to stop eating them once you start.
Quality Ingredients
- Chicken breast: Choose plump, fresh boneless skinless breasts and cut against the grain into uniform bite sized pieces for even cooking and maximum tenderness.
- Buttermilk: Real cultured buttermilk contains natural enzymes that tenderize meat without making it mushy, creating the perfect texture foundation for juicy popcorn chicken.
- All purpose flour: Provides the base layer that helps additional coating adhere properly while also creating a moisture barrier that keeps chicken juicy during frying.
- Panko breadcrumbs: These Japanese style breadcrumbs have a coarser, airier texture than traditional breadcrumbs, creating superior crunch and maximum surface area for perfect golden browning.
- Garlic powder: Adds aromatic depth to the flour mixture without the risk of burning that comes with fresh garlic, infusing each piece with savory notes throughout the coating.
- Kosher salt: The larger crystal structure of kosher salt distributes more evenly through the breading mixture, ensuring consistent flavor in every bite.
- Neutral cooking oil: Choose oils with high smoke points like vegetable, canola, or peanut oil that can maintain steady temperature without imparting additional flavors to the chicken.
Perfect Execution
- Proper preparation:
- Cut chicken breast into consistent one inch pieces against the grain, then thoroughly pat dry with paper towels to remove excess moisture that would prevent crisp coating adhesion.
- Buttermilk bath:
- Submerge chicken pieces completely in buttermilk and allow them to soak for at least 30 minutes or up to overnight in the refrigerator, permitting the natural acids to tenderize the meat fibers.
- Systematic breading:
- Create an assembly line with seasoned flour, buttermilk, and panko breadcrumbs in separate shallow dishes, then methodically coat each piece first in flour, then buttermilk, and finally press firmly into panko for maximum coverage.
- Temperature control:
- Heat oil to precisely 350°F using a reliable deep fry thermometer, maintaining this temperature throughout cooking for the perfect balance of thorough cooking and golden exterior without greasiness.
- Batch management:
- Fry in small batches of 8 to 10 pieces at a time, allowing ample space between pieces and monitoring oil temperature between batches to ensure consistent results.
- Proper draining:
- Transfer finished pieces to a paper towel lined baking sheet in a single layer rather than stacking, then immediately sprinkle with fine salt while still hot for maximum flavor adhesion.
 Pin it
My grandmother taught me the buttermilk soaking technique that makes this popcorn chicken exceptional. She grew up in rural Georgia where buttermilk was plentiful, and used it liberally for tenderizing everything from fried chicken to biscuits. I initially doubted the difference it would make, but after comparing side by side with non buttermilk versions, I became a true believer. The tenderness and flavor enhancement is remarkable, making this simple ingredient the true secret weapon in creating memorable popcorn chicken.
Complete Meal Ideas
Transform these crispy chicken bites into satisfying meals by pairing them with complementary sides. Create individual popcorn chicken bowls with steamed rice, roasted broccoli, and drizzles of teriyaki sauce for a balanced dinner. Serve alongside homemade mac and cheese for the ultimate comfort food pairing that delights both children and adults. For a lighter option, arrange warm popcorn chicken atop a crisp garden salad with ranch dressing for contrasting temperatures and textures that make salad exciting rather than obligatory.
Kitchen Wisdom
Place a wire rack over your paper towel lined baking sheet when draining fried chicken to prevent the bottom from becoming soggy from trapped steam. Test your oil temperature by dropping in a small piece of bread which should sizzle immediately and brown within 60 seconds when oil is properly heated. Season flour and panko mixtures more assertively than seems necessary as some flavor intensity is lost during the frying process.
 Pin it
These homemade popcorn chicken bites represent comfort food perfection in its simplest form. The contrast between the juicy, tender interior and the shattering crispy exterior creates an eating experience that satisfies deeply primal cravings for contrast and completion. While the process requires some setup with the three coating stations, the actual cooking happens quickly and rewards your efforts with incomparable freshness and flavor. Few foods bridge the gap between child and adult preferences so seamlessly, making this recipe an essential addition to any family cookbook.
Frequently Asked Questions
- → Can I make these chimichangas ahead of time?
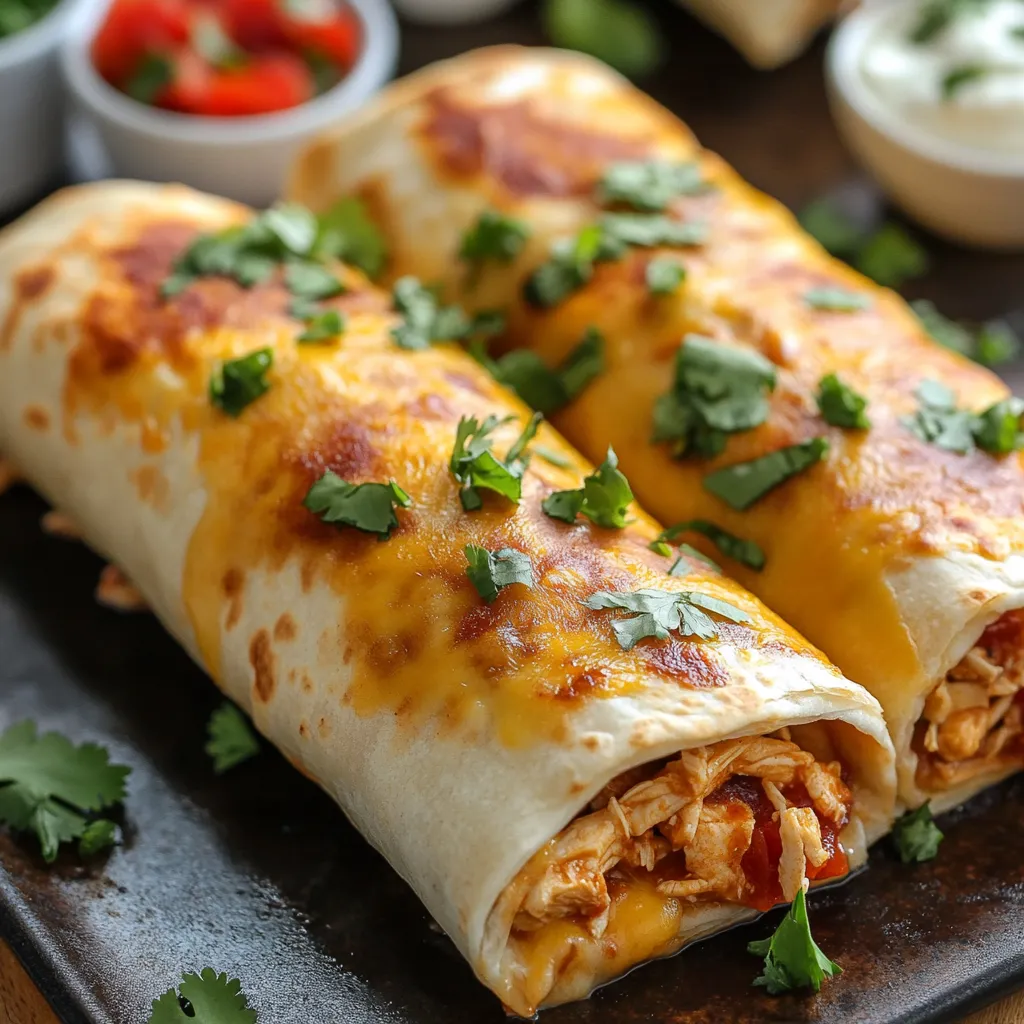
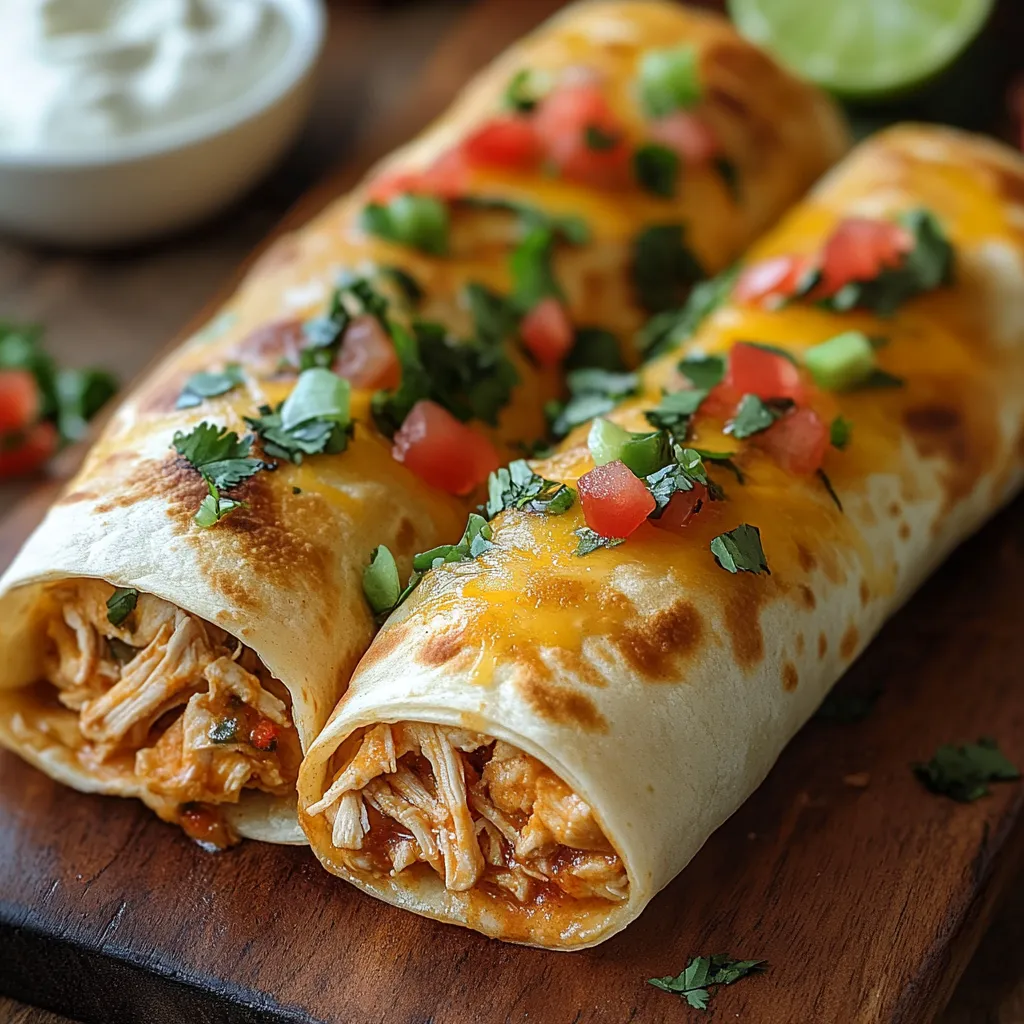
- Yes! You can prepare the filling up to 2 days ahead and store it in the refrigerator. You can also assemble the chimichangas completely, cover them with plastic wrap, and refrigerate for up to 24 hours before baking. Just add 5 minutes to the baking time if you're cooking them straight from the fridge.
- → What's the best way to warm leftover baked chimichangas?
- Reheat leftover chimichangas in a 350°F oven for 10-15 minutes to maintain their crispy texture. Avoid microwaving if possible, as it will make the tortillas soggy. If you must use a microwave, wrap them in a paper towel and heat at 50% power, then finish in a hot skillet to crisp them up.
- → Can I use corn tortillas instead of flour tortillas?
- Corn tortillas aren't ideal for chimichangas as they tend to crack when folded. If you need a gluten-free option, look for gluten-free flour tortillas, which will give you similar results to regular flour tortillas.
- → What can I substitute for the chicken in this recipe?
- Ground beef or turkey works great as a substitute for chicken. For a vegetarian version, try using a mixture of black beans and rice, or sautéed vegetables like bell peppers, onions, and zucchini. For a more authentic flavor, shredded beef or pork are excellent alternatives.
- → How do I keep my chimichangas from getting soggy on the bottom?
- To prevent soggy bottoms, make sure your filling isn't too wet (drain excess liquid from salsa or tomatoes). Preheat your baking sheet in the oven before placing the chimichangas on it - the hot surface helps create an immediate crisp. Finally, use parchment paper rather than foil, as it allows for better air circulation.