
 Pin it
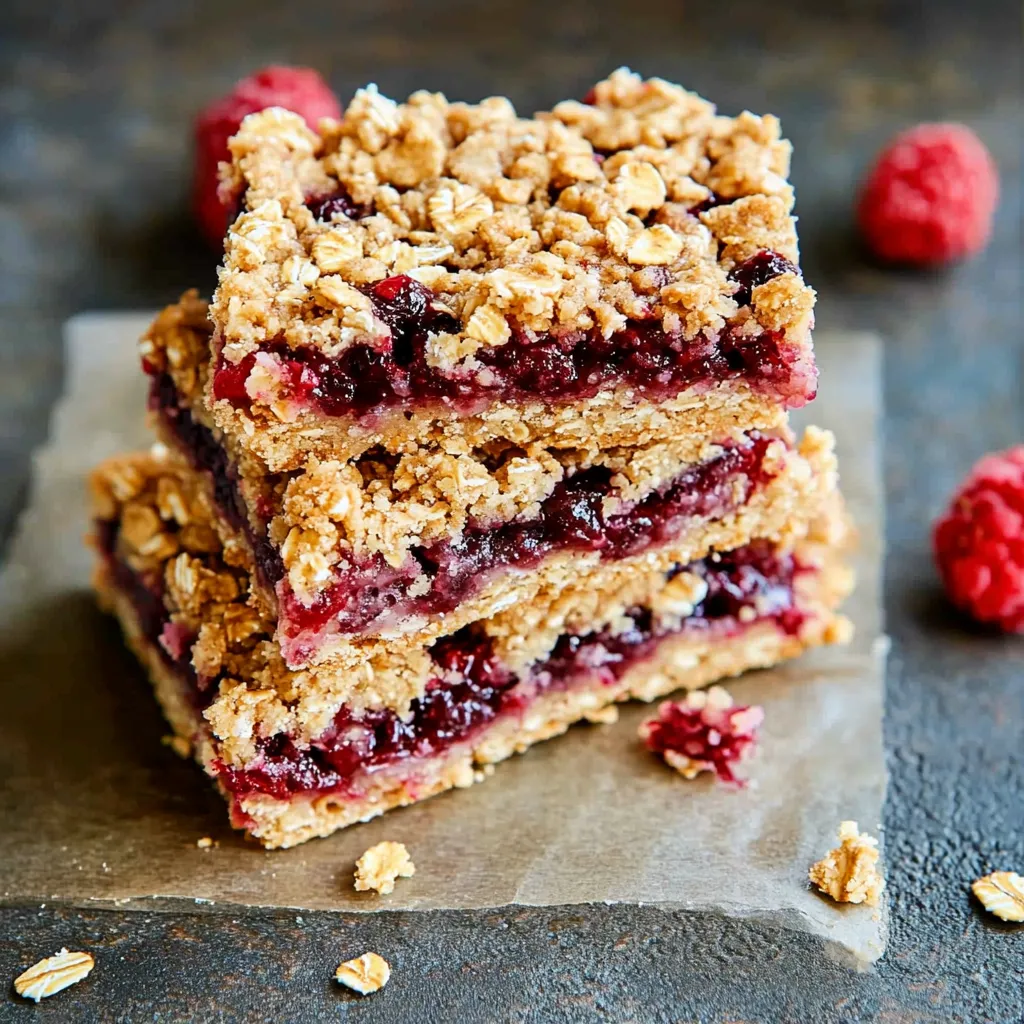
These homemade Berry Oat Bars transform simple pantry ingredients into a delightful treat that works as both breakfast and dessert. The buttery oat base and crumble topping sandwich a layer of sweet raspberry preserves, creating the perfect balance of textures and flavors that my family requests weekly.
I first made these bars during a rainy weekend when my kids were complaining of boredom. The house filled with the most amazing aroma of baking oats and berries, and they've been a family favorite ever since.
Ingredients
- Coconut oil: Melted. Provides a subtle tropical flavor and perfect texture. Use refined if you prefer no coconut taste.
- All purpose flour: Creates the perfect structure. Look for unbleached for best flavor.
- Quick oats: Gives the bars their signature chewy texture. Steel cut won't work here.
- Maple syrup: Adds natural sweetness and moisture. Choose pure maple syrup not pancake syrup.
- Coconut sugar or granulated: Provides caramel notes and perfect sweetness. Coconut sugar has a lower glycemic index.
- Baking powder: Creates just enough lift without making them cakey. Check that yours is fresh.
- Salt: Enhances all flavors. Flaky sea salt works wonderfully here.
- Raspberry preserves: The star of the filling. Look for preserves with visible fruit pieces and minimum added sugar.
Step-by-Step Instructions
- Prep Your Workspace:
- Preheat your oven to 350℉ and prepare your baking pan. Use an 8x8 inch pan sprayed thoroughly with nonstick spray, making sure to coat the corners well. Having everything ready before you start makes the process smooth and enjoyable.
- Mix The Base And Topping:
- Combine all ingredients except preserves in a large bowl. Using your hands works best here rather than a spoon. The mixture will be crumbly but should hold together when pressed. The warmth of your hands helps the coconut oil distribute evenly throughout the mixture.
- Form The Base Layer:
- Press about two thirds of your oat mixture firmly into the bottom of your prepared pan. Take your time here to create an even layer with no gaps, especially in the corners. Use the bottom of a measuring cup to help create a smooth, flat surface that will hold your filling.
- Add The Fruit Layer:
- Carefully spread your raspberry preserves over the base, being gentle so you don't disturb the crust underneath. Leave a small border around the edges to prevent the preserves from burning against the hot pan. The preserves will melt and spread during baking.
- Create The Crumble Topping:
- Sprinkle the remaining oat mixture over the preserves, creating an uneven, crumbly topping. Lightly press the crumbles into the preserves so they adhere during baking. Some of the preserves will still show through, which creates a beautiful finished appearance.
- Bake To Golden Perfection:
- Bake for 25 to 30 minutes until the top is lightly golden brown and the edges look set. The preserves may bubble slightly at the edges which is perfect. You want the crust to be firm but not overbaked, as it will continue to set as it cools.
- Cool And Serve:
- Allow the bars to cool completely in the pan placed on a cooling rack. This cooling time is essential for the bars to set properly and makes cutting much easier. Once cooled, cut into squares or rectangles and serve.
 Pin it
The secret to these bars is really in the preserves. My grandmother taught me that the quality of your fruit filling makes all the difference. I still remember watching her carefully spreading homemade raspberry jam from her garden over the oat base, explaining that patience creates the perfect bar.
Make Ahead And Storage
These bars actually taste even better the day after baking as the flavors have time to meld together. Store them in an airtight container at room temperature for up to 4 days. For longer storage, refrigerate for up to a week. Each bar can be individually wrapped in parchment paper and frozen in a freezer safe container for up to 3 months. Thaw at room temperature for about an hour before enjoying.
Seasonal Variations
While raspberry preserves create a classic flavor, these bars are incredibly versatile. In summer, try strawberry or blackberry preserves. Fall calls for apple butter or pumpkin butter with extra cinnamon in the crumble. Winter is perfect for orange marmalade with a touch of cardamom added to the oat mixture. Spring begs for tart cherry or apricot preserves. The base recipe stays the same, just swap out the preserves to match the season.
Serving Suggestions
These versatile bars shine in multiple settings. For breakfast, serve with Greek yogurt and fresh berries. As an afternoon snack, they pair beautifully with coffee or tea. For dessert, warm slightly and top with vanilla ice cream or whipped coconut cream. They also make a wonderful addition to brunch spreads or afternoon tea parties alongside fresh fruit and different cheeses.
 Pin it
These bars are easy to make yet deliver impressive results, perfect for any occasion!
Frequently Asked Questions
- → Can I use different fruit preserves?
Yes! While raspberry preserves are specified in the original recipe, you can substitute with strawberry, blueberry, apricot, or any other fruit preserves you enjoy. The cooking time and method remain the same regardless of which preserves you choose.
- → How should I store these oat bars?
Store the cooled oat bars in an airtight container at room temperature for 3-4 days. For longer storage, refrigerate for up to a week. You can also freeze them by placing in a freezer-safe container with parchment paper between layers for up to 3 months.
- → Can I make these bars gluten-free?
Absolutely! As mentioned in the ingredients list, you can substitute the all-purpose flour with a gluten-free flour blend. Just make sure your oats are certified gluten-free as well, as some oats may be processed in facilities that also process wheat.
- → What's the best way to cut these bars neatly?
For the cleanest cuts, make sure the bars are completely cooled first. Using a sharp knife, cut straight down rather than dragging through the bars. Clean the knife between cuts for the most professional-looking results.
- → Can I reduce the sugar in this recipe?
Yes, you can reduce the sweetness by decreasing the amount of maple syrup or coconut sugar slightly. However, these ingredients contribute to the texture and binding properties of the bars, so don't eliminate them completely. You might also consider using low-sugar fruit preserves.
- → Why shouldn't the preserves touch the edge of the pan?
As noted in the instructions, preserves can scald or burn if they're directly against the hot edge of the baking pan. Leaving a small border helps prevent this and ensures a more evenly baked result with better flavor throughout.