
 Pin it
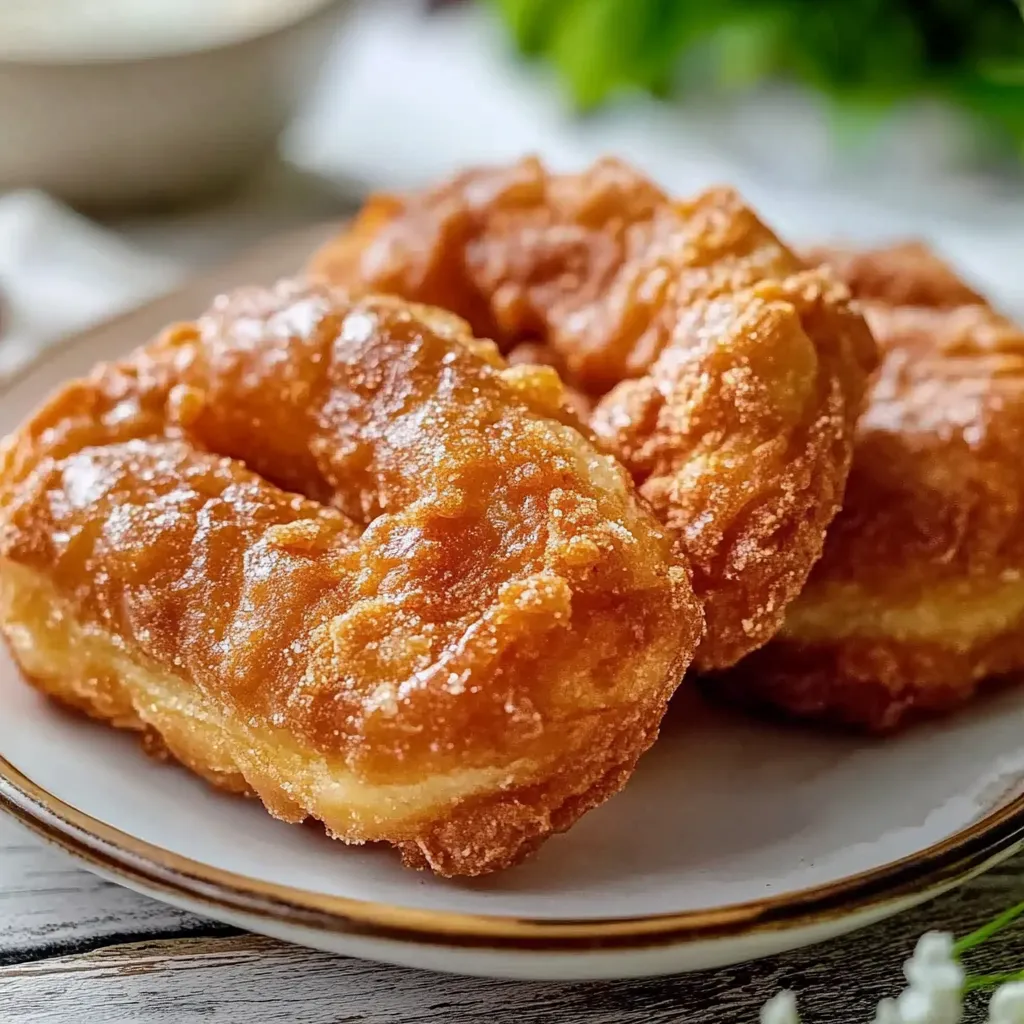
Buttermilk bars always take me back to weekend mornings when I wanted something comforting for breakfast but just different enough from the typical doughnut shop run. This recipe captures the classic thick crumb and soft interior with that vanilla-speckled glaze clinging to every crack—just like the bakery version but even better homemade.
I was amazed the first time I made these that a little bench scraper can leave that iconic line down each bar. Now my family recognizes them before I even finish glazing.
Ingredients
- Cake flour: For tender crumb structure always sift or whisk to avoid lumps
- Baking powder and baking soda: To ensure a high fluffy rise
- Salt: To balance sweetness and punch up flavor
- Granulated sugar: For crisp edges and depth
- Vanilla paste or extract: For intense flavor—vanilla bean paste gives beautiful flecks
- Shortening and melted butter: For richness and that bakery style texture—use fresh shortening for best results
- Egg yolks: To add moisture and create a dense but airy center
- Buttermilk: Brings subtle tang and makes the dough easy to handle
- Confectioners sugar: Forms a silky glaze—always sift for smoothness
- Warm water: Loosens the glaze so it covers each bar evenly
Step-by-Step Instructions
- Prepare the Dry Mix:
- Sift or whisk together your cake flour baking powder baking soda and salt in a large mixing bowl. This removes any lumps and guarantees a soft consistent doughnut crumb.
- Cream the Fats and Sugar:
- In the bowl of a stand mixer with paddle attachment combine sugar vanilla shortening and melted butter. Cream at medium speed about three minutes until you get a fluffy pale mix. Scrape down the sides of the bowl with a rubber spatula to be sure everything is incorporated.
- Incorporate the Yolks and Buttermilk:
- Set the mixer to low and add egg yolks one by one scraping as needed. Pour in the room temperature buttermilk next mixing until the batter is cohesive keep it slow to avoid splashing.
- Add Dry to Wet:
- Add all your sifted dry ingredients at once into the wet mixture. Let the mixer run on low until it just comes together. With a spatula sweep around the bowl to combine any streaks of flour left. The dough will seem very sticky and wet—closer to a sticky cookie dough than cake batter.
- Chill the Dough:
- Transfer the sticky dough into a clean bowl and cover tightly. Refrigerate at least thirty minutes up to an hour. This step stiffens the dough to make shaping manageable.
- Shape the Bars:
- Generously flour your counter and hands. Plop the cold dough onto the floured surface and dust the top too. Gently pat into a large rectangle about half an inch thick and three and a half inches wide. Add more flour if needed to prevent sticking. Using a floured bench scraper slice your dough into bars three and a half by one and a half inches. For that signature look press a floured bench scraper softly down the center of each bar creating a shallow groove. Use a pastry brush to sweep away extra flour.
- Heat Oil for Frying:
- Fill a heavy bottomed pot with six cups of shortening. Heat on medium high until melted and the oil reaches three hundred fifty degrees measured with a candy thermometer. Add more shortening if you do not reach two inches in depth.
- Fry the Bars:
- When the oil is hot use a thin floured spatula to slip each bar top side up into the oil. Start frying with the bottom side down which ensures puff and flakiness. Let fry one to two minutes until golden then carefully flip using spatula or chopsticks. Continue to fry until both sides are deep golden brown about one to two minutes per side. Transfer finished bars to a rack lined with thick layers of paper towel to drain.
- Cool the Bars:
- Let the fried bars rest and cool completely to room temperature. This prevents the glaze from sliding right off.
- Mix the Glaze:
- In a bowl whisk confectioners sugar vanilla and warm water together until you get a glossy smooth mixture. Adjust water as needed for a pourable glaze.
- Glaze the Bars:
- Dip the top side of each cooled bar face down in the glaze letting excess drip off. Set on a wire rack to firm up. The glaze should set in four to five minutes giving a shiny crackled finish.
 Pin it
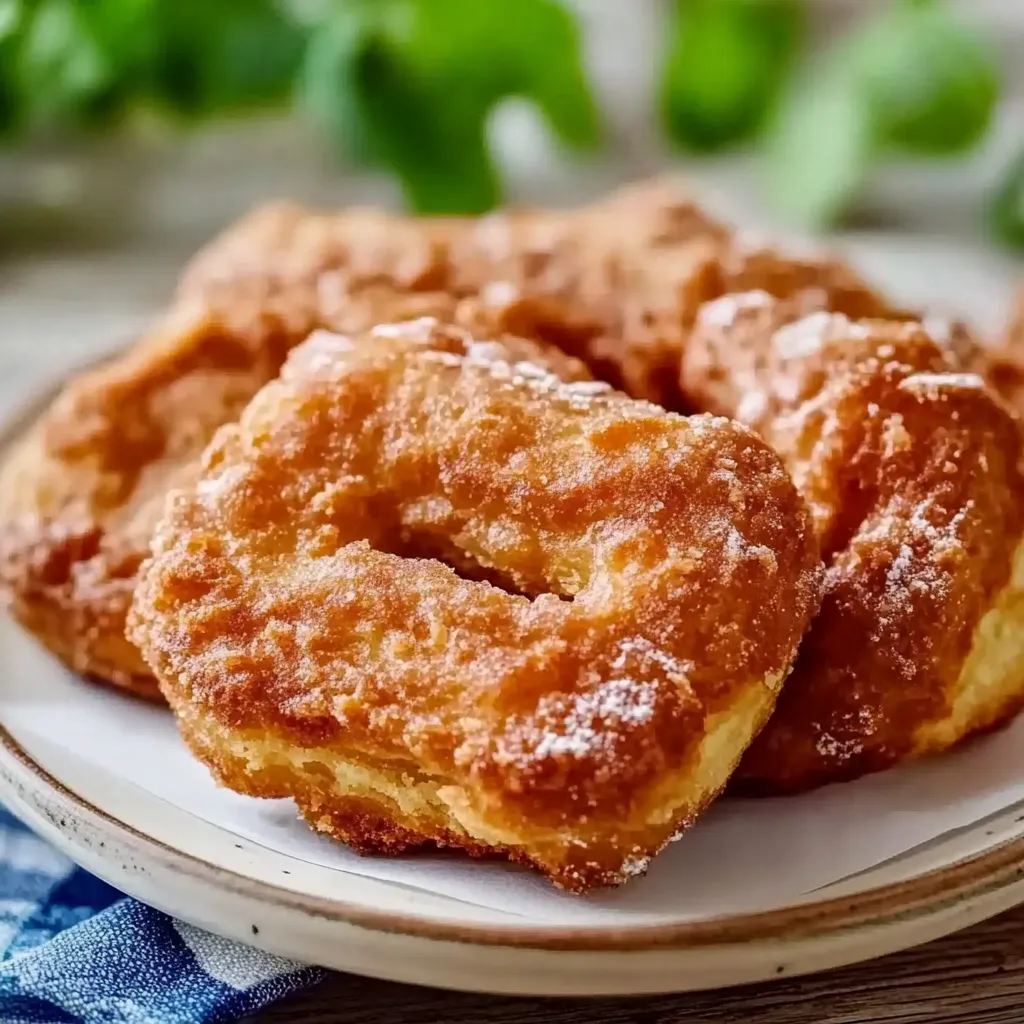
I love the way the vanilla bean paste creates tiny black dots in the glaze my kids always ask if I got these from a shop. These treats also became a family tradition on snow days growing up.
Storage Tips
Let bars cool thoroughly before storing. For maximum freshness store in an airtight container at room temperature up to two days. If you want to keep them longer pop bars in the freezer wrapped individually and stored in a resealable bag. To refresh thaw at room temperature or give a quick warm up in a low oven for that fresh bakery feel.
Ingredient Substitutions
If you do not have cake flour substitute with all purpose flour but remove a heaping tablespoon per cup and replace it with cornstarch for similar softness. If vanilla bean paste is not available use quality pure vanilla extract. For a dairy free version swap buttermilk with a plant milk combined with a splash of lemon juice.
Serving Suggestions
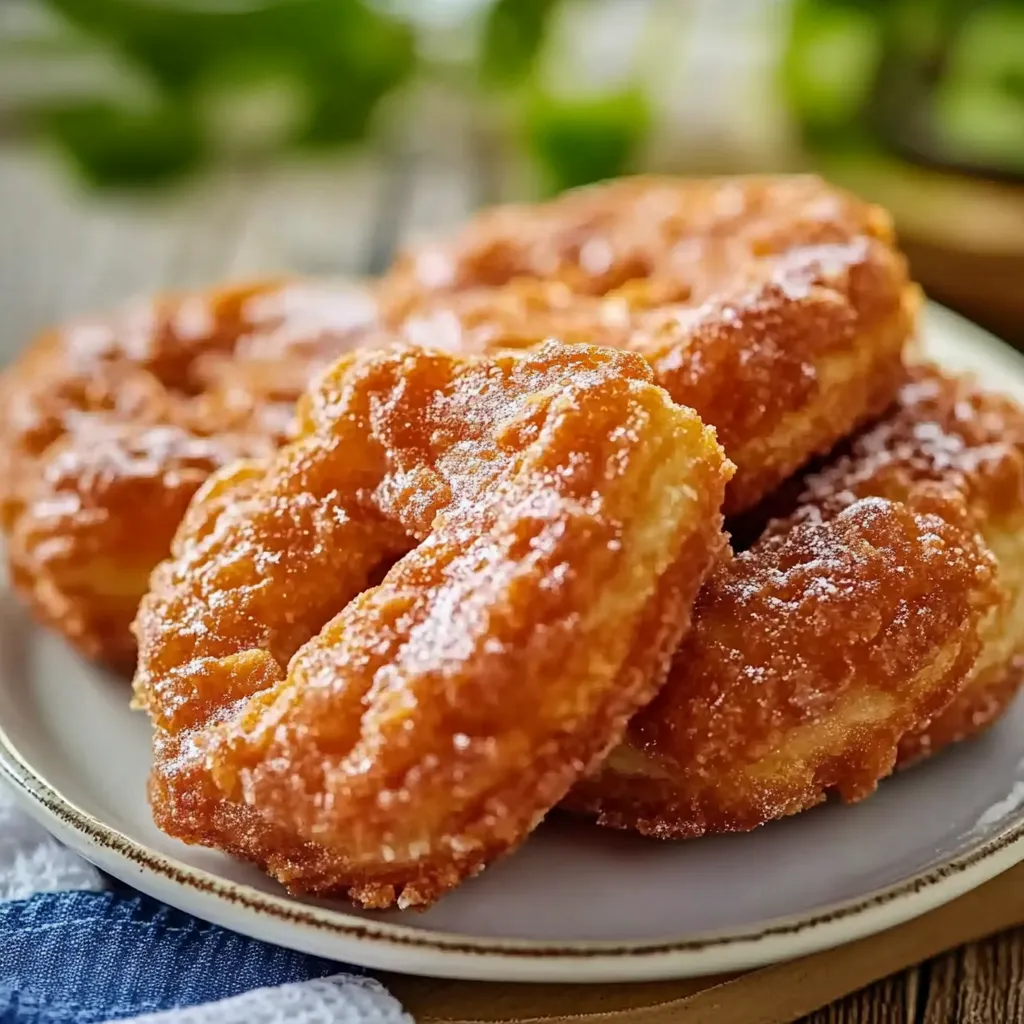
Serve as a breakfast treat on weekends or as a sweet finish to brunch. Buttermilk bars are also great alongside coffee or tea for a mid afternoon pick me up. Try dusting with extra powdered sugar for a dramatic bakery look or serve tart berries on the side for color contrast.
 Pin it
Homemade buttermilk bars are worth every step—they bring bakery nostalgia straight to your table!
Frequently Asked Questions
- → How do I ensure the bars stay tender inside?
Keep mixing gentle after adding flour and avoid overworking the dough to maintain a soft crumb.
- → Is cake flour required for this?
Cake flour yields a lighter texture, but all-purpose can work in a pinch with slightly firmer results.
- → Can I substitute the shortening?
Butter can replace shortening for a richer taste, though the texture may be slightly less fluffy.
- → Why is it important to chill the dough?
Chilling firms the dough, making it easier to shape and helps bars hold together while frying.
- → How do I know when the bars are cooked through?
Both sides should be golden brown and the bars should feel set when lifted out of the oil.