
 Pin it
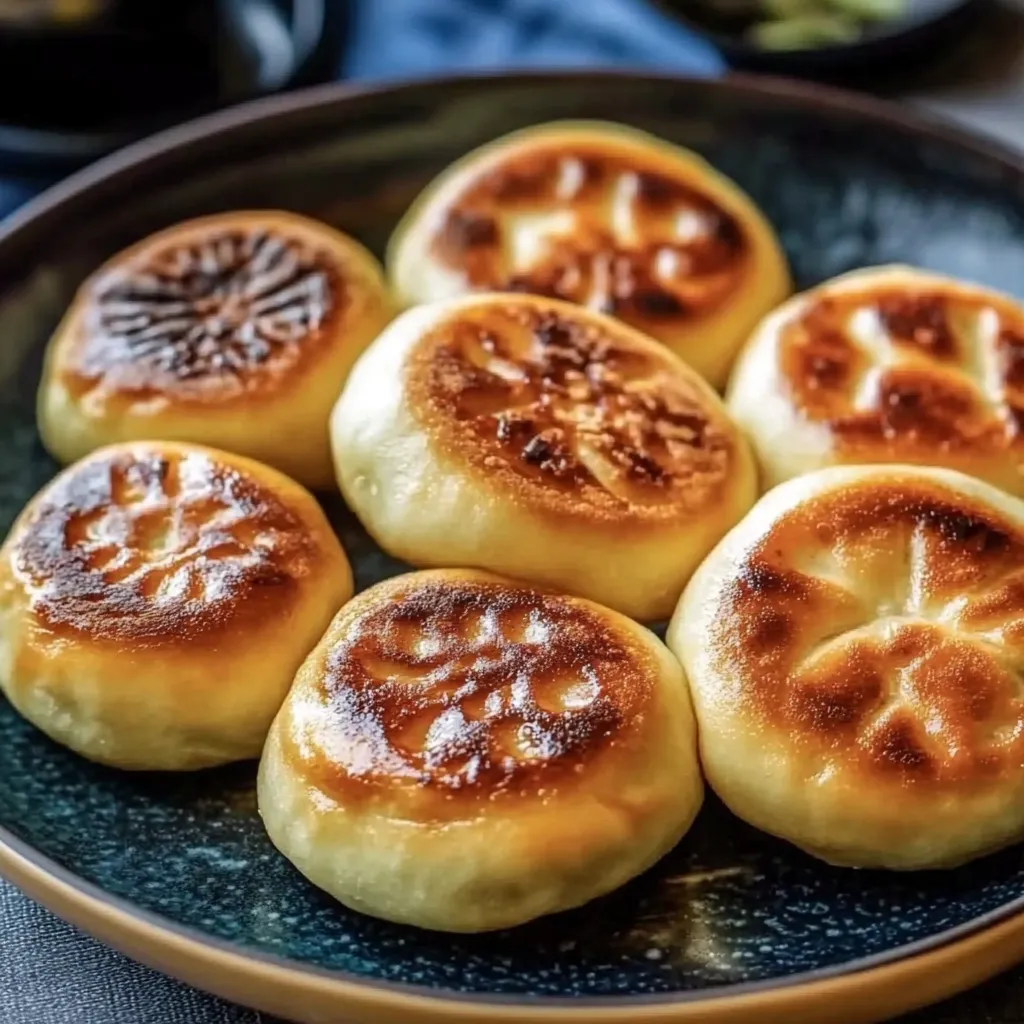
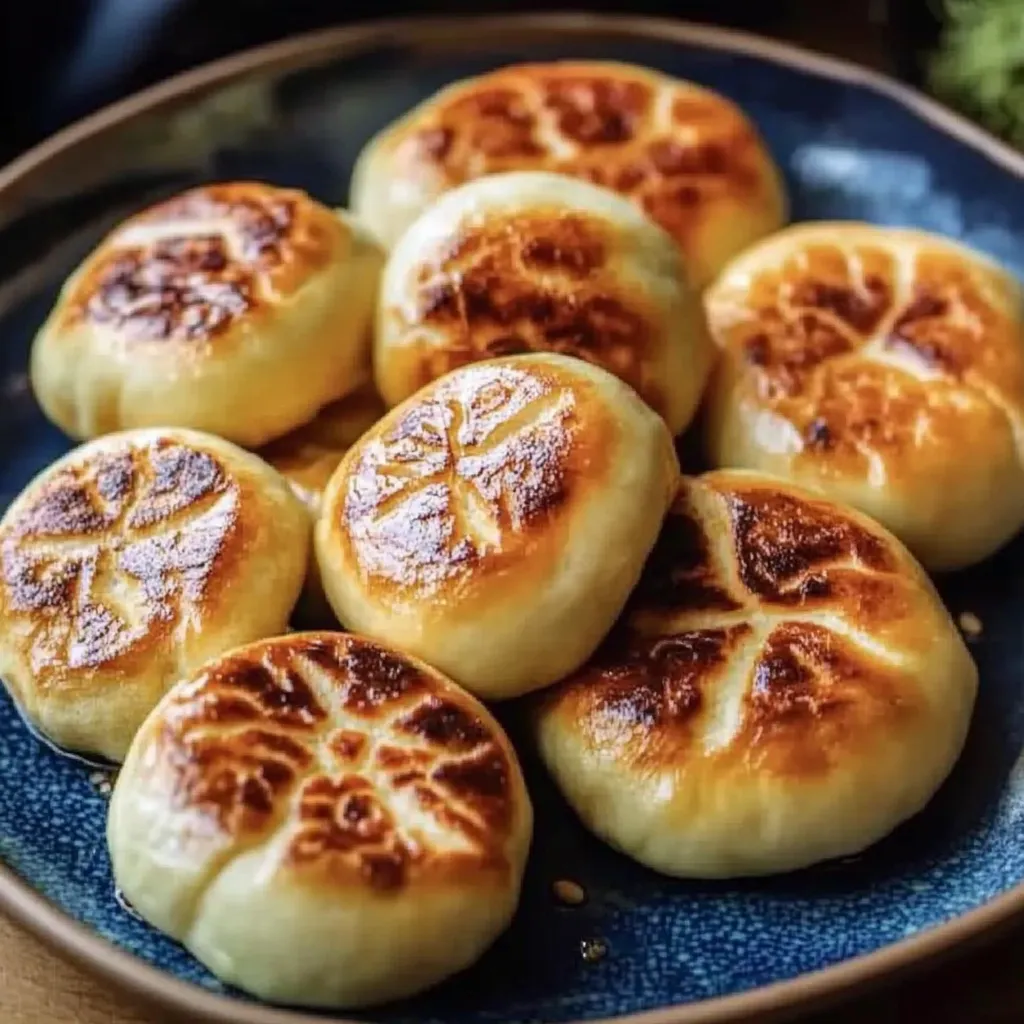
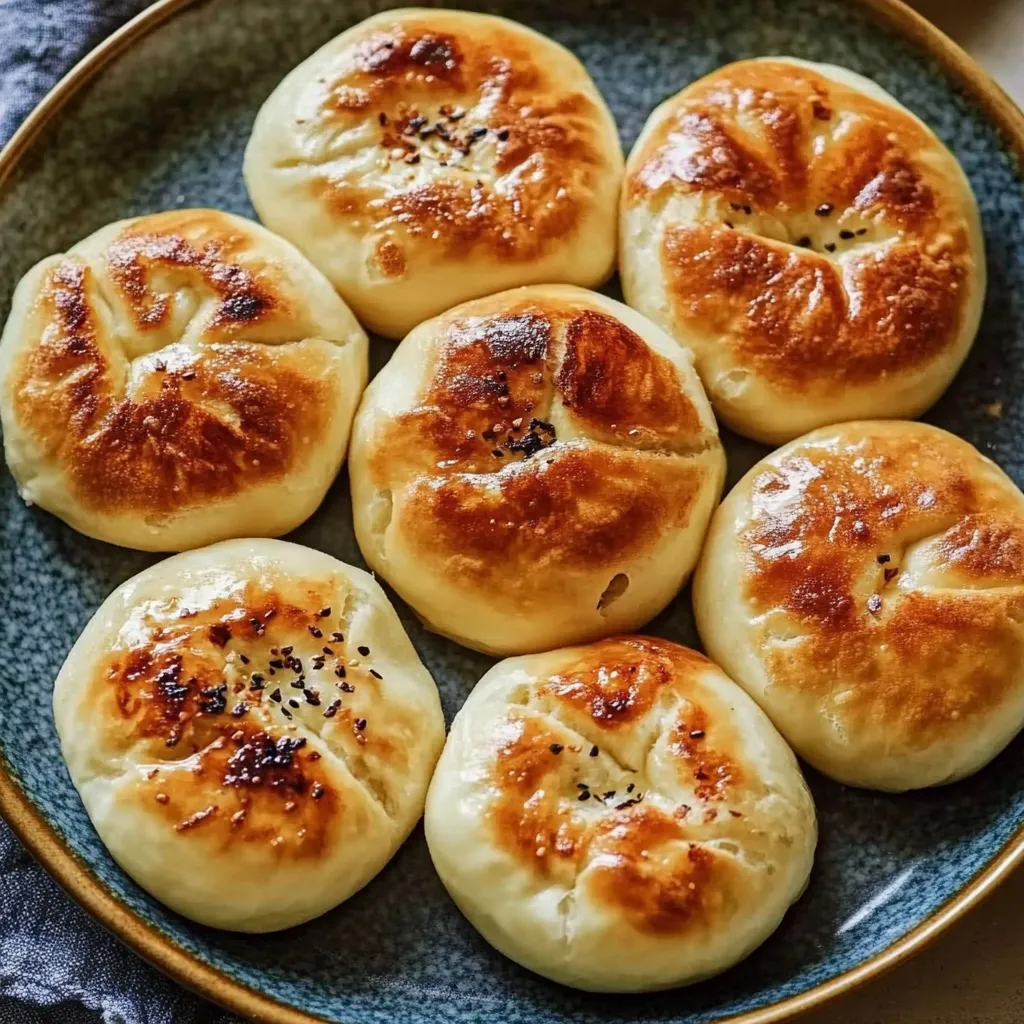
This pan-fried cabbage and noodle buns recipe transforms humble cabbage into irresistible, doughy parcels filled with savory vegetables and noodles. The buns feature a perfect balance of soft interior and crispy exterior, making them an excellent meal or snack option.
I first created these buns when looking for creative ways to use up half a cabbage leftover from another recipe. They were such a hit with my family that they've become our go-to weekend project cooking activity, with everyone taking turns sealing the buns.
Ingredients
- All-purpose flour: Creates a soft, pliable dough that crisps beautifully when pan-fried
- Instant dry yeast: Gives the perfect rise without lengthy proofing times
- Cabbage: Serves as the bulk of the filling while providing subtle sweetness when cooked down
- Vermicelli noodles: Add wonderful texture and help absorb flavors from the seasonings
- Sesame oil: Imparts nutty depth that makes these buns distinctively Asian-inspired
- Sesame seeds: Provide pleasant crunch and visual appeal
- Carrots: Add natural sweetness and vibrant color to the filling
- Scallions or chives: Bring a mild onion flavor that complements the cabbage perfectly
Step-by-Step Instructions
- Prepare the Dough:
- Combine all dry ingredients in a large bowl, creating a well in the center. Pour in warm milk and oil while mixing until a cohesive dough forms. The dough should feel slightly tacky but not sticky. Shape into a ball, place in a bowl, cover with a damp towel, and allow to rise for at least 2 hours until doubled in size. This slow rise develops flavor and ensures tender buns.
- Cook the Filling:
- Soak vermicelli noodles in boiling water for 7-8 minutes until tender. Drain thoroughly and chop into small half-inch pieces for easier incorporation. Heat neutral oil in a large pan over medium-high heat. Add chives, carrots, and cabbage, cooking 4-5 minutes until vegetables soften but still maintain some texture. Add chopped noodles, soy sauce, salt, and sesame oil, stirring continuously to distribute flavors evenly. Cook an additional 2-3 minutes until everything is well-incorporated. Transfer filling to a strainer to remove excess moisture, which prevents soggy buns.
- Roll the Wrappers:
- Stretch risen dough into a large ring and divide into 12-16 even pieces. Roll each piece into a ball, then flatten using a rolling pin, working from the center outward in all directions. Aim for 3-5 inch diameter wrappers depending on your preferred bun size. Dust lightly with flour between layers if stacking, and cover with a dry cloth to prevent drying out.
- Fill and Shape Buns:
- Place 2-3 tablespoons of cooled filling in each wrapper center. Working around the edge, create pleats by gathering and pinching the dough between your fingers. Continue pleating until the bun is completely sealed, twisting the gathered edges to finish. Gently press to flatten slightly after sealing.
- Pan-Fry to Perfection:
- Heat oil in a pan with a tight-fitting lid. Place buns pleated-side down and cook over medium heat for 4-5 minutes until golden brown. Flip and cook the other side until similarly golden. Using the lid as protection, carefully add water to the pan and immediately cover to create steam. Allow buns to steam for 5-6 minutes until the water evaporates, creating a perfectly cooked interior with crispy edges.
 Pin it
The sesame oil is truly the secret ingredient in this recipe. I learned from my grandmother that adding it both to the dough and filling creates layers of nutty flavor that elevate simple cabbage to something truly special. Whenever I make these buns, the distinctive aroma takes me back to her tiny kitchen where I first learned to cook.
Storage Solutions
These pan-fried buns maintain their texture remarkably well even after refrigeration. Store cooled buns in an airtight container in the refrigerator for up to 5 days. To reheat, pan-fry with a splash of water covered for 3-4 minutes, or oven-toast at 350°F for about 10 minutes until heated through. The reheating process actually creates an even crispier exterior than the original cooking.
Filling Variations
The beauty of these buns lies in their adaptability. Try replacing cabbage with spinach or kale for different nutritional profiles. For a protein boost, add scrambled eggs, tofu crumbles, or ground seitan to the vegetable mixture. Kimchi makes an excellent substitute for fresh cabbage if you enjoy spicy flavors. Just be sure to squeeze out excess moisture from any filling variations to maintain the ideal texture.
Dipping Sauce Pairings
While these buns are delicious on their own, a simple dipping sauce elevates them to restaurant quality. Mix equal parts rice vinegar and soy sauce with a teaspoon of chili oil for a classic spicy option. For something sweeter, combine soy sauce with a touch of honey, grated ginger, and a splash of lime juice. My personal favorite is a creamy tahini-based sauce with garlic and lemon that complements the sesame notes in the buns.
 Pin it
Enjoy making these delicious buns and impress your friends and family with your culinary skills!
Frequently Asked Questions
- → Can I make these buns ahead of time?
Yes, you can prepare these buns in advance. The cooked buns can be refrigerated in an airtight container for up to 5 days. You can also freeze the cooked buns by placing them separately on a tray until frozen solid, then transferring to a storage bag. Reheat from frozen by pan-frying, oven-toasting, or steaming.
- → What can I substitute for vermicelli noodles?
You can substitute vermicelli with other thin noodles like rice noodles, thin egg noodles, or even broken spaghetti. Just ensure they're cooked and chopped into small pieces before mixing with the vegetables.
- → How do I prevent the dough from sticking when rolling?
Lightly dust your work surface and rolling pin with flour. If stacking the rolled wrappers, brush each with flour and limit stacks to 4-5 wrappers. For wrappers that will sit longer than 30 minutes, arrange them separately on a tray rather than stacking.
- → What's the best dipping sauce to serve with these buns?
A simple mixture of soy sauce, sugar, chili sauce, and sesame seeds makes an excellent dipping sauce. You could also try a vinegar-based dipping sauce or a spicy chili oil for variety.
- → Can I make these buns with a gluten-free flour?
While the traditional recipe uses all-purpose flour, you could experiment with gluten-free flour blends designed for yeast baking. You may need to adjust the liquid ratio and be aware that the texture and handling properties of the dough will differ.
- → How can I tell when the buns are properly cooked?
The buns should have a golden-brown crust on both sides after pan-frying. After adding water and steaming with the lid on, they're done when all the water has evaporated (about 5-6 minutes) and the dough has a firm but tender texture.