
 Pin it
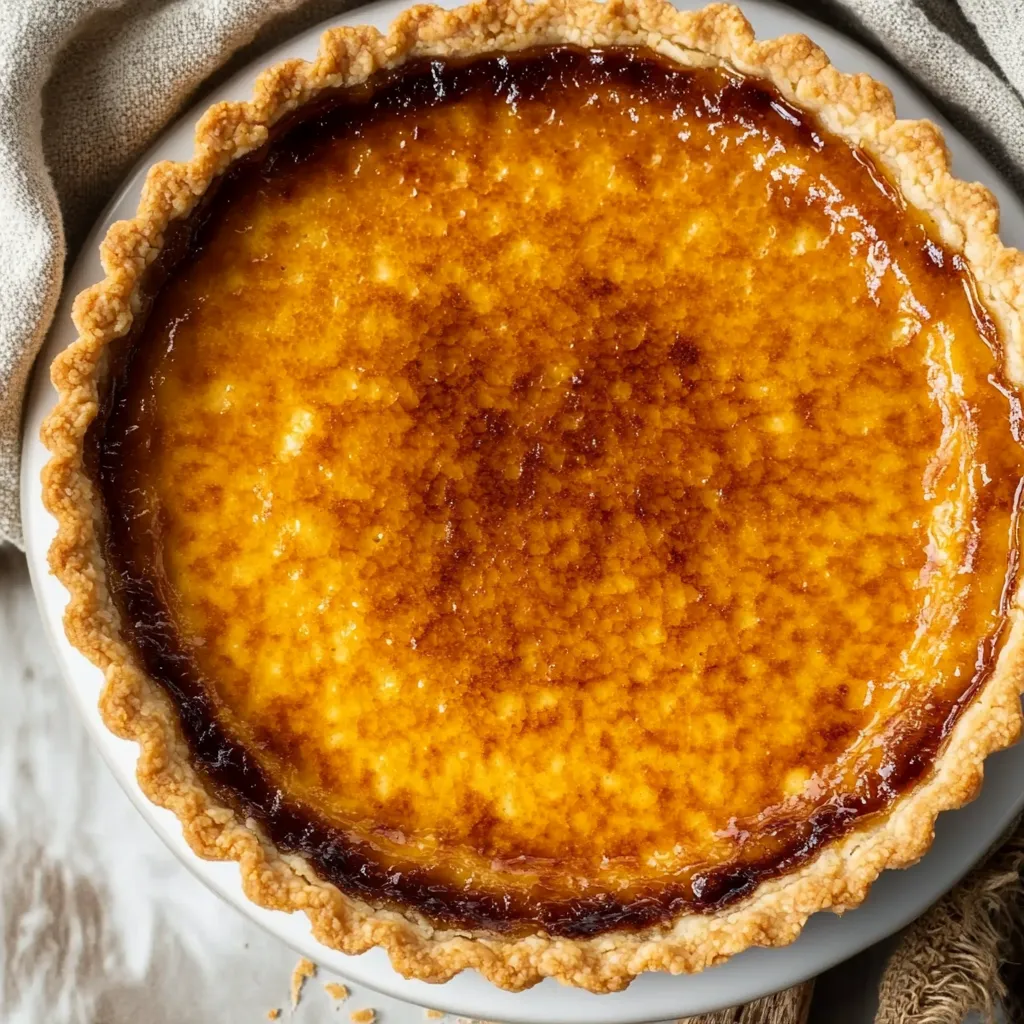
This silky-smooth Caramel Crème Brûlée Tart combines the crackling sugar top of a classic French dessert with the rich caramel flavor we all crave. After perfecting this recipe through countless iterations, I'm confident this elegant tart will become your new signature dessert for special occasions.
I first made this tart for my sister's birthday dinner and the moment everyone cracked through that caramelized sugar top, the table fell silent except for murmurs of appreciation. Now it's requested at every family gathering.
Ingredients
- Shortcrust Pastry: Plain flour creates the perfect crisp base that holds up to the custard filling
- Light brown sugar: Adds subtle caramel notes that complement the filling
- Cold butter: Essential for a flaky texture so keep it chilled until the last minute
- Cold egg and water: Bind the dough without making it tough
- Crème Brûlée Filling:
- Heavy cream: Provides the luxurious mouthfeel essential for authentic crème brûlée
- Egg yolks and whole egg: Create that distinctive silky custard texture
- Store bought thick caramel sauce: Saves time while delivering deep flavor, look for Bonne Maman or another quality brand
- Salt: Enhances the caramel flavor and creates balance
- Caster sugar: For that signature crackling brûlée top burns more evenly than regular sugar
Step-by-Step Instructions
- Prepare the Pastry Dough:
- Process flour, sugar, cold butter and salt in a food processor until butter pieces resemble lentils. The small butter chunks create flaky layers in the final crust. Add egg and pulse until the mixture resembles breadcrumbs, being careful not to overprocess which would make the pastry tough. With processor running on low, gradually add cold water until the dough just begins to form clumps. The dough should hold together when pressed but not be sticky.
- Form and Chill the Pastry:
- Turn dough onto a lightly floured surface and knead gently just until smooth. This minimal handling keeps the butter cold and prevents gluten development. Roll dough to about 4mm thickness and 11 inches round, moving it regularly to prevent sticking. Use your rolling pin to help transfer the dough to a 9 inch tart pan. Press firmly into corners and sides, leaving overhang intact. Refrigerate for at least 2 hours or overnight to relax the gluten and firm up the butter.
- Par Bake the Tart Shell:
- Preheat oven to 180C/350F. Dock the pastry base thoroughly with a fork to prevent bubbling. Trim excess pastry by running a paring knife along the edge of the pan. Line with baking paper and fill completely with pie weights or rice, pressing them against the edges to prevent shrinkage. Bake for 15 minutes, then remove weights and paper and bake 8 more minutes until lightly golden. Cool completely before filling.
- Prepare the Custard Filling:
- Reduce oven to 160C/320F. Heat cream until steaming but not boiling, which would cause the proteins to coagulate unevenly. Whisk egg yolks, whole egg, and caramel sauce in a separate bowl until thoroughly combined. Temper the eggs by very slowly pouring half the hot cream into the egg mixture while gently whisking, then add remaining cream. This gradual process prevents the eggs from scrambling.
- Fill and Bake the Tart:
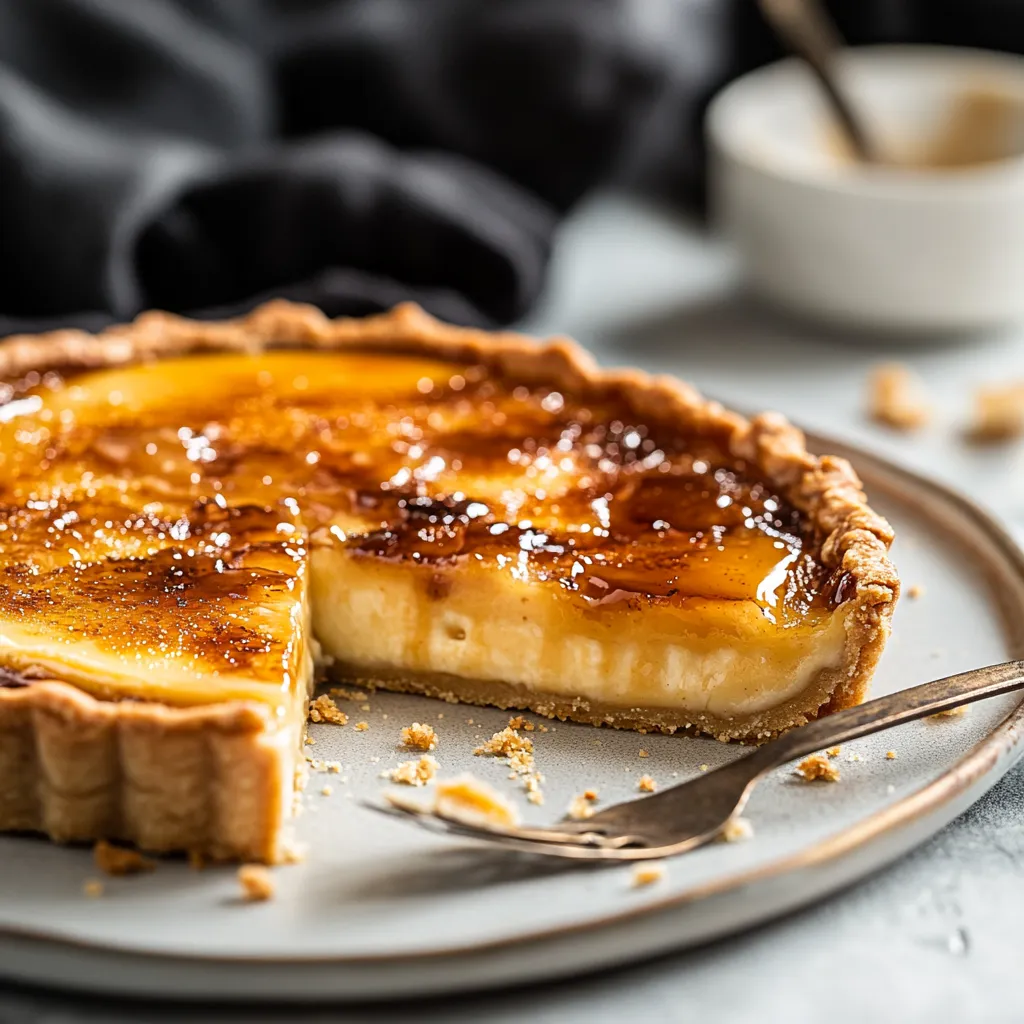
- Strain the custard mixture to remove any coagulated egg bits for the smoothest texture. Skim off any foam from the surface. Place the tart shell on the partially extended oven rack for easier filling without spills. Pour custard into tart shell, filling just below the rim. Remove any surface bubbles by gently running a spoon across the top. Bake for 35-40 minutes until the filling jiggles slightly but is not liquid. The custard will continue to set as it cools.
- Cool and Caramelize:
- Allow tart to cool for 20 minutes at room temperature, then refrigerate for at least 2 hours to fully set. Just before serving, sprinkle a thin, even layer of caster sugar over the surface and use a kitchen blowtorch to melt and caramelize the sugar until it forms a crisp amber topping.
 Pin it
The caramel sauce is truly the star of this recipe. I discovered through experimenting that using a high quality store bought version creates more consistent results than making caramel from scratch each time. My grandmother always said shortcuts are perfectly acceptable when they don't compromise quality.
Make Ahead Tips
This tart is perfect for entertaining because almost every component can be prepared in advance. The pastry dough can be made and refrigerated for up to 3 days before rolling out, or frozen for up to a month. The fully baked tart shell can be stored at room temperature for 2 days if well wrapped. The completed tart can be refrigerated for up to 2 days before torching the sugar top, which should always be done right before serving to maintain that perfect crackle.
Troubleshooting
If your pastry shrinks during baking, you likely overworked the dough or didn't chill it long enough. The cold rest period is crucial for preventing shrinkage. If your custard has cooked spots or curdled, your oven was likely too hot or you baked it too long. The perfect custard should have a uniform wobble when gently shaken. If the caramelized sugar top doesn't harden properly, your sugar layer was likely too thick or not evenly distributed. A thin, even layer works best for that perfect crack.
Serving Suggestions
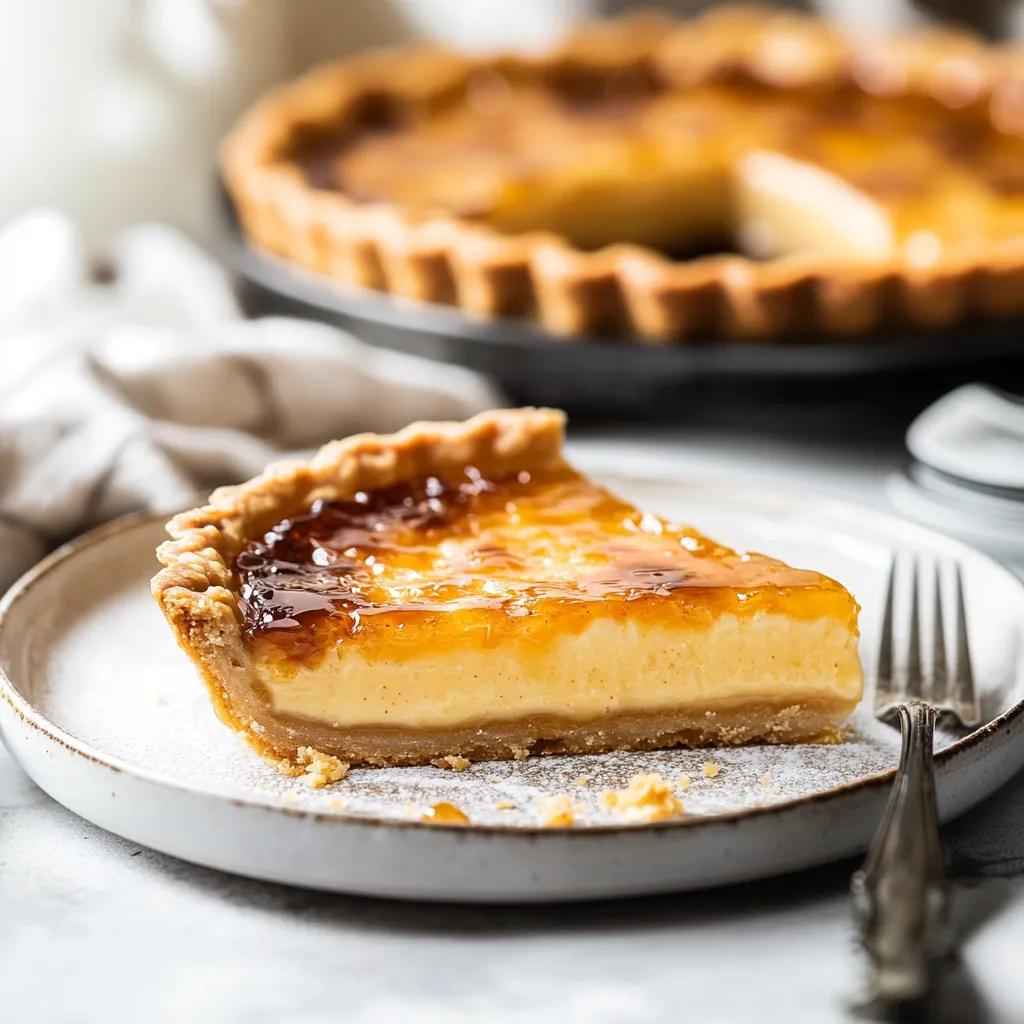
Serve this tart at cool room temperature rather than cold from the refrigerator for the best flavor and texture. The contrast between the cool, silky custard and the warm, crackling sugar top is absolutely divine. A small dollop of softly whipped cream on the side provides a nice counterpoint, though the tart is perfectly beautiful on its own. For entertaining, I like to torch the sugar tableside for dramatic effect, which always impresses guests.
 Pin it
This silky, stunning tart showcases how a few quality ingredients come together to create a memorable dessert you'll treasure for years.
Frequently Asked Questions
- → Can I make this tart in advance?
Yes, you can prepare this tart up to 2 days ahead. Make the complete tart including the filling and refrigerate. Add the sugar topping and torch it just before serving for the best texture and flavor contrast.
- → What if I don't have a kitchen blowtorch?
If you don't have a blowtorch, you can place the chilled tart under a preheated broiler for 1-2 minutes to caramelize the sugar. Watch carefully to avoid burning, and ensure the tart is very cold before attempting this method.
- → Can I use homemade caramel sauce instead of store-bought?
Absolutely! Homemade caramel sauce works wonderfully in this tart. Just ensure it's thick and completely cooled before incorporating it into the custard mixture.
- → Why do I need to strain the custard filling?
Straining the custard mixture removes any bits of cooked egg that might have formed during the tempering process, ensuring your filling is perfectly smooth and silky.
- → How do I know when the tart filling is properly baked?
The tart is done when it has a gentle wobble in the center when shaken slightly, but doesn't appear liquid or runny. The edges should be more set than the center, which will continue to firm up as it cools.
- → Can I freeze this tart?
While you can freeze the baked tart shell, the custard filling doesn't freeze well as it can separate and become watery when thawed. It's best enjoyed fresh or within 2-3 days of making, stored in the refrigerator.