
 Pin it
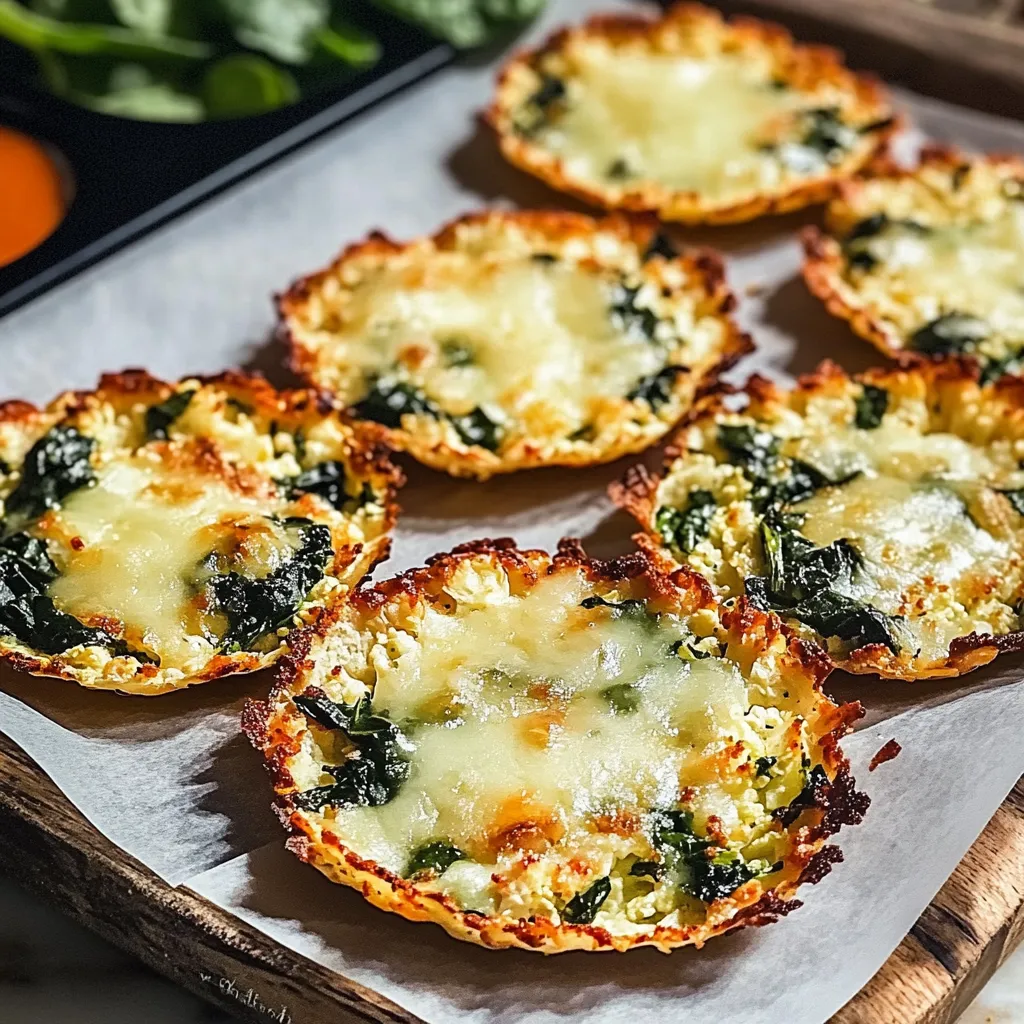
This vibrant cauliflower spinach taco shell recipe revolutionized my family's taco nights when we were looking for a colorful, nutritious alternative to traditional shells. The combination of cauliflower and spinach creates a sturdy yet flexible shell that holds fillings beautifully while adding extra vegetables to the meal.
I first created these shells for my sister who needed gluten free options but was tired of corn tortillas. Now they've become a staple in our monthly meal rotation because everyone loves customizing their own healthy tacos.
Ingredients
- Cauliflower: A versatile vegetable that creates the perfect texture base when riced. Choose a firm head with tight florets for best results.
- Spinach: Adds beautiful color, nutrients, and helps bind the mixture. Fresh works best but frozen spinach can be used if thoroughly drained.
- Eggs: Essential binding agents that help the shells hold together. Use large eggs for consistent results.
- Mozzarella cheese: Provides structure and a mild flavor that doesnt overpower your fillings. Look for low moisture mozzarella for the best texture.
- Salt: Enhances all the flavors in the shells. Sea salt or kosher salt works beautifully.
- Black pepper: Adds a gentle warming note. Freshly ground gives the best flavor profile.
- Garlic powder: Contributes savory depth to the shells. Use fresh garlic powder for the most potent flavor.
Step-by-Step Instructions
- Prepare Your Oven and Baking Surface:
- Preheat your oven to 375°F ensuring it reaches full temperature before baking. Line a baking sheet with parchment paper making sure the paper lies flat and covers the entire surface for easy removal later.
- Process the Cauliflower:
- Cut cauliflower into florets then pulse in a food processor using short bursts until it resembles rice grains. Be careful not to overprocess or it will become mushy. If you dont have a food processor a box grater works well too.
- Cook and Drain the Cauliflower:
- Place the riced cauliflower in a microwave safe bowl and cook uncovered for 5 minutes to soften and release moisture. Allow it to cool for 5 minutes until you can handle it comfortably. This step is crucial for removing excess moisture.
- Remove Excess Moisture:
- Transfer the slightly cooled cauliflower to a clean kitchen towel. Gather the corners and twist firmly over a sink to squeeze out as much water as possible. Youll be surprised by how much liquid comes out. This prevents soggy shells.
- Create the Shell Mixture:
- In a large mixing bowl combine the squeezed cauliflower with finely chopped spinach eggs shredded mozzarella salt pepper and garlic powder. Mix thoroughly until all ingredients are evenly distributed. The mixture should hold together when pressed.
- Form the Taco Shells:
- Scoop approximately ¼ cup of mixture onto the parchment paper and use your hands or a spatula to shape into a thin circle about 6 inches in diameter and ¼ inch thick. Leave about 1 inch between each shell to allow for proper heat circulation.
- Bake to Perfection:
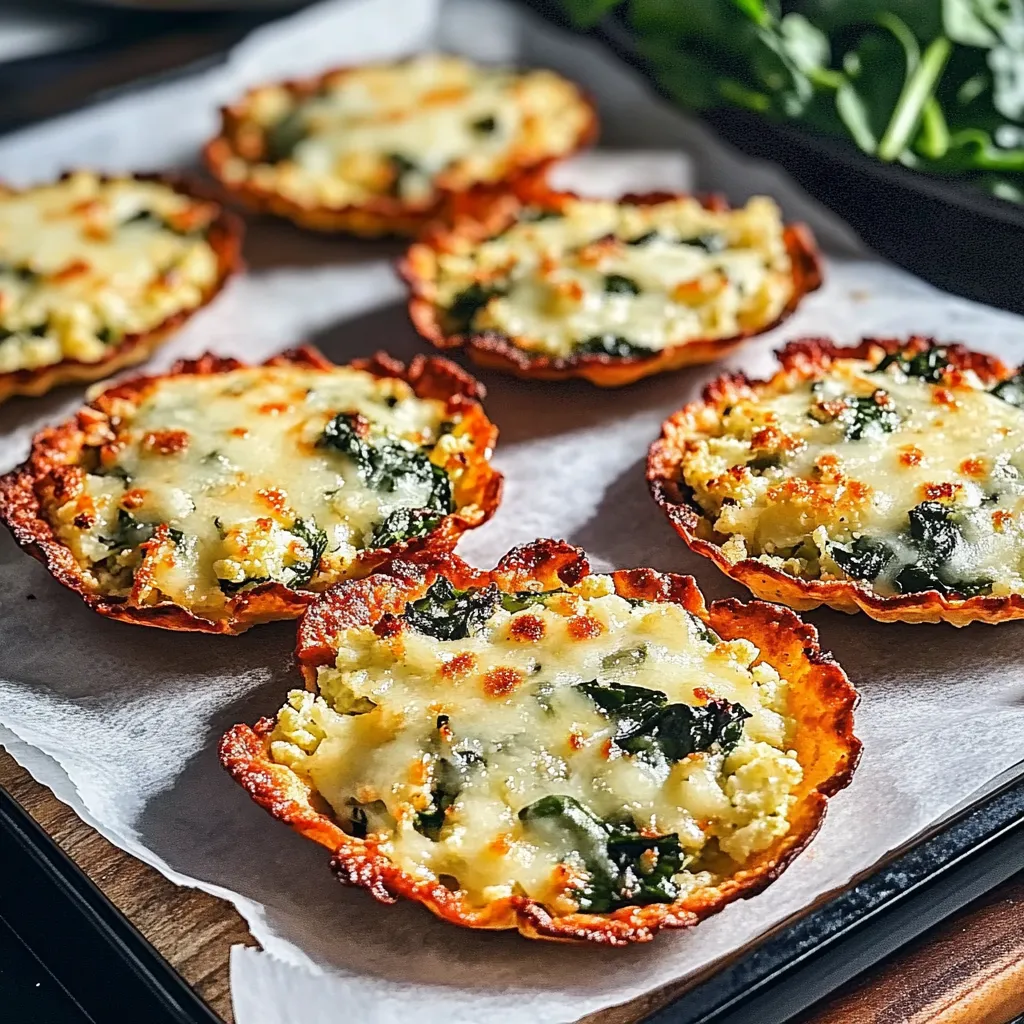
- Bake in the preheated oven for 15 to 20 minutes watching closely around the 15 minute mark. The edges should turn golden brown and the centers should be firm to the touch. A longer bake time creates crispier shells.
- Cool and Serve:
- Allow the shells to cool on the baking sheet for 5 minutes before carefully peeling them off the parchment paper. They will continue to firm up as they cool. Serve warm with your favorite taco fillings.
 Pin it
The secret to these shells is properly draining the cauliflower. The first time I made them, I skipped this step and ended up with soggy shells that fell apart. My daughter actually taught me the kitchen towel trick after watching a cooking show, and it transformed these from good to amazing.
Make-Ahead Options
These taco shells can be prepared up to three days in advance and stored in the refrigerator. Simply place them in an airtight container with parchment paper between layers to prevent sticking. When ready to use, reheat them in a 350°F oven for about 5 minutes until warm and crisp again. This makes them perfect for busy weeknights or entertaining when you want to minimize last-minute preparation.
Filling Suggestions
While these shells work beautifully with traditional taco fillings like seasoned ground beef, they also pair wonderfully with lighter options. Try grilled fish with mango salsa for a tropical twist, or roasted vegetables with avocado crema for a vegetarian option. My family's favorite combination is pulled chicken with pickled red onions and cilantro lime sauce. The sturdy texture of these shells holds up to both hot and cold fillings without becoming soggy.
Troubleshooting Tips
If your shells are breaking apart, you likely need to squeeze more moisture from the cauliflower or add an extra tablespoon of cheese to improve binding. For crispier shells, make them slightly thinner and extend the baking time by 2-3 minutes. If the edges brown too quickly while the centers remain soft, lower your oven temperature to 350°F and bake a few minutes longer. Remember that each oven varies, so visual cues are more important than exact timing.
 Pin it
These colorful, nutritious shells are guaranteed to elevate your taco nights while keeping things healthy and delicious!
Frequently Asked Questions
- → How do I ensure my cauliflower taco shells don't fall apart?
The key is removing as much moisture as possible from the cauliflower. After microwaving, let it cool enough to handle, then squeeze thoroughly in a clean kitchen towel. Also, don't skimp on the cheese, as it acts as a binder. Finally, let the shells cool slightly before attempting to remove them from the parchment paper.
- → Can I make these taco shells ahead of time?
Yes! You can prepare them up to 2 days in advance. Once cooled completely, store them in an airtight container with parchment paper between layers to prevent sticking. Reheat in a 350°F oven for 5-7 minutes to restore crispness before serving.
- → Are these taco shells gluten-free?
Yes, these cauliflower spinach taco shells are naturally gluten-free, making them perfect for those with gluten sensitivities or celiac disease. Just ensure all your ingredients, particularly the cheese, are certified gluten-free if you have severe allergies.
- → Can I freeze these cauliflower taco shells?
Absolutely! Let them cool completely, then place in a freezer-safe container with parchment paper between layers. Freeze for up to 3 months. To reheat, place the frozen shells directly on a baking sheet in a 375°F oven for about 10 minutes until heated through and crispy.
- → What are good fillings to pair with these shells?
These versatile shells pair beautifully with both traditional and creative fillings. Try seasoned ground beef or turkey, grilled chicken, black beans, roasted vegetables, avocado, fresh salsa, Greek yogurt (as a sour cream alternative), or cotija cheese. The mild flavor of the shells complements both bold and subtle fillings.
- → Can I use frozen cauliflower rice instead?
Yes, you can substitute frozen cauliflower rice to save time. Use about 3 cups, thaw completely, and be extra thorough when squeezing out moisture as frozen cauliflower tends to release more water. You may need to adjust the cooking time slightly.