
 Pin it
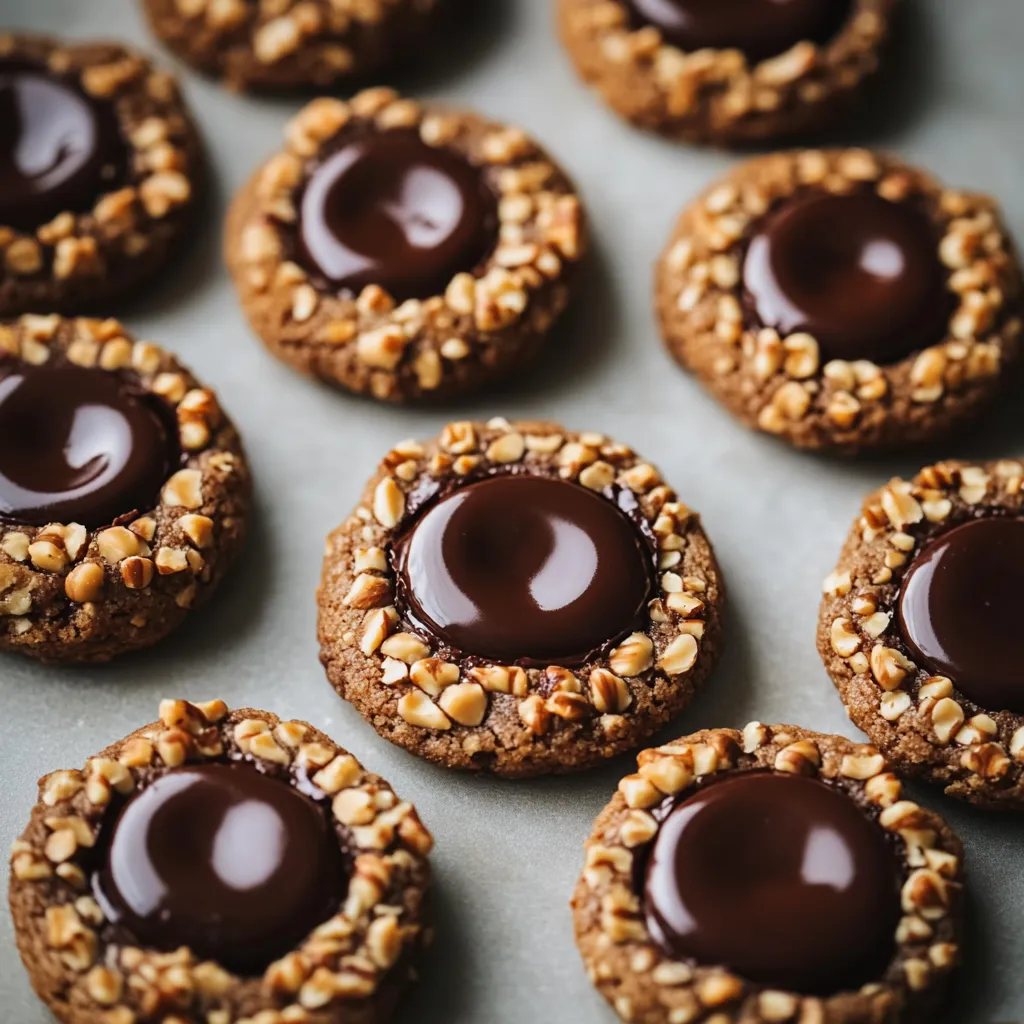
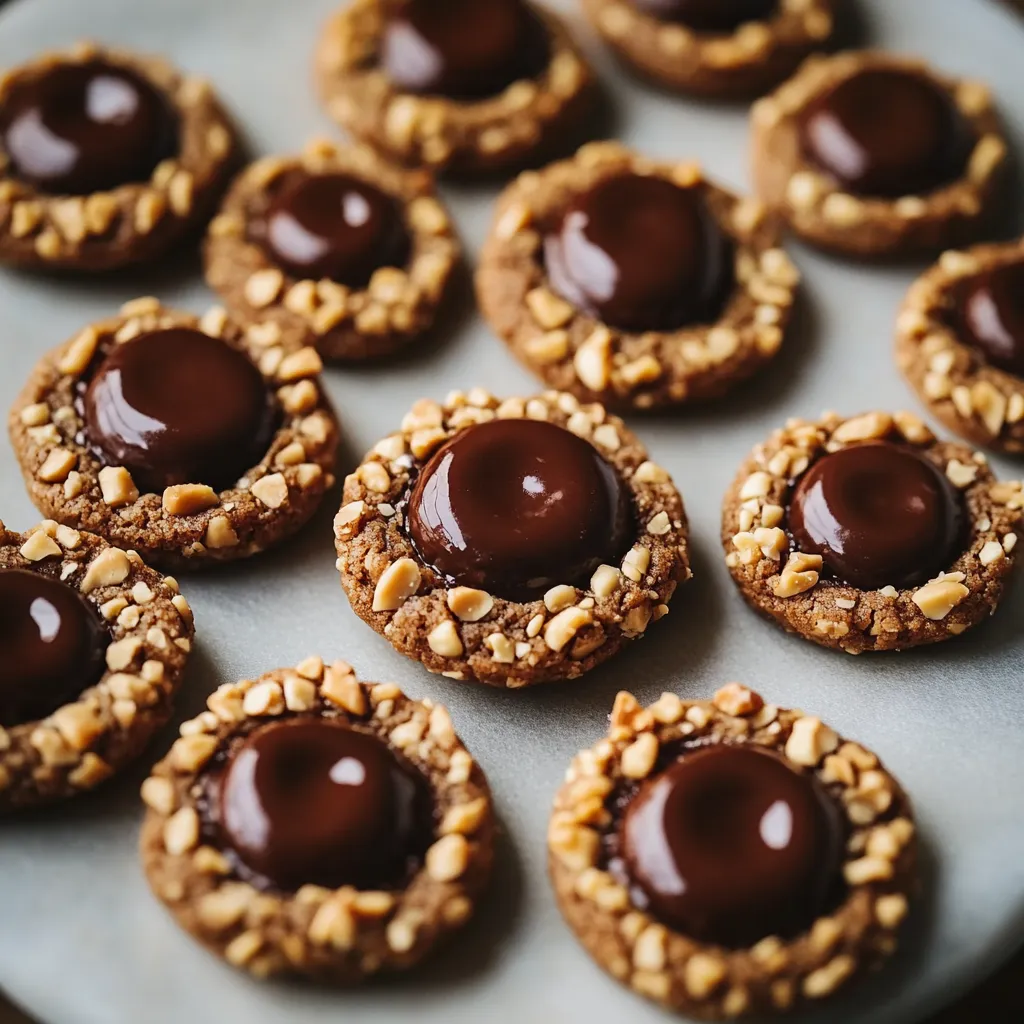
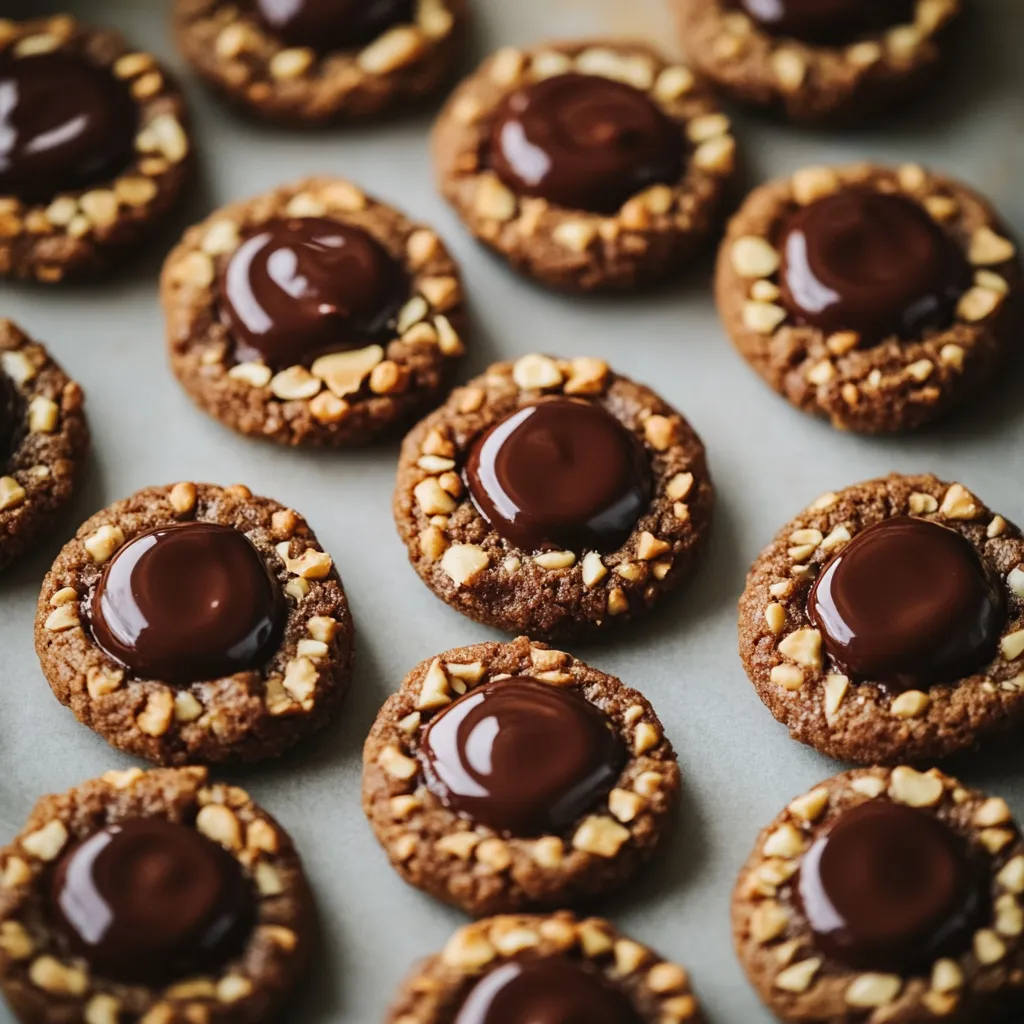
Chocolate Hazelnut Thumbprint Cookies bring together buttery chocolate dough and a glossy chocolate hazelnut center for the kind of treat that vanishes quickly from the cookie jar. These are a go-to for gifting during the holidays or when I want to spoil my family with some homemade chocolate goodness. The outer hazelnut crunch and the soft center are so satisfying that even those who do not usually like nuts ask for seconds.
When I first tested this recipe on a cozy Saturday at home my kitchen filled with the warm aroma of roasting hazelnuts I knew I would want to make these cookies every season. They have become our annual holiday tradition and my friends often request them for cookie swaps.
Ingredients
- Unsalted butter, softened: Gives the cookies the perfect crumb and richness, use good quality butter for best flavor
- Granulated sugar: Sweetens without overpowering and helps achieve that tender bite
- Vanilla extract: Rounds out the chocolate with warmth, try real vanilla if you can
- All-purpose flour: Forms the structure, look for fresh flour for lighter cookies
- Cocoa powder: Creates the deep chocolate base, Dutch process cocoa works beautifully for extra richness
- Salt: Balances sweetness and also heightens the chocolate taste
- Hazelnuts, finely chopped: Add crunch and a toasty flavor, choose fresh whole hazelnuts for best results
- Chocolate hazelnut spread: Brings gooey decadence in every bite, a favorite brand like Nutella does the trick
- Whole hazelnuts for garnish: Give a pretty finish, pick out unbroken nuts for the top if you plan to decorate
Step-by-Step Instructions
- Prepare the Oven and Baking Sheets:
- First set your oven to 350 degrees Fahrenheit or 175 degrees Celsius so it has time to heat thoroughly before baking. Line two baking sheets with parchment paper which helps the cookies release easily and prevents burning on the bottom.
- Cream the Butter and Sugar:
- Next place the softened butter and the granulated sugar in a large mixing bowl. Using an electric mixer beat them together on medium speed until the mixture looks light and fluffy which usually takes about three to four minutes. This step traps air in the dough for a lighter texture. Mix in the vanilla extract until fully incorporated for even flavor.
- Combine the Dry Ingredients:
- In a separate medium bowl whisk the all-purpose flour cocoa powder and salt together for at least one minute. This step ensures the cocoa and salt are thoroughly blended with the flour so the cookies bake up with an even color and balanced taste.
- Mix Dry Ingredients into Butter Mixture:
- Now gradually add your dry flour mixture into the butter mix about one third at a time. Mix gently just until the dough comes together and is smooth and firm enough to roll. If the dough seems too sticky chill it in the fridge for about fifteen minutes.
- Shape the Cookies:
- With clean hands form the dough into small balls about one inch in diameter each. Roll each ball in the finely chopped hazelnuts pressing lightly so the nuts adhere to the surface. Space the dough balls two inches apart on your prepared baking sheets to allow for spreading during baking.
- Create Indentations:
- Using your thumb or the back of a small spoon gently press an indent into the center of each dough ball. Do not press all the way through just enough to make a well for the filling.
- Bake the Cookies:
- Place the trays in your preheated oven and bake for twelve to fourteen minutes. The cookies should look set around the edges but still be soft in the middle. Keep a close eye as cocoa cookies can overbake quickly and lose their tenderness.
- Add Chocolate Filling:
- While the cookies are still warm out of the oven gently re-press the indentations in case they puffed up during baking. Spoon about one teaspoon of chocolate hazelnut spread into the center of each cookie. For extra flair press a whole hazelnut on top of the filling while it is still soft.
- Cool and Serve:
- Let the cookies cool on the baking sheet for five minutes then carefully transfer them to a wire rack. Allow them to cool completely so the centers can set before storing or serving.
 Pin it
Hazelnuts have always been my favorite nut for baking I remember as a kid helping my grandmother shell them by hand and the scent was unforgettable The combination of chocolate and hazelnut in this cookie brings back memories of those family afternoons
Storage Tips
Cool the cookies completely before storing to keep the centers from becoming sticky Line your storage container with parchment and layer cookies with more paper between to prevent sticking For longer storage keep them in the freezer and thaw at room temperature
Ingredient Substitutions
You can swap the hazelnuts for almonds or pecans if you have nut allergies in the household For a more intense chocolate hit use dark chocolate spread in place of classic Nutella Gluten free flour blend also works for a wheat-free treat just be sure to select a blend that allows for one-to-one substitution
Serving Suggestions
These cookies are perfect with a cup of espresso or hot chocolate To make a dessert platter pair with simple butter cookies and fresh berries They also make lovely holiday gifts just package in a tin or box with a ribbon
 Pin it
The combination of chocolate and hazelnuts makes these cookies a stellar addition to any occasion. Give them a try and let your taste buds rejoice!
Frequently Asked Questions
- → Can I use a different nut instead of hazelnuts?
Yes, you can substitute almonds, walnuts, or pecans for the hazelnuts. The flavor profile will change slightly, but the cookies will still be delicious. Just make sure to chop your alternative nuts finely for proper coating.
- → How should I store these cookies?
Store these cookies in an airtight container at room temperature for up to 5 days. For longer storage, you can refrigerate them for up to 2 weeks, though the texture may change slightly. Place parchment paper between layers to prevent sticking.
- → Can I freeze the dough or baked cookies?
Yes! You can freeze the cookie dough balls (before creating indentations) for up to 3 months. Baked cookies can also be frozen without the Nutella filling. Add the filling after thawing and warming slightly for best results.
- → What can I use instead of Nutella?
Any chocolate hazelnut spread works well, including store brands or homemade versions. You could also use dulce de leche, fruit preserves, or ganache for different flavor variations while maintaining the thumbprint cookie concept.
- → Why did my cookies spread too much during baking?
If your cookies spread too much, your butter might have been too warm. Chill the shaped dough balls for 20-30 minutes before baking. Also, make sure your oven temperature is accurate, as an oven that's too cool can cause excessive spreading.
- → How do I prevent the thumbprint indentation from disappearing?
It's normal for the indentation to partially fill in during baking. The key is to re-press the indentation while the cookies are still warm from the oven (but not hot enough to crumble) before adding the Nutella filling.