 Pin it
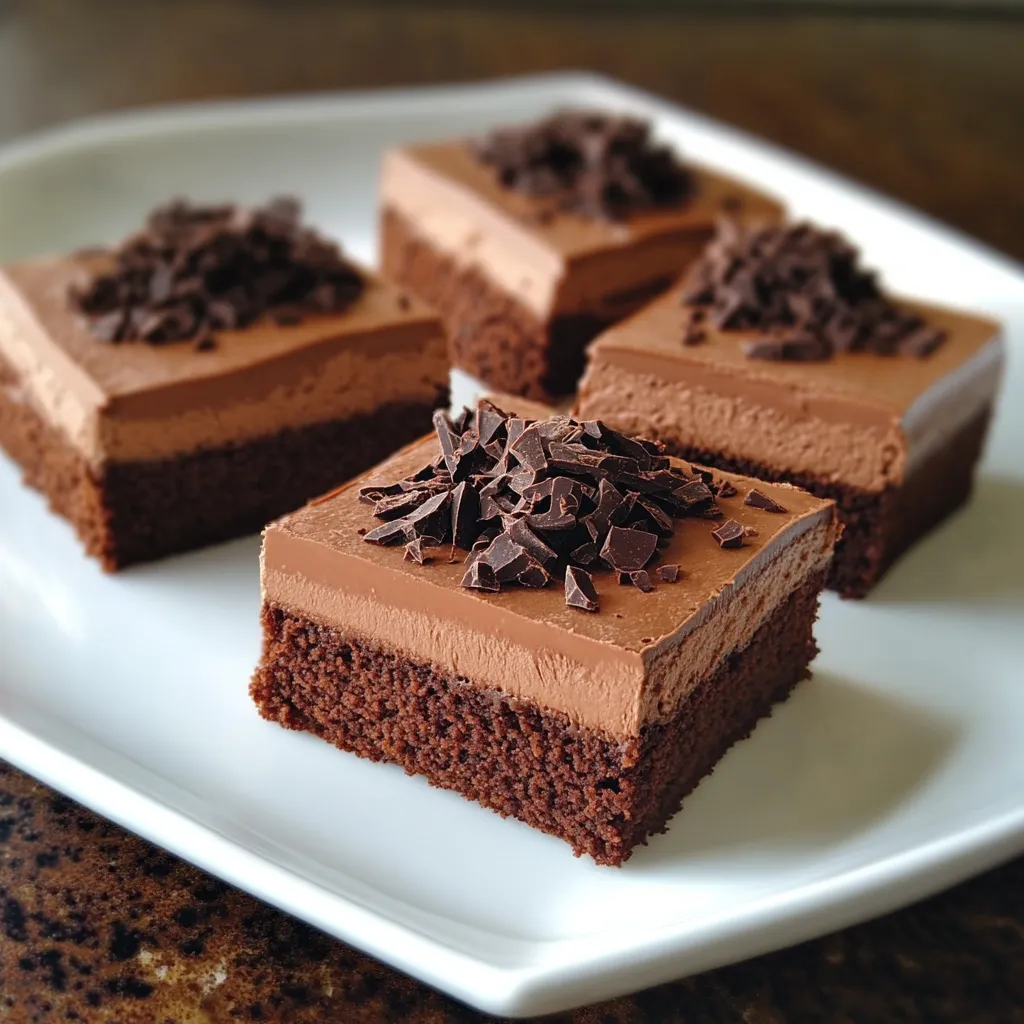
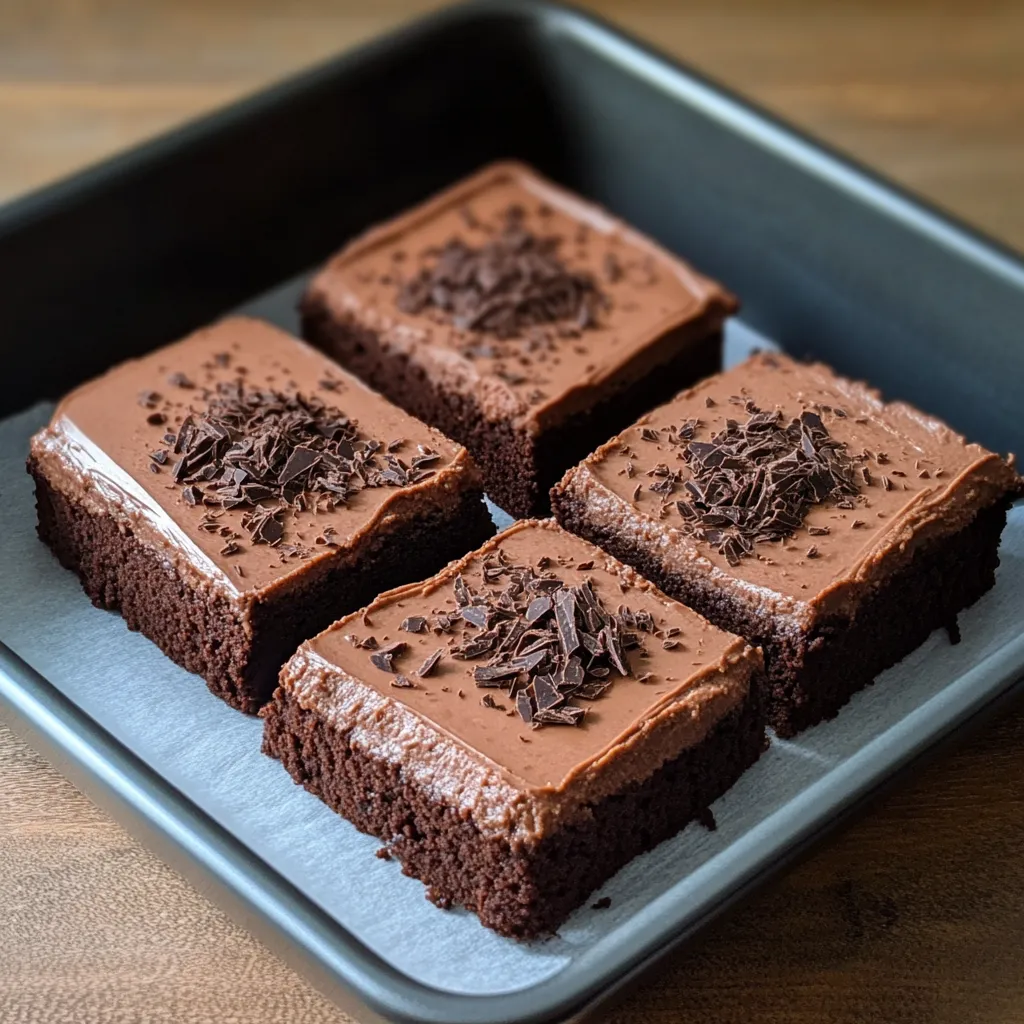
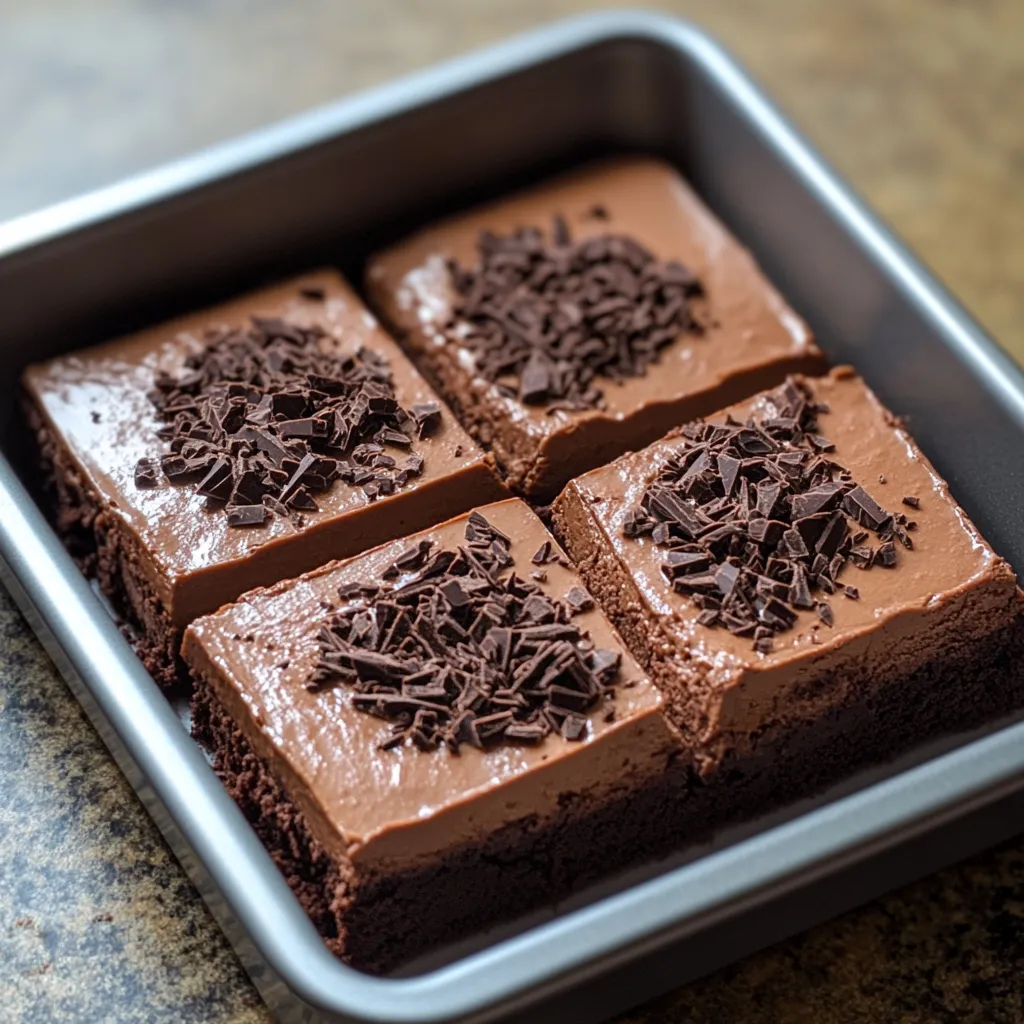
Chocolate mousse brownies combine three extraordinary textures in one remarkable dessert. The fudgy brownie foundation provides a satisfying chewiness that grounds the entire creation. Above this sits a cloud-like chocolate mousse layer that melts effortlessly on your tongue, delivering intense chocolate flavor without heaviness. The final ganache topping adds a glossy finish and concentrated chocolate richness that completes the sensory experience. When sliced, the beautiful striations of chocolate shades reveal themselves, creating a visual delight that matches the complexity of flavors. This triple-layer dessert transforms ordinary ingredients into something truly extraordinary through thoughtful preparation and patience.
Last month I prepared these brownies for a neighborhood gathering, arriving with them carefully arranged on my grandmother's silver platter. The reaction was immediate and enthusiastic. Several guests initially thought I had purchased them from a bakery until I explained the three-layer process. What surprised me most was watching even the most restrained eaters reach for second pieces, their usual discipline overwhelmed by the perfect balance of richness and lightness.
Detailed Ingredients
- High-quality unsweetened cocoa powder: Provides deep chocolate flavor without excessive sweetness. Look for Dutch-processed varieties for a smoother, less acidic taste. Fresh cocoa powder offers significantly more aroma and depth.
- Room temperature eggs: Incorporate more readily into the batter, ensuring a smooth and emulsified consistency. The yolks add richness and moisture, while the proteins provide structure.
- Pure vanilla extract: Enhances the chocolate flavors with warm, aromatic notes. Madagascar bourbon vanilla is ideal for a deep, well-rounded flavor.
- Unsalted butter: Allows for precise salt control while contributing richness and a smooth texture. European-style butter with a higher fat content gives the best results.
- All-purpose flour: Provides structure without making the brownies too cakey. Spoon flour into the measuring cup rather than scooping to avoid over-packing, ensuring accurate measurement.
- Espresso powder: Intensifies the chocolate flavor subtly without adding noticeable coffee notes. Enhances the depth of the cocoa, making the chocolate taste richer.
- Semisweet chocolate (60-70% cocoa): Used in the mousse for a balanced chocolate profile. The percentage ensures enough sweetness while maintaining the deep cocoa complexity.
- Heavy cream (36% fat): Essential for creating the light and airy mousse layer. Chilled cream whips best, incorporating the ideal amount of air.
- Powdered sugar: Sweetens and stabilizes the whipped cream in the mousse. The fine texture prevents graininess.
- Whole milk: Used to melt the chocolate gently for the mousse, creating a smooth and creamy consistency.
- Dark chocolate (65-70% cocoa): Used for the ganache layer, providing a rich, intense chocolate flavor without excessive sweetness.
 Pin it
Layer Construction
- Brownie Base Preparation:
- Begin by lining your baking pan with parchment paper, leaving overhang on two sides to create handles for easy removal later. Melt butter until completely liquid but not hot, which prevents cooking the eggs prematurely. Whisk sugar into the melted butter until fully incorporated, creating a gritty mixture that will dissolve during baking. Add room temperature eggs one at a time, incorporating each fully before adding the next. This methodical approach creates the proper emulsion necessary for fudgy texture. Introduce vanilla extract and stir until the mixture looks glossy and slightly thickened. In a separate bowl, whisk together flour, cocoa powder, salt, and baking powder to eliminate lumps and ensure even distribution of leavening. Gently fold dry ingredients into wet using broad strokes that minimize gluten development. Pour the finished batter into the prepared pan and spread evenly into corners. Bake in a preheated oven at exactly 350°F until the edges are set but the center retains some moisture.
- Mousse Layer Creation:
- Finely chop high-quality semisweet chocolate to ensure even melting. Choose chocolate with 60-70% cocoa content for balanced flavor that isn't overwhelmingly bitter or too sweet. Place chopped chocolate in a heatproof bowl while gently warming whole milk in a separate saucepan. Watch for the first tiny bubbles around the edge of the milk before removing from heat. Pour the hot milk over the chocolate and allow it to sit undisturbed for thirty seconds, letting the heat gently begin the melting process. Stir from the center outward until completely smooth. Meanwhile, whip cold heavy cream with powdered sugar in a separate bowl until soft peaks form. Gently fold the cooled chocolate mixture into the whipped cream using a figure-eight motion that preserves air bubbles while incorporating the chocolate. Spread this mousse over the cooled brownie layer with an offset spatula, creating a level surface before refrigerating for at least two hours until completely set.
- Ganache Topping Perfection:
- Combine finely chopped chocolate and heavy cream in a heatproof bowl. Heat this mixture using either a double boiler or microwave in short intervals, stirring between each heating until completely smooth. Allow the ganache to cool slightly until it reaches spreading consistency, thick enough to coat the back of a spoon but still pourable. Pour the ganache over the chilled mousse layer, tilting the pan gently to create even coverage without disturbing the delicate mousse beneath. Return the entire pan to the refrigerator until the ganache sets completely, which typically takes about an hour.
 Pin it
My first attempt at these brownies taught me a valuable lesson about patience and precision. I tried to rush the process by placing warm brownies in the freezer, resulting in condensation that made the surface soggy and prevented proper mousse adhesion. Now I build in ample time for natural cooling between layers, often spreading the preparation across a leisurely afternoon. The methodical process has become almost meditative, each step requiring presence and attention that produces not just a delicious dessert but also a welcome respite from the day's hurried pace. The rewards of this patience extend beyond the perfect texture and appearance to the satisfaction of creating something truly special from simple ingredients transformed through careful technique.
Frequently Asked Questions
- → Can I make these Chocolate Mousse Brownies in advance?
- Absolutely! These brownies actually benefit from being made a day ahead. The flavors meld together and the mousse sets perfectly. Just keep them refrigerated and covered until ready to serve.
- → Why did my chocolate seize when making the mousse?
- Chocolate can seize if it's too hot when added to the whipped cream. Make sure your melted chocolate has cooled to room temperature but is still fluid. Try folding a small amount of whipped cream into the chocolate first to temper it before folding into the remaining cream.
- → Can I freeze these Chocolate Mousse Brownies?
- While the brownie base freezes well, the mousse and ganache layers don't hold up as well to freezing and thawing. It's best to enjoy these fresh within 4 days of making them, stored in the refrigerator.
- → How do I get clean cuts when slicing these layered brownies?
- For perfect cuts, dip a sharp knife in hot water, wipe it dry, then slice. Clean and reheat the knife between each cut. Letting the brownies sit at room temperature for 10-15 minutes before cutting can also help.
- → Can I use milk chocolate instead of semisweet for the mousse?
- Yes, you can substitute milk chocolate, but the mousse will be sweeter and less intensely chocolatey. If using milk chocolate, consider reducing the powdered sugar in the whipped cream to balance the sweetness.
- → Why does my mousse layer look grainy?
- Grainy mousse usually happens when the chocolate begins to set before being fully incorporated into the cream. Make sure your chocolate mixture is fluid but not warm, and fold quickly but gently to combine everything smoothly.
