
 Pin it
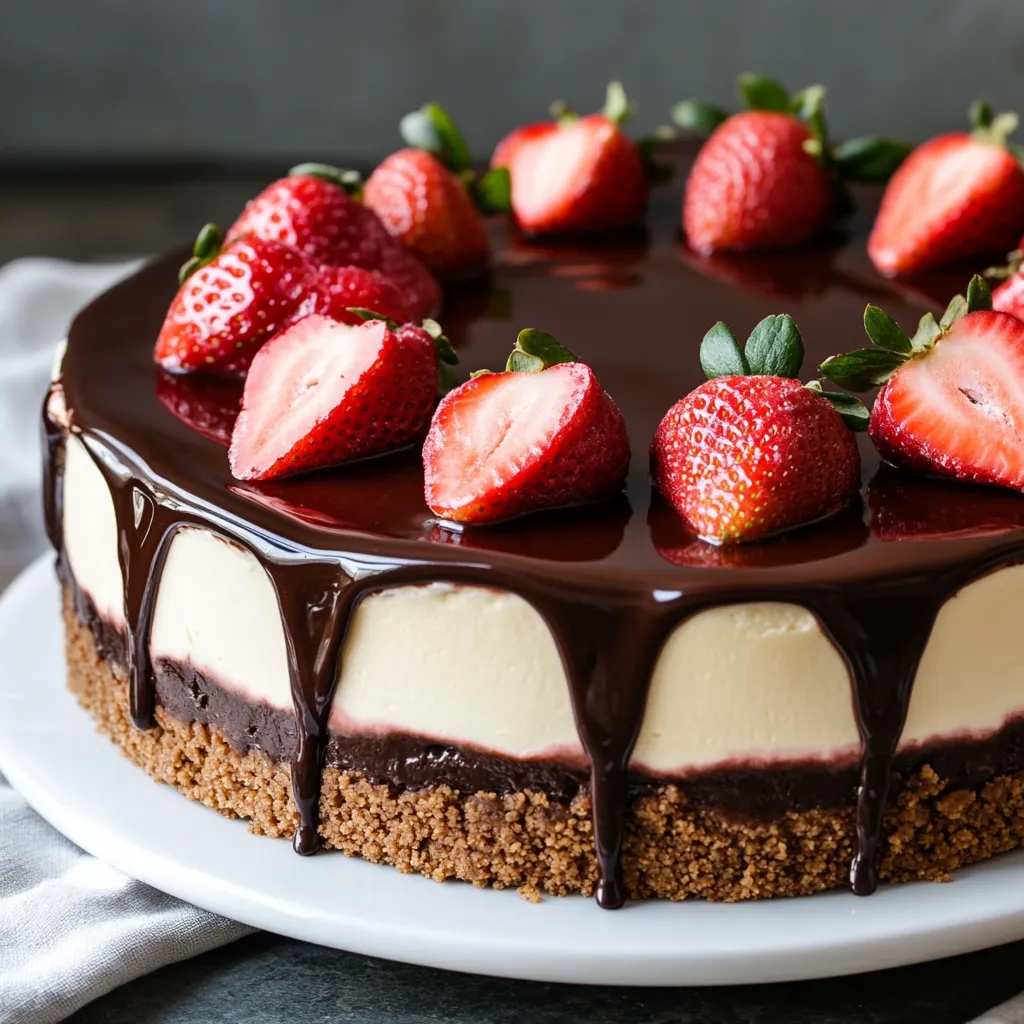
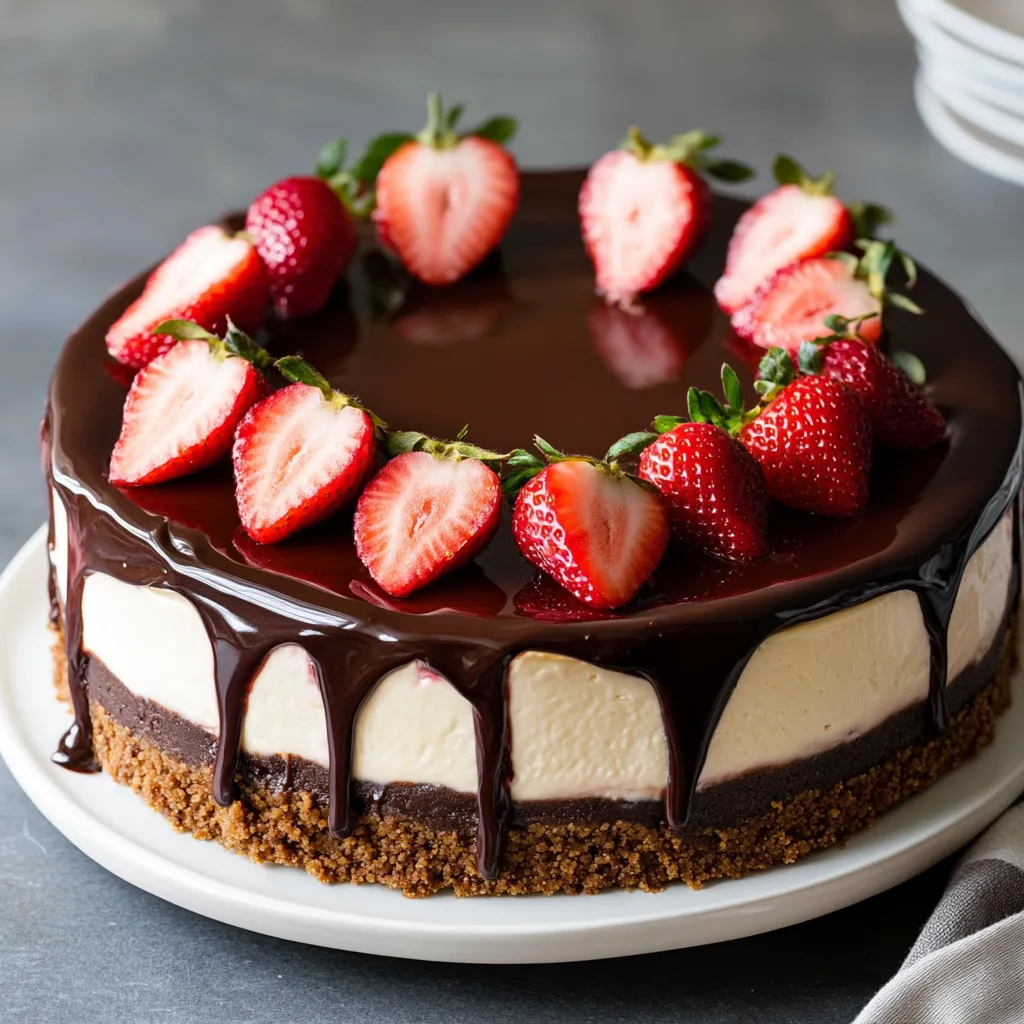
Chocolate covered strawberry cheesecake combines two beloved desserts into one spectacular creation that satisfies multiple cravings simultaneously. The marriage of velvety smooth cheesecake with the classic pairing of chocolate and strawberries creates an undeniably luxurious dessert experience. Each forkful delivers layers of flavor and texture that build upon one another from the buttery graham cracker crust through the tangy cheesecake filling to the fresh berries adorned with rich chocolate. This showstopping dessert transforms ordinary gatherings into memorable celebrations with its impressive presentation and irresistible taste profile.
I first made this for my sister's engagement party, working late into the night perfecting each element. The next day, watching guests' expressions as they took their first bites made every minute worthwhile. My brother in law still requests this cheesecake for every birthday, claiming nothing else compares to the perfect balance of flavors and textures.
Essential Ingredients Breakdown
- Full fat cream cheese: Provides the foundation for a rich, smooth filling that delivers authentic cheesecake flavor.
- Graham crackers: Create a classic crust with subtle sweetness and satisfying texture contrast.
- Granulated sugar: Balances the tanginess of the cream cheese without overwhelming the palate.
- Pure vanilla extract: Enhances all flavors while adding subtle aromatic notes throughout the dessert.
- Fresh eggs: Bind the filling while contributing to the characteristic silky texture.
- Sour cream: Adds complexity and tanginess while improving the creamy mouthfeel.
- Heavy cream: Enriches the filling while ensuring proper consistency.
- High quality chocolate: Makes a significant difference in both the ganache and strawberry coating.
- Fresh strawberries: Introduce brightness that cuts through the richness of the other components.
When selecting strawberries, look for berries with vibrant red color throughout without white shoulders near the stem. Smaller to medium berries typically offer better flavor concentration than oversized varieties, which often sacrifice taste for visual impact.
Baking Process
- Begin the foundation:
- Crush eighteen graham crackers into fine, consistent crumbs using your food processor or placing them in a sealed plastic bag and rolling with a pin until pulverized. This thorough crushing ensures your crust holds together perfectly without crumbling when sliced.
- Create your base:
- Combine these fresh crumbs with five tablespoons melted unsalted butter and three tablespoons granulated sugar, pressing the mixture firmly and evenly into your springform pan. The pressure applied during this step determines your crust integrity, so use considerable force with the bottom of a measuring cup.
- Prepare your filling:
- Beat three eight ounce packages room temperature cream cheese until absolutely smooth and free of lumps, gradually incorporating one cup granulated sugar and two teaspoons vanilla extract until the mixture becomes light and somewhat fluffy in texture.
- Incorporate structure:
- Add three large eggs individually, mixing thoroughly after each addition while scraping down your bowl sides frequently. This methodical approach prevents overmixing while ensuring complete incorporation of each egg for proper structure.
- Enhance creaminess:
- Fold in half cup sour cream and quarter cup heavy cream using gentle motions to preserve the air incorporated during previous mixing. These ingredients contribute significant richness while maintaining proper density.
- Stabilize your mixture:
- Mix in two tablespoons all purpose flour and quarter teaspoon salt just until combined. This minimal flour addition helps prevent cracking without compromising the characteristic cheesecake texture.
- Bake with protection:
- Place your foil wrapped springform pan in a water bath, maintaining consistent 325°F temperature for approximately fifty five minutes until edges appear set while center retains slight jiggle. The water bath provides gentle, even heating that prevents cracks and ensures smooth texture.
- Cool gradually:
- Turn off your oven, crack the door open slightly, and allow the cheesecake to cool slowly for one hour before removing to room temperature. This prevents the sudden temperature change that often causes dramatic sinking and cracking.
 Pin it
My aunt taught me to always check my springform pan for leaks before adding the filling by filling the foil wrapped pan with water and watching for drips. This simple test saved countless cheesecakes from becoming soggy disasters and remains my most valuable baking lesson. Her attention to detail transformed my baking from acceptable to exceptional.
Elegant Presentation Tips
Create a stunning display by arranging chocolate dipped strawberries in concentric circles atop your chilled cheesecake, alternating berry direction for visual interest. Drizzle additional ganache in delicate patterns across the surface, allowing some to gracefully cascade down the sides. This careful arrangement transforms a delicious dessert into an unforgettable visual experience suitable for weddings, anniversaries, and other significant celebrations.
Flavorful Adaptations
Explore seasonal variations by substituting raspberries or cherries when strawberries aren't at their peak. Consider incorporating orange or raspberry liqueur into the ganache for sophisticated flavor complexity. For chocolate enthusiasts, fold melted chocolate directly into a portion of the cheesecake batter before baking, creating a marbled effect that provides both visual interest and flavor variation throughout each slice.
Storage Success Strategies
Preserve freshness by storing your assembled cheesecake in the refrigerator, covering loosely with foil rather than plastic wrap which can damage the decorative elements. This dessert maintains optimal quality for up to four days when properly refrigerated. For make ahead convenience, prepare the cheesecake base and chocolate covered strawberries separately, assembling just before serving to maintain the integrity of each component.
 Pin it
Having taught numerous baking workshops, I've observed that patience makes the greatest difference between adequate and extraordinary cheesecakes. Rushing any step from bringing ingredients to room temperature through the cooling process invariably compromises results. When students learn to embrace the methodical nature of cheesecake preparation, their results improve dramatically. This dessert rewards attention to detail with a truly magnificent eating experience that creates lasting memories around your table.
Frequently Asked Questions
- → Can I make this Chocolate Covered Strawberry Cheesecake ahead of time?
- Yes, this cheesecake is perfect for making ahead! It actually tastes better when made a day in advance. The cheesecake needs at least 4 hours to chill and set properly, so preparing it the day before serving is ideal.
- → How do I prevent my cheesecake from cracking?
- To prevent cracks, make sure your ingredients are at room temperature before mixing, don't overmix the batter, bake at the proper temperature, and cool gradually by turning off the oven and leaving the door slightly open for an hour before removing the cheesecake.
- → Can I freeze this Chocolate Covered Strawberry Cheesecake?
- You can freeze the cheesecake without the strawberry topping for up to 2 months. Wrap it tightly in plastic wrap and aluminum foil. Thaw overnight in the refrigerator and add fresh strawberries before serving.
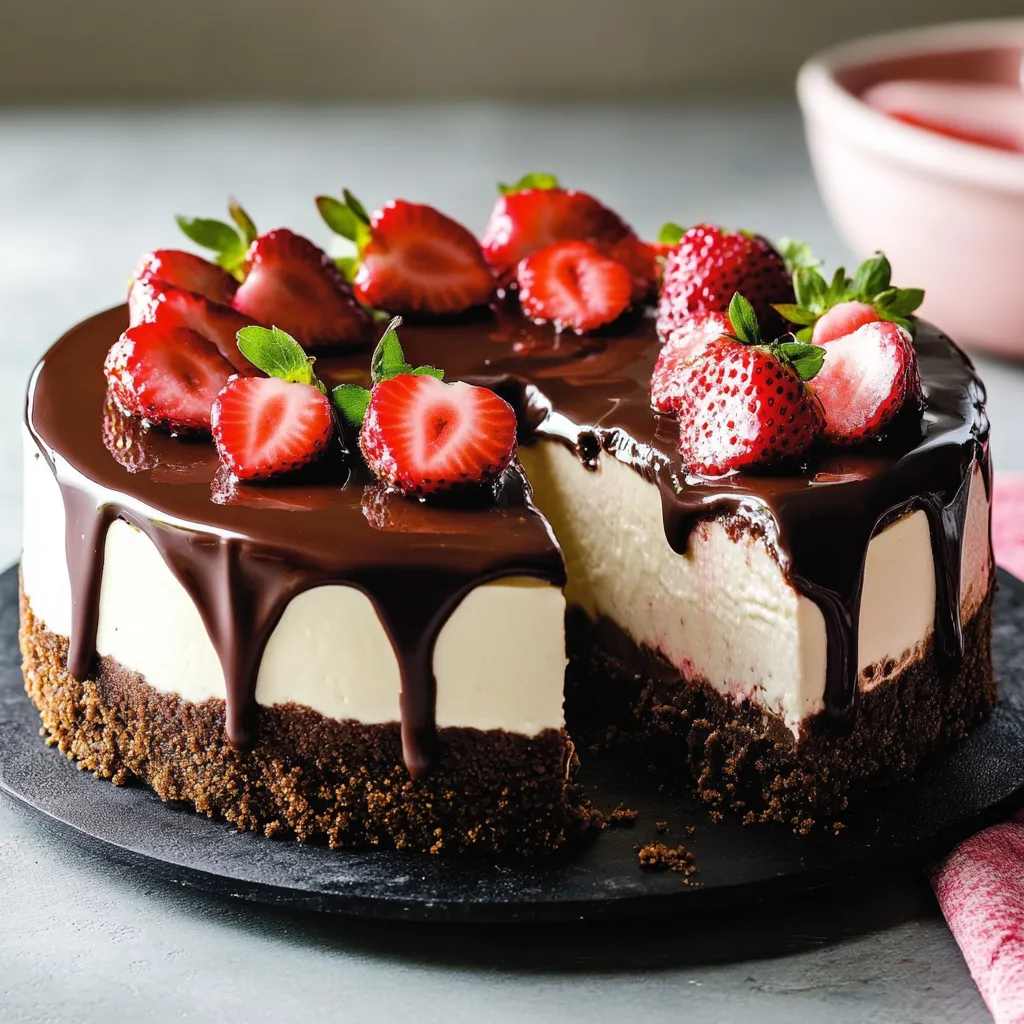
- → What's the best way to slice this cheesecake cleanly?
- For clean slices, dip a sharp knife in hot water and wipe it dry before each cut. This helps the knife glide through the ganache and filling smoothly without dragging or creating messy edges.
- → Can I use a different fruit instead of strawberries?
- While strawberries pair perfectly with the chocolate, you can substitute raspberries, blackberries, or sliced cherries if preferred. Just make sure to choose fruits that complement chocolate well.
- → How do I know when my cheesecake is done baking?
- A properly baked cheesecake will have set edges with a slight jiggle in the center (about a 2-3 inch circle). It will continue to set as it cools. If the entire cheesecake is jiggly, it needs more time.