
 Pin it
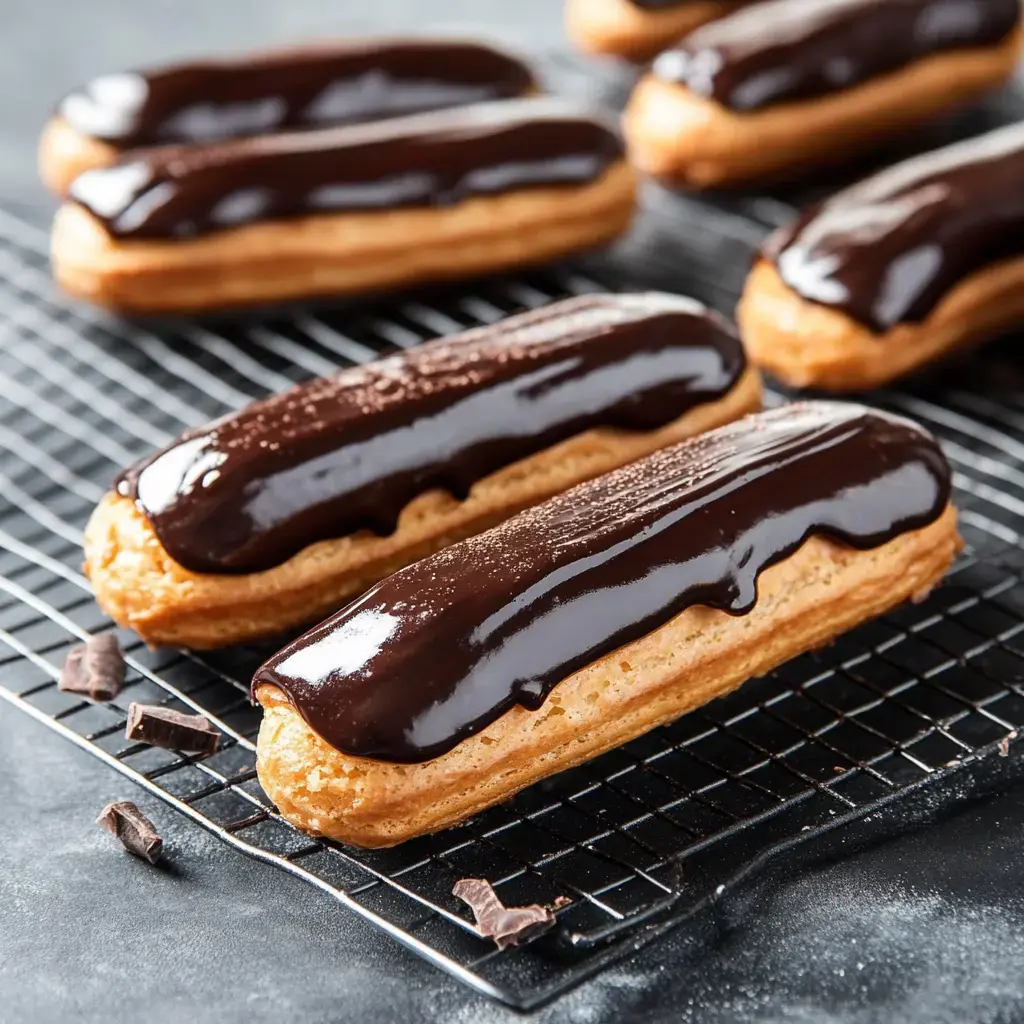
I've spent years perfecting these Chocolate Eclairs and I'm so excited to share my secrets with you. These beauties have the most incredible crispy shells filled with silky smooth pastry cream and topped with glossy chocolate. Trust me once you try making these at home you'll never look at store-bought the same way.
Why This Recipe Works Every Time
I've been making these eclairs for over 30 years tweaking and perfecting the recipe along the way. Whether you're just starting out or you've been baking for years I'll walk you through every step. From piping to glazing I've included all my tips and tricks so you can create bakery-worthy eclairs in your own kitchen.
Everything You Need
- Choux Pastry: This magic dough puffs up beautifully with just water butter flour and eggs.
- Pastry Cream: Choose vanilla or chocolate both are absolutely divine.
- Chocolate Glaze: My special mix of chocolate cream butter and corn syrup gives the perfect shine.
- Eggs: These are crucial for getting that perfect puffy texture.
- Silpat Mat: My secret weapon for perfectly baked shells every time.
Let's Make Them Together
- Making Your Choux
- Start by bringing your water butter salt and sugar to a boil. Add your sifted flour cook it for a few minutes then let it cool before beating in your eggs one at a time until it's silky smooth.
- Piping Perfect Shells
- Use your French star tip to pipe nice 4-inch lines. Keep your pressure steady and hold the bag at an angle for the best shape.
- Baking to Perfection
- Pop them in a 375°F oven for about 25 minutes then prick each one to let the steam escape. Give them another few minutes until they're gorgeously golden.
- Adding the Filling
- Once they're cool use your Bismarck tip to fill them with that luscious pastry cream.
- The Final Touch
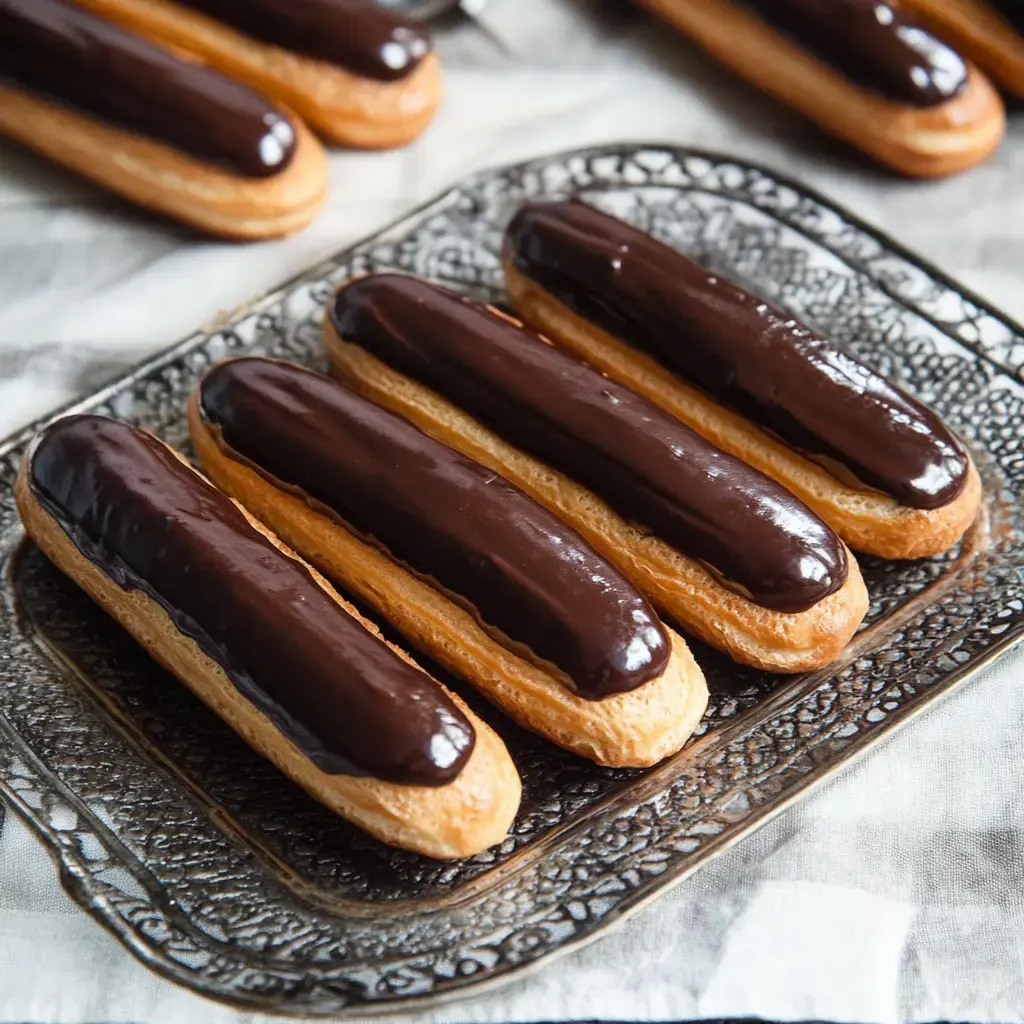
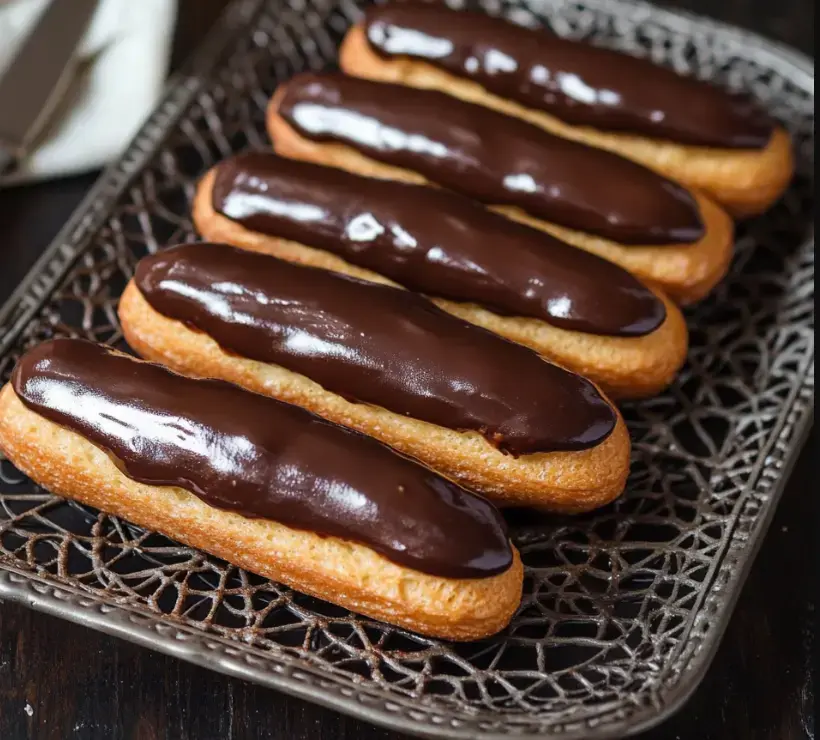
- Dip each one in your warm chocolate glaze let the excess drip off then let them set until the chocolate firms up.
 Pin it
Fixing Common Problems
If your eclairs come out flat you might be using too many eggs or opening the oven too soon. Getting sunken bottoms? My Silpat mat trick will fix that. For those pesky cracked tops make sure you're dissolving your salt and sugar completely use that French star tip and try lowering your oven temperature a bit.
My Best Tips
Always weigh your ingredients it makes such a difference. When you're piping make the ends slightly thicker they'll hold their shape better. Don't take them out until they're deep golden brown that's how you get that perfect crispy shell. And don't forget to prick them near the end of baking it lets out the steam and keeps them from collapsing.
Different Filling Choices
I love classic vanilla pastry cream but chocolate is amazing too. Want something lighter? Try my diplomat cream it's pastry cream mixed with whipped cream so dreamy. And that chocolate glaze with cream and butter makes everything look so professional.
Keeping Them Fresh
These are best enjoyed within 12 hours of filling that's when they're absolutely perfect. If you have any left pop them in an airtight container in the fridge they'll keep for 2 days. The shells might soften a bit but if you've baked them right they won't get soggy.
Tools You'll Need
Grab some good piping bags and French star tips they make such a difference in how your eclairs look. That Silpat mat is worth every penny for perfect baking. Half sheet pans give you even baking and great cooling space. And don't forget your whisks and silicone spatulas for those smooth creams and glazes.
 Pin it
Frequently Asked Questions
- → Why do we need to prick the eclairs during baking?
- Pricking the eclairs releases steam and helps them maintain their shape. This step is crucial for achieving crispy shells that won't collapse when cooling.
- → Can I make these ahead of time?
- Yes, unfilled pastry shells can be frozen and stored in an airtight container. Thaw overnight and crisp in the oven briefly before filling. Fill shells just before serving for best results.
- → Why use bread flour instead of all-purpose?
- Bread flour creates thicker, sturdier shells due to its higher protein content. While all-purpose flour works, bread flour produces better structural results.
- → How do I know when the choux pastry is ready?
- The dough should be glossy and form a V-shape when lifted with a spatula. It should not be too runny or too stiff. The consistency test is crucial for success.
- → How should I store filled eclairs?
- Filled eclairs can be frozen in a single layer, then stored in an airtight container with parchment between layers. Defrost at room temperature for about an hour before serving.