
 Pin it
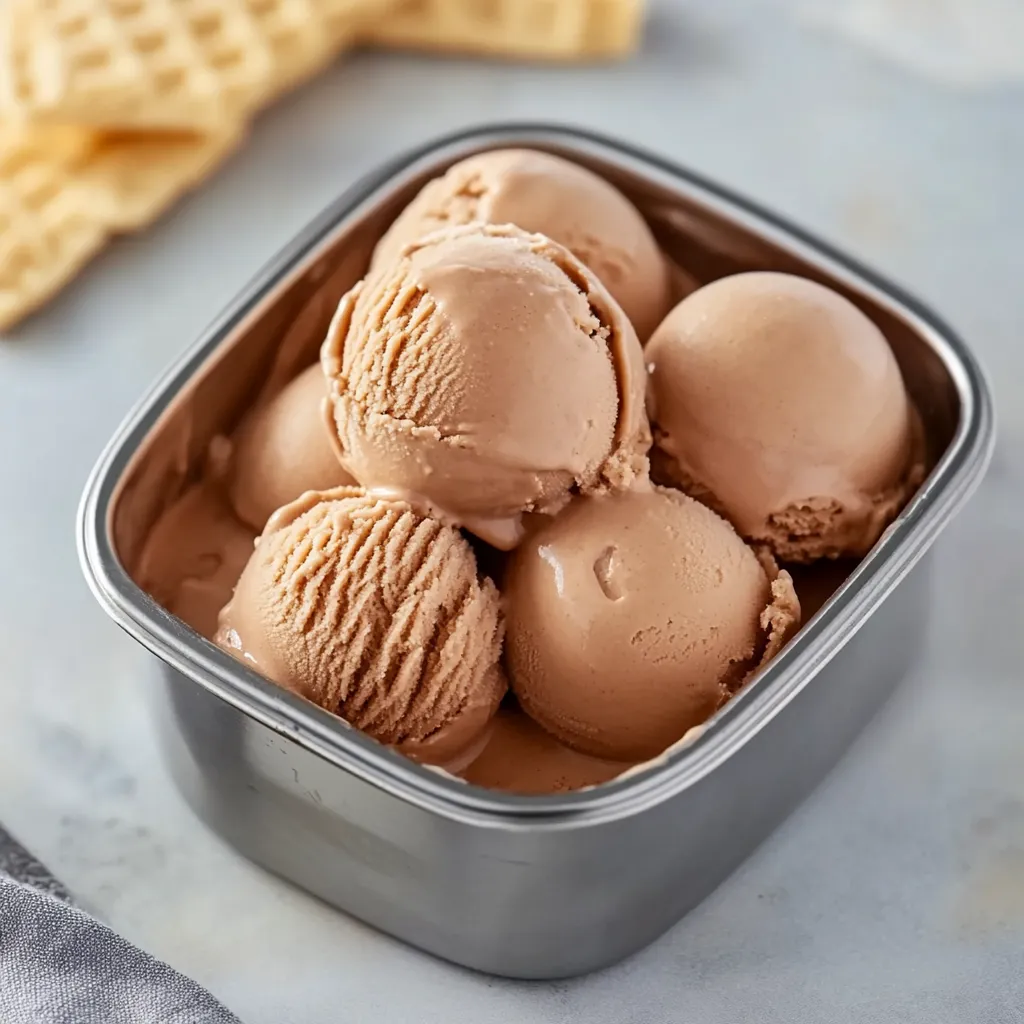
Dairy-free chickpea ice cream is my secret for rich chocolatey dessert that surprises everyone with its creamy texture and plant-based goodness. I wanted something decadent but without the dairy or nuts and after a lot of kitchen experiments this recipe checks every box. The chickpeas vanish right into the smooth base while chocolate and sunflower seed butter make it luscious and rich.
The first time I made this my friends could not believe it was dairy free and loaded with chickpeas. Now it is my go-to whenever I want to wow both my vegan and non-vegan guests.
Ingredients
- Plain unsweetened plant-based milk: Such as soy or oat brings body and subtle flavor look for versions with minimal gums and a creamy mouthfeel
- Cocoa powder: Gives deep chocolate flavor choose Dutch process if you want extra smoothness
- Corn starch or arrowroot: Acts as the thickener for that rich ice cream consistency check for freshness by squeezing the bag and feeling it is lump free
- Cooked chickpeas: Provide protein creaminess and a neutral base use home-cooked or canned but drain and rinse well
- Organic cane sugar: Balances the chocolate and adds sweetness I go just under half a cup so it is not cloying
- Salted sunflower seed butter: Makes it extra creamy and nut free if yours is unsalted add an extra pinch of salt choose smooth and unsweetened for best results
- Vanilla essence: Deepens the chocolate notes seek out pure vanilla for fullest flavor
- Fine sea salt: Brightens and sharpens the overall flavor make sure it dissolves easily
- Dairy free chocolate: With sixty to sixty five percent cocoa solids brings the fudge factor opt for high quality bars and chop finely so it melts smoothly
Step-by-Step Instructions
- Prepare the Freezer Bowl:
- Before you do anything else make sure your ice cream maker canister has been in the freezer for at least a full day. This step is not optional if you want scoopable creamy ice cream and not an icy mess. Once you churn the finished mixture it will need a couple more hours in the freezer so plan ahead.
- Make the Cocoa Pudding:
- Put one cup of your plant milk into a small saucepan. Whisk in the cocoa powder and cornstarch until completely mixed with no lumps. Set the pan over medium heat and keep whisking so nothing sticks on the bottom. As soon as bubbles start to form turn down the heat to medium low and whisk continuously until it noticeably thickens and looks like creamy pudding. This takes about one to two minutes. Remove from heat and let it sit while you prep the rest.
- Blend Chickpeas and Flavors:
- In your blender pour the remaining cup of milk. Add the chickpeas cane sugar sunflower seed butter vanilla and sea salt. Blend at high speed for at least a full minute until totally smooth and creamy. There should be no bits visible and the texture should be silky. Taste for sweetness and salt at this stage if you want to adjust.
- Melt and Add Chocolate:
- Chop your chocolate finely so it melts easily. Either use a double boiler or put it in a microwave safe bowl and use short intervals stir often until the chocolate is smooth and glossy no lumps. Immediately pour this melted chocolate into your blender with the other mixture. Blend again until everything is perfectly incorporated and as glossy as a milkshake.
- Combine Cocoa Pudding and Final Blending:
- Scoop the cooled cocoa pudding from earlier into the blender. Blend everything one more time until no streaks remain and the mixture is totally uniform. It is important that everything is at room temperature or just a little warm but not hot. If needed place the whole blender in the fridge for up to an hour before churning.
- Churn the Ice Cream:
- Set up your ice cream maker according to the instructions for your machine. Pour the blended mixture into the cold canister. Let the churn run until the mixture looks like thick soft serve. For most home machines this stage will take twenty to twenty five minutes but watch closely. When ready it should mound up easily on a spoon.
- Freeze to Set and Enjoy:
- Transfer the churned ice cream into a freezer safe container. Smooth the top and cover tightly. Place in your freezer for two to three hours minimum to firm up. When ready to serve let it rest at room temperature a few minutes so it is scoopable with an ice cream scoop. Once you taste that first silky chocolatey bite you will be hooked.
 Pin it
I adore how the sunflower seed butter creates lusciousness without nuts so no one worries about allergies at potlucks. My favorite memory is serving cones at my niece’s birthday and watching everyone try to guess the magic ingredient after the first bite.
Storage Tips
After the initial freezing the texture stays scoopable for several days if stored in a well sealed container. If the ice cream gets very firm simply let it sit out for five to ten minutes to soften gently. Try pressing parchment directly on the surface to prevent ice crystals. For the best flavor eat within ten days but honestly it never lasts that long in my freezer.
Ingredient Substitutions
You can swap oat milk for soy if you prefer a lighter flavor. Almond butter or tahini also work in place of sunflower seed butter if allergies are not a concern though each will add a hint of their own personality to the base. If you are out of cornstarch arrowroot powder thickens just as well.
Serving Suggestions
I love topping a scoop with fresh berries or a sprinkle of chopped dairy free chocolate for crunch. This ice cream also makes a fabulous base for vegan ice cream sandwiches or layered parfaits with fruit and granola. For an extra decadent treat drizzle with a little warm sunflower seed butter or a shot of espresso.
Cultural and Historical Context
Chickpeas have been used in desserts in various Middle Eastern and South Asian cuisines but recently cooks have discovered how they create natural creaminess in modern plant-based recipes. This innovative approach makes it possible to enjoy decadent treats with simple ingredients in a way that honors both health and comfort food tradition.
 Pin it
This recipe has turned many skeptics into chickpea dessert believers and it is so forgiving you can tweak the flavors each time. Once you try it you will never look at chickpeas the same way again.
Frequently Asked Questions
- → How does chickpea add creaminess?
Chickpeas blend smoothly and help provide body and rich texture, making the frozen treat extra creamy without dairy.
- → Can I use other plant-based milks?
Yes, soy and oat milk both work well. Almond or cashew milk can be substituted if there are no nut allergies.
- → Is the chocolate flavor strong?
Yes, cocoa powder and melted chocolate combine for an intense, rich chocolate taste in each bite.
- → Do I need an ice cream maker?
For best results, use an ice cream maker to churn the mixture. Manual methods won't achieve the same silky consistency.
- → How do I prevent ice crystals?
Blend ingredients thoroughly and let the base fully chill before churning for smoother, creamier texture.
- → How long does it keep in the freezer?
Stored in an airtight container, it will keep for up to two weeks. Let it sit at room temperature a few minutes before scooping.