
 Pin it
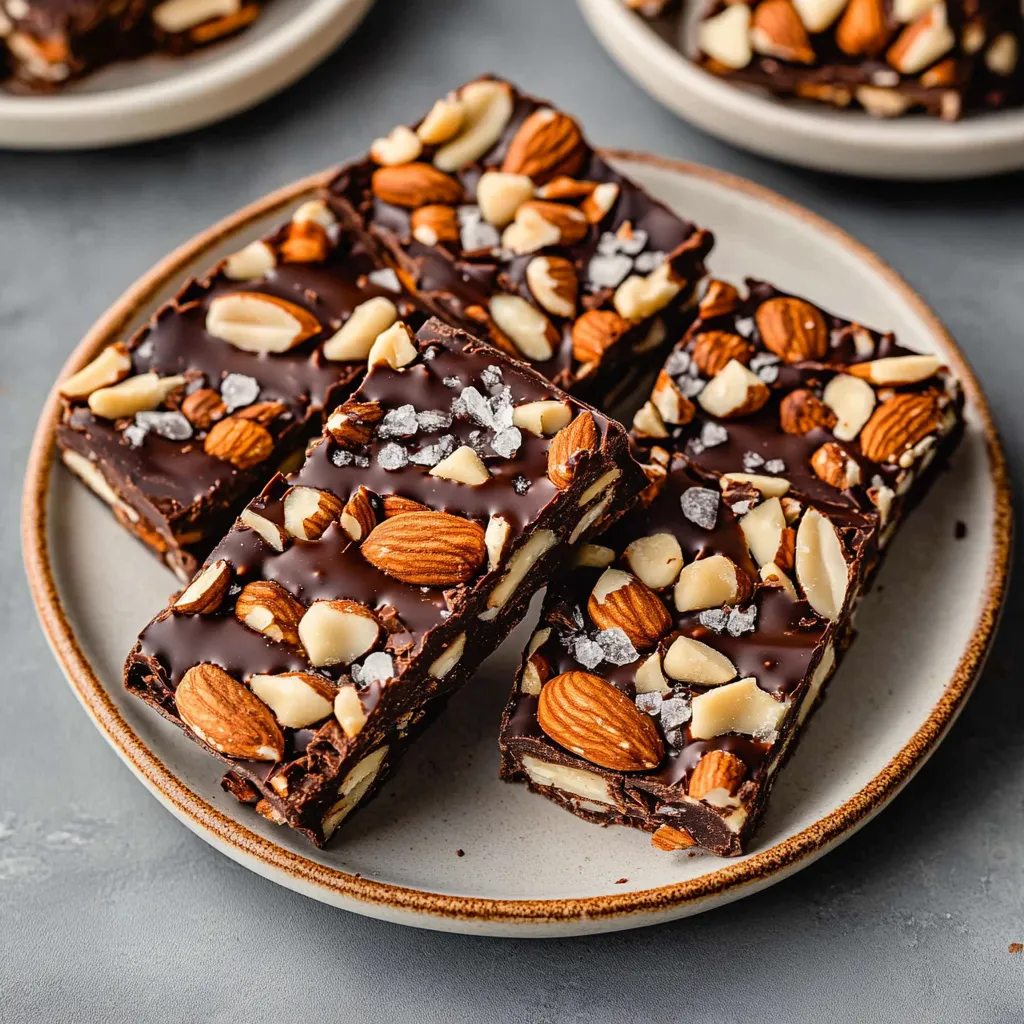
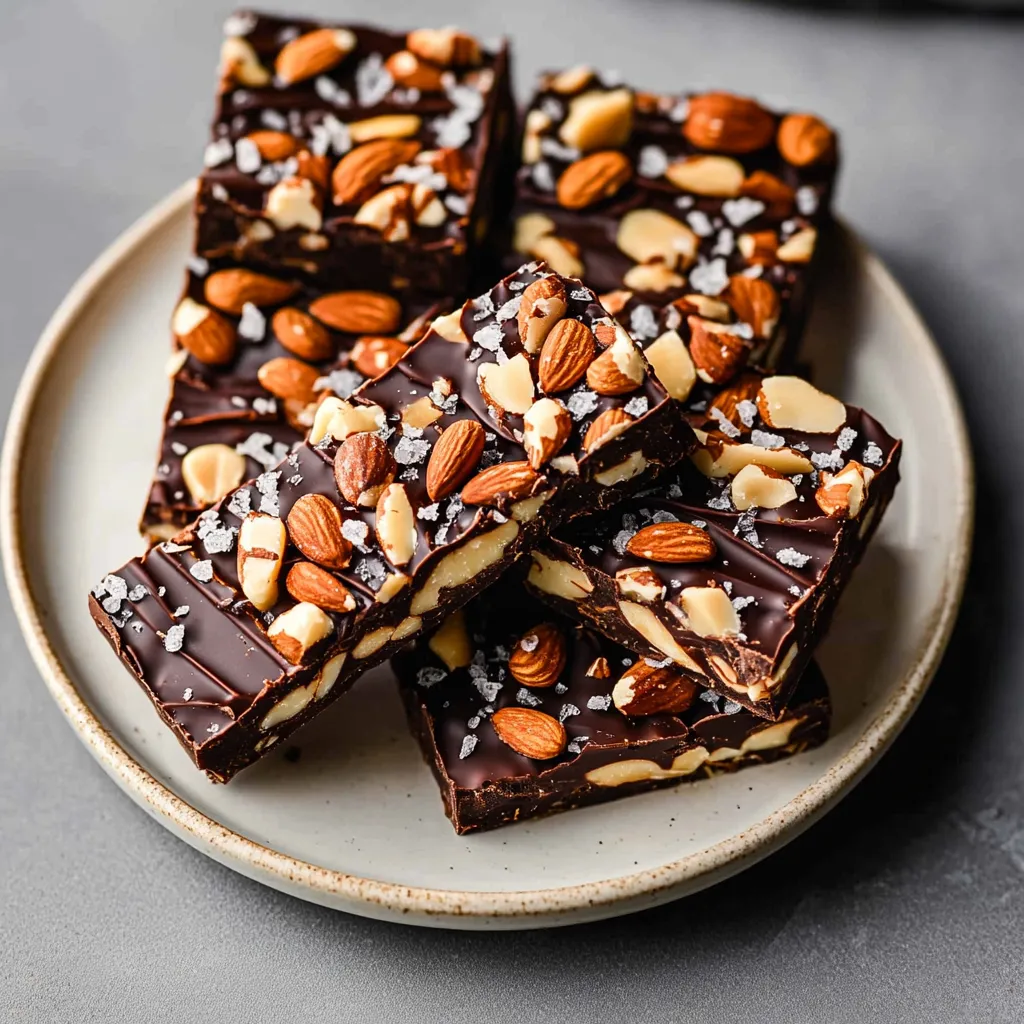
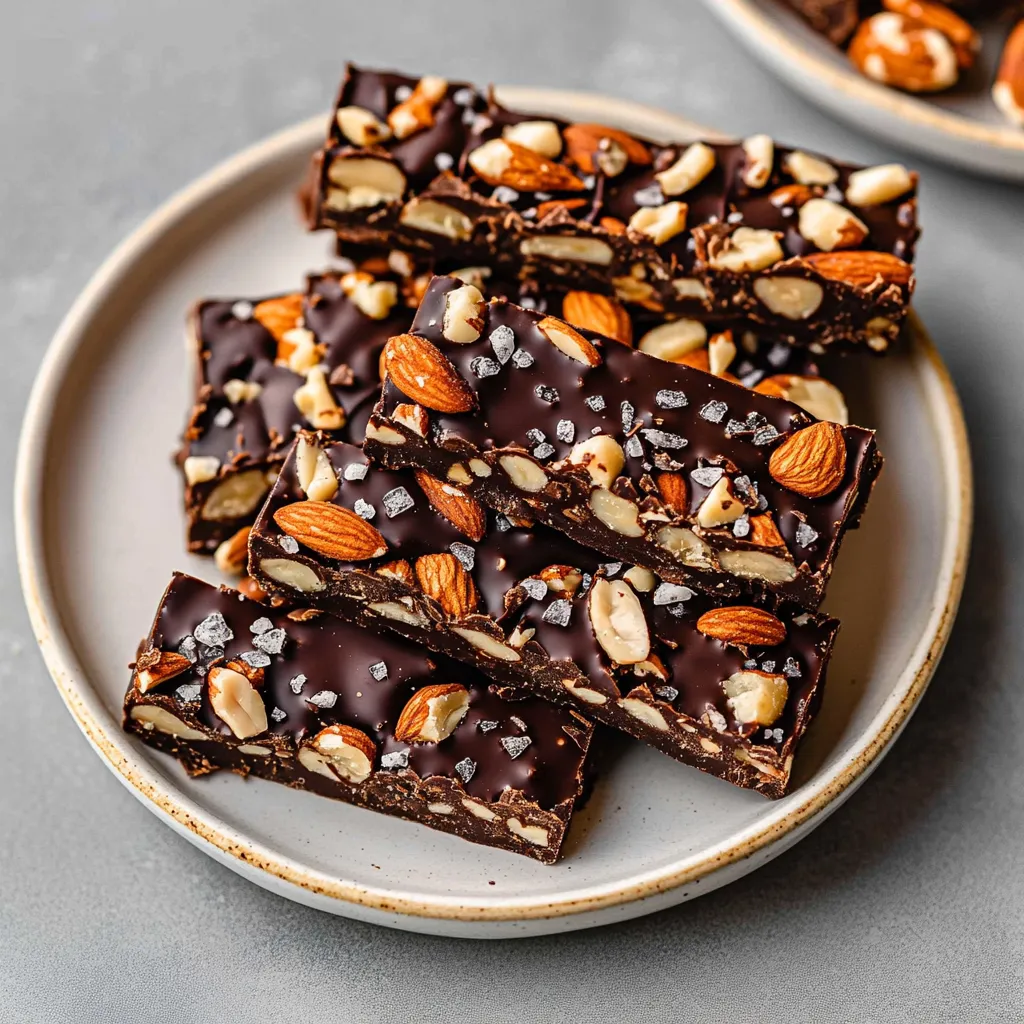
This dark chocolate and sea salt nut bar recipe transforms simple ingredients into an irresistible homemade snack that rivals anything store-bought. The perfect balance of crunchy nuts, toasty flavors, and rich chocolate creates bars that are both satisfying and nourishing.
I first made these bars when looking for hiking snacks that wouldn't melt in summer heat. They've since become my go to gift for friends who appreciate homemade treats with a gourmet touch.
Ingredients
- Unsalted mixed nuts: Create the sturdy base and provide protein and healthy fats, choose a variety for interesting texture and flavor
- Puffed rice: Adds lightness and crunch without weighing down the bars
- Brown rice syrup: Works as the perfect binder that stays chewy, not brittle
- Vanilla extract: Brings warmth and depth that enhances the nuts' natural flavor
- Sea salt: Balances the sweetness and makes the flavor pop
- Dark chocolate chips: Provide that luxurious coating, choose 70 percent cocoa for best results
- Coconut oil: Helps the chocolate melt smoothly and creates the perfect consistency when set
- Flaky salt: For finishing, adds texture and intense bursts of saltiness that contrast beautifully with the chocolate
Step-by-Step Instructions
- Toast the Nuts:
- Spread your chosen nuts in a single layer on a baking sheet and bake at 325°F for 5–8 minutes until they become aromatic and slightly darker. This critical step enhances their natural oils and creates deeper nutty flavors that make these bars exceptional. Watch carefully during the final minutes as nuts can burn quickly.
- Prepare the Pan:
- Line your 8x8 inch pan with parchment paper leaving overhang on the sides. This creates handles that will make removing the bars effortless after baking. A light spray of cooking oil on the pan before adding parchment prevents shifting.
- Combine Dry Ingredients:
- Mix your toasted nuts with the puffed rice in a large bowl, ensuring even distribution. The puffed rice should be distributed throughout rather than concentrated in one area for consistent texture in every bite.
- Prepare the Binding Syrup:
- Warm the brown rice syrup in the microwave for precisely 30 seconds to achieve the perfect pourable consistency. Immediately whisk in the vanilla and salt until completely incorporated. The warm syrup will enrobe the nuts more effectively than room temperature syrup.
- Mix and Press:
- Pour the warm syrup mixture over your nut mixture and stir quickly with a sturdy spatula until every piece is coated. Work fast as the syrup begins to set as it cools. Transfer to your prepared pan and press firmly using the back of a measuring cup or your fingers wrapped in parchment to create a compact, even layer.
- Bake to Set:
- Bake the pressed mixture for 18–20 minutes until slightly golden and aromatic. The edges might appear slightly darker, which is perfect. The mixture will still seem soft when hot but firms up during cooling.
- Cool and Cut:
- Allow the baked slab to cool for about 30 minutes in the pan until firm enough to handle but still slightly warm. Use the parchment handles to transfer to a cutting board. Cut lengthwise first, then into bars while still slightly warm for cleaner edges. Let cool completely before dipping.
- Apply Chocolate Coating:
- Melt chocolate chips with coconut oil in 30-second microwave intervals, stirring between each until completely smooth. Dip the bottom of each cooled bar into the chocolate, allowing excess to drip off. Place chocolate side down on parchment-lined sheet. Drizzle remaining chocolate across the tops in a decorative pattern.
 Pin it
Brown rice syrup is my secret ingredient here. I discovered it after years of struggling with honey and maple syrup bars that never quite set properly. Its neutral flavor allows the nuts and chocolate to shine without competing sweetness.
Storage Solutions
These nut bars keep beautifully at room temperature in an airtight container with parchment between layers for up to one week. For longer storage, refrigerate them for up to three weeks. The bars can also be individually wrapped and frozen for up to three months. I often make a double batch specifically for freezing so I always have a wholesome snack ready. Allow frozen bars to thaw at room temperature for about 30 minutes before enjoying.
Ingredient Alternatives
If brown rice syrup isn't available, honey makes a suitable substitute, though the bars will have a distinct honey flavor and slightly different texture. For those avoiding certain nuts, sunflower and pumpkin seeds work wonderfully in place of tree nuts. The puffed rice can be replaced with other crispy elements like crushed rice cereal, quinoa puffs, or even crushed pretzels for an interesting twist. Milk chocolate can replace dark chocolate for a sweeter version that appeals to children.
Perfect Pairings
These sophisticated bars deserve thoughtful accompaniments. Serve alongside a robust coffee or espresso for an afternoon pick-me-up. For dessert, pair with a glass of port wine or bourbon for an elegant after-dinner treat. I've found they make a delightful addition to cheese boards, particularly alongside aged cheddar or gouda. For a special breakfast, crumble a bar over Greek yogurt with fresh berries for a nutritious start to your day.
 Pin it
These nut bars combine elegance with ease—one of the best indulgent rewards for your creativity in the kitchen.
Frequently Asked Questions
- → Can I substitute the brown rice syrup?
Yes, you can substitute brown rice syrup with honey or maple syrup, though the bars may be slightly less firm. Corn syrup would provide a similar binding texture if you're not concerned about keeping them natural.
- → How should I store these nut bars?
Store the bars in an airtight container in the refrigerator for up to 2 weeks. They can also be frozen for up to 3 months—just separate layers with parchment paper to prevent sticking.
- → Can I use different nuts?
Absolutely! Feel free to customize the nut mixture with your favorites like walnuts, pecans, hazelnuts, or macadamias. Just maintain the same total quantity (2½ cups) to ensure proper binding.
- → What can I use instead of puffed rice?
Puffed quinoa, puffed millet, or even crispy rice cereal can be substituted for the puffed rice. Each will provide a similar light, crunchy texture to balance the nuts.
- → Are these bars gluten-free?
Yes, these bars are naturally gluten-free as long as you verify that your puffed rice and chocolate chips don't contain any gluten-containing additives or cross-contamination.
- → Can I make these vegan?
These bars are already vegan as written, as they use coconut oil instead of butter and dark chocolate chips (just double-check your chocolate doesn't contain milk solids if strict vegan compliance is needed).