
 Pin it
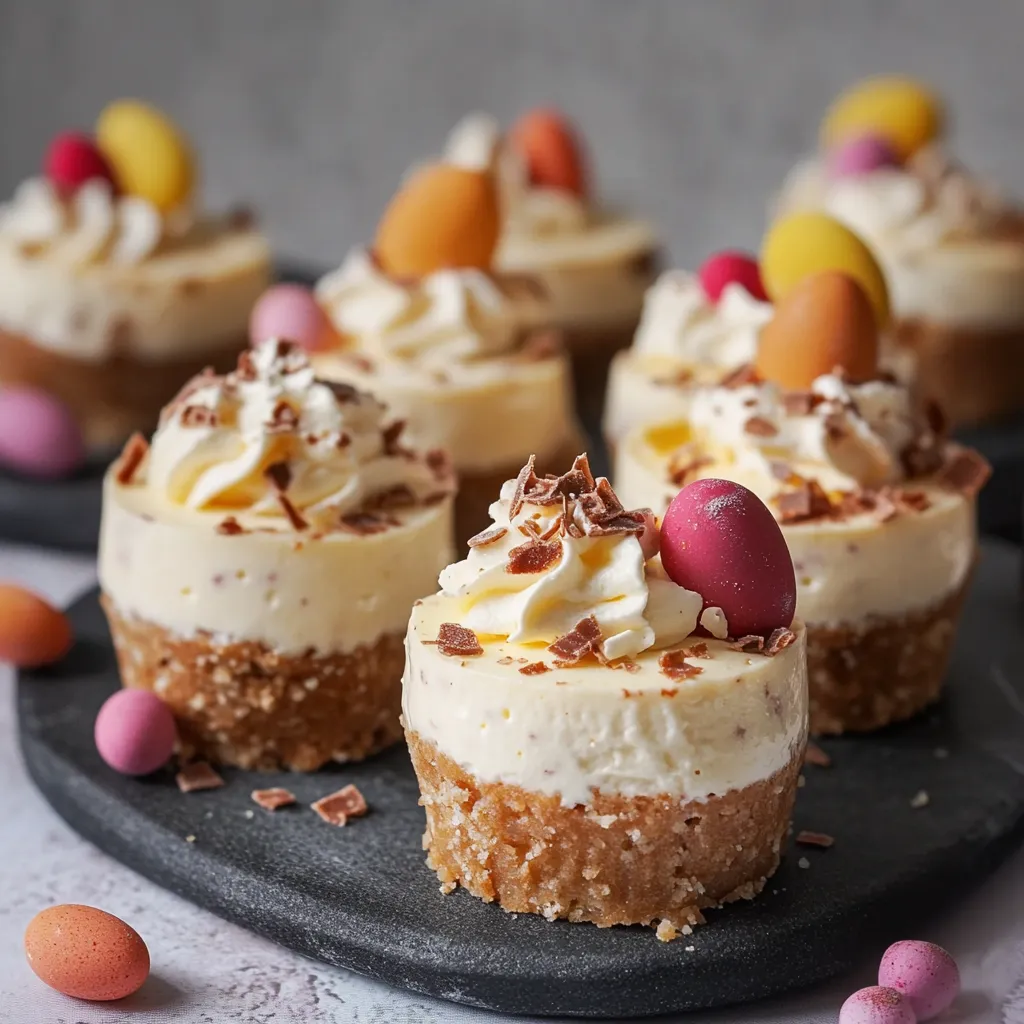
These mini Easter cheesecakes have become my ultimate spring dessert solution whenever I need to impress guests without spending hours in the kitchen. The combination of creamy filling, crunchy base, and festive Easter chocolates creates the perfect seasonal treat that looks professional yet requires minimal effort.
I first made these for a last minute Easter gathering when I was short on time but my guests thought I had spent the entire morning preparing these beautiful treats. Now they're requested at every spring celebration in our family.
Ingredients
- Biscuit Base: Digestive biscuits provide the perfect crumbly texture and subtle sweetness for these cheesecakes
- Unsalted butter: Helps bind the base and adds richness look for good quality European style for best results
- Cheesecake Filling: Full fat soft cream cheese or mascarpone creates that luxurious texture room temperature ensures no lumps
- Icing sugar: Dissolves seamlessly into the mixture for smooth sweetness
- Vanilla extract: Adds depth of flavor use real extract not essence for best results
- Double cream: Provides structure and richness to hold everything together
- Easter chocolates: Bring festive flavor and texture choose your favorites or mix varieties
- Decoration: Double cream whips into beautiful peaks for an elegant finish
- Icing sugar: Stabilizes the whipped cream and adds gentle sweetness
- Sprinkles and grated chocolate: For colorful visual appeal
- Easter chocolates: As the crowning touch create instant festive recognition
Step-by-Step Instructions
- Prepare the Base:
- Process the digestive biscuits until they become fine crumbs with no large pieces remaining. This creates a uniform texture that will hold together perfectly when pressed into the molds. Pour in the melted butter and mix thoroughly until every crumb is coated and the mixture resembles wet sand. Divide evenly between your 12 mini cake molds and press down firmly with the back of a spoon to create a solid foundation.
- Create the Filling:
- Whisk the cream cheese with icing sugar and vanilla until completely smooth and no lumps remain. This is crucial for that silky texture so take your time at this stage. In a separate bowl, whip the double cream until it forms stiff peaks where the cream stands up when the whisk is lifted. Gently fold this into your cream cheese mixture using a spatula with a cutting and folding motion to maintain airiness. Finally, add your crushed Easter chocolates, folding them through carefully to distribute evenly without deflating the mixture.
- Assemble and Set:
- Divide the filling between your prepared bases, carefully spooning it on top and smoothing the surface with the back of a spoon or an offset spatula. Tap the tin gently on the counter to remove any air bubbles. Place in the refrigerator for 3 to 4 hours minimum to set completely. The longer they chill, the more firm and sliceable they become.
- Decorate with Flair:
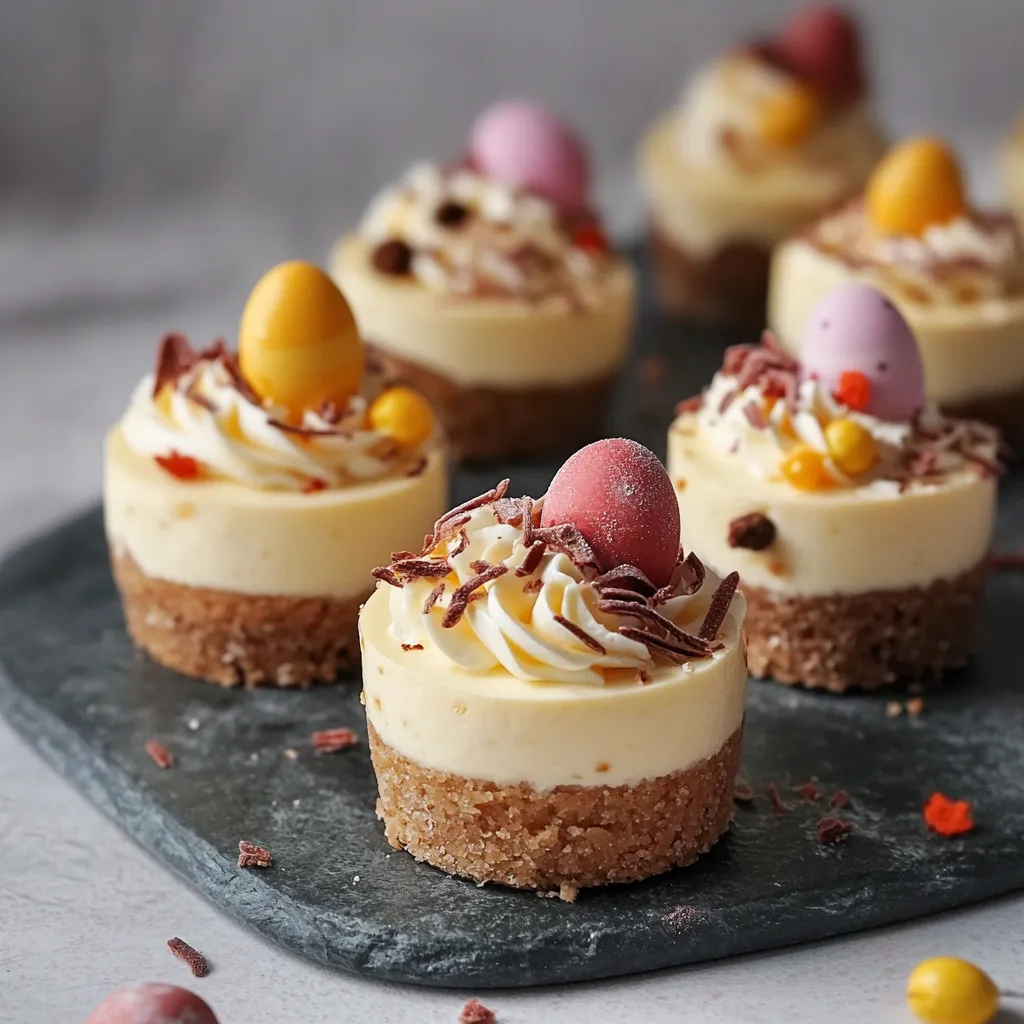
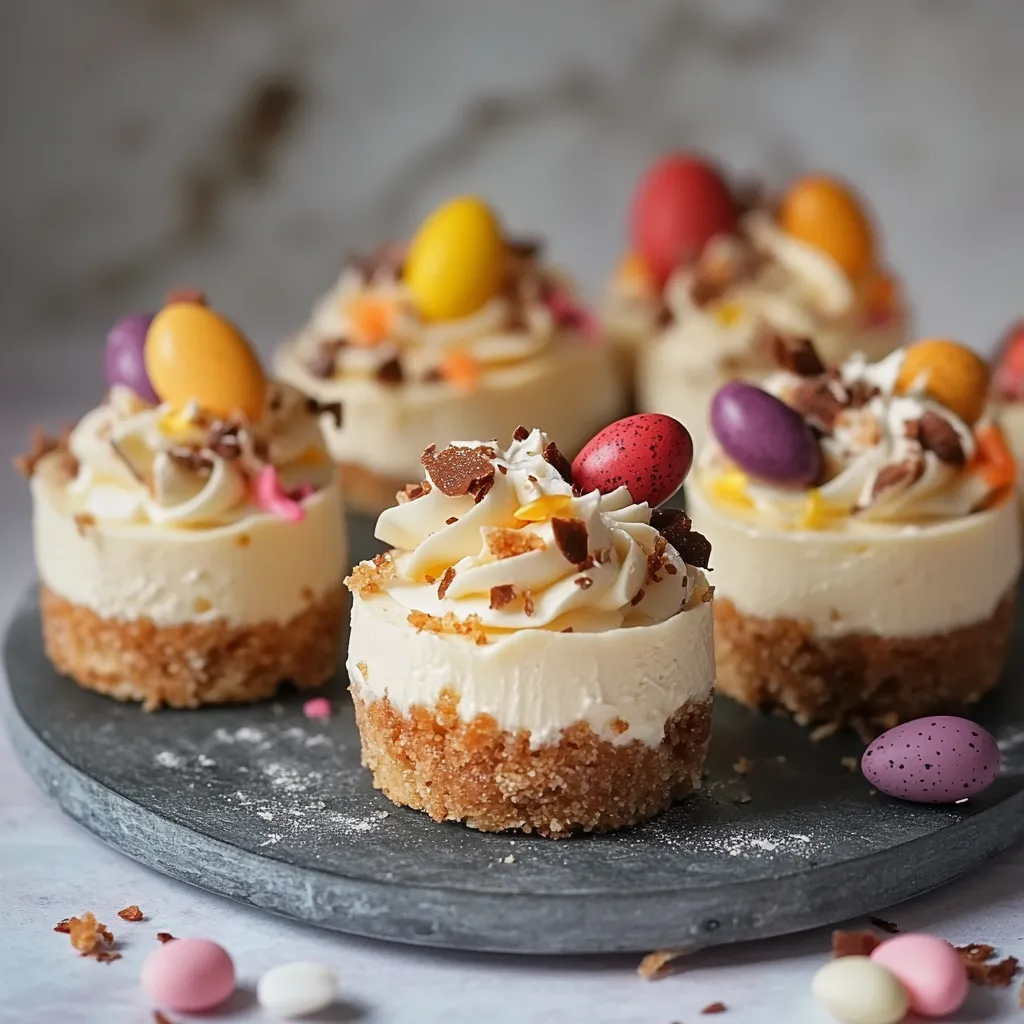
- Remove the set cheesecakes carefully from the molds by running a thin knife around the edges if needed. Whip the decoration cream with icing sugar until it reaches piping consistency thick enough to hold shape but still soft enough to pipe smoothly. Transfer to a piping bag fitted with your favorite star tip and pipe decorative swirls on top of each cheesecake. Finish with a sprinkle of colorful sprinkles, grated chocolate, and position Easter chocolates on top as the crowning glory.
 Pin it
The mini Easter eggs are truly the star of this recipe. The first time I served these, my niece spent a full five minutes just arranging and rearranging the eggs on top of her cheesecake before finally taking that first delicious bite. Now we have a family tradition of everyone decorating their own mini cheesecake at our Easter table.
Make It Your Own
These mini cheesecakes are incredibly versatile. While the recipe calls for Easter chocolates, you can easily adapt this for any season by switching out the decorations. Try fresh berries for summer, chocolate leaves for fall, or peppermint candies for winter celebrations. The base recipe remains the same, just change the mix ins and toppings to suit the occasion or your personal taste preferences.
Troubleshooting Tips
If your cheesecake mixture seems too loose, it likely needs more whipping. Return to the mixer and beat for another minute until the mixture holds its shape when scooped. Conversely, if your mixture becomes too stiff, gently fold in a tablespoon of cold double cream to loosen it slightly. For the smoothest results, ensure all refrigerated ingredients are brought to room temperature before beginning, especially the cream cheese which can remain lumpy if used straight from the fridge.
Serving Suggestions
These mini cheesecakes truly shine when presented as part of a dessert spread. Try pairing them with fresh spring berries, a drizzle of raspberry coulis, or even a small scoop of sorbet for a more elaborate dessert plate. They also pair wonderfully with coffee or dessert wine for an adult gathering. For children, a small glass of cold milk makes the perfect accompaniment to balance the richness of the cheesecake.
 Pin it
These mini treats are the perfect way to celebrate spring with loved ones. Enjoy every bite!
Frequently Asked Questions
- → Can I make these Mini Easter Cheesecakes ahead of time?
Yes, these mini cheesecakes can be made 1-2 days in advance. Store them in the refrigerator until needed, but add the whipped cream topping and decorations shortly before serving for the best presentation.
- → What type of Easter chocolates work best in this dessert?
Mini eggs, chocolate bunnies, or any chocolate-coated Easter candies work wonderfully. Choose chocolates you enjoy eating on their own, as their flavor will infuse the cheesecake filling.
- → Can I use other biscuits for the base instead of digestives?
Absolutely! Graham crackers, shortbread, or Oreos (with filling removed) all make excellent alternatives to digestive biscuits. Just ensure you maintain the same ratio with the melted butter.
- → How do I know when the cheesecake filling is whipped enough?
The cheesecake filling is ready when it holds its shape and forms soft peaks when you lift the whisk. It should be thick enough to spoon into the molds without running but still smooth enough to settle into an even layer.
- → Can I freeze these mini cheesecakes?
Yes, these cheesecakes freeze exceptionally well before decoration. Freeze them in the tin or individually wrapped for up to 3 months. Thaw overnight in the refrigerator and add the cream topping and decorations before serving.
- → What if I don't have a mini cake tin?
You can use silicone cupcake molds, a muffin tin lined with paper liners, or even small glass ramekins. The shape may differ slightly, but the delicious taste will remain the same.