
 Pin it
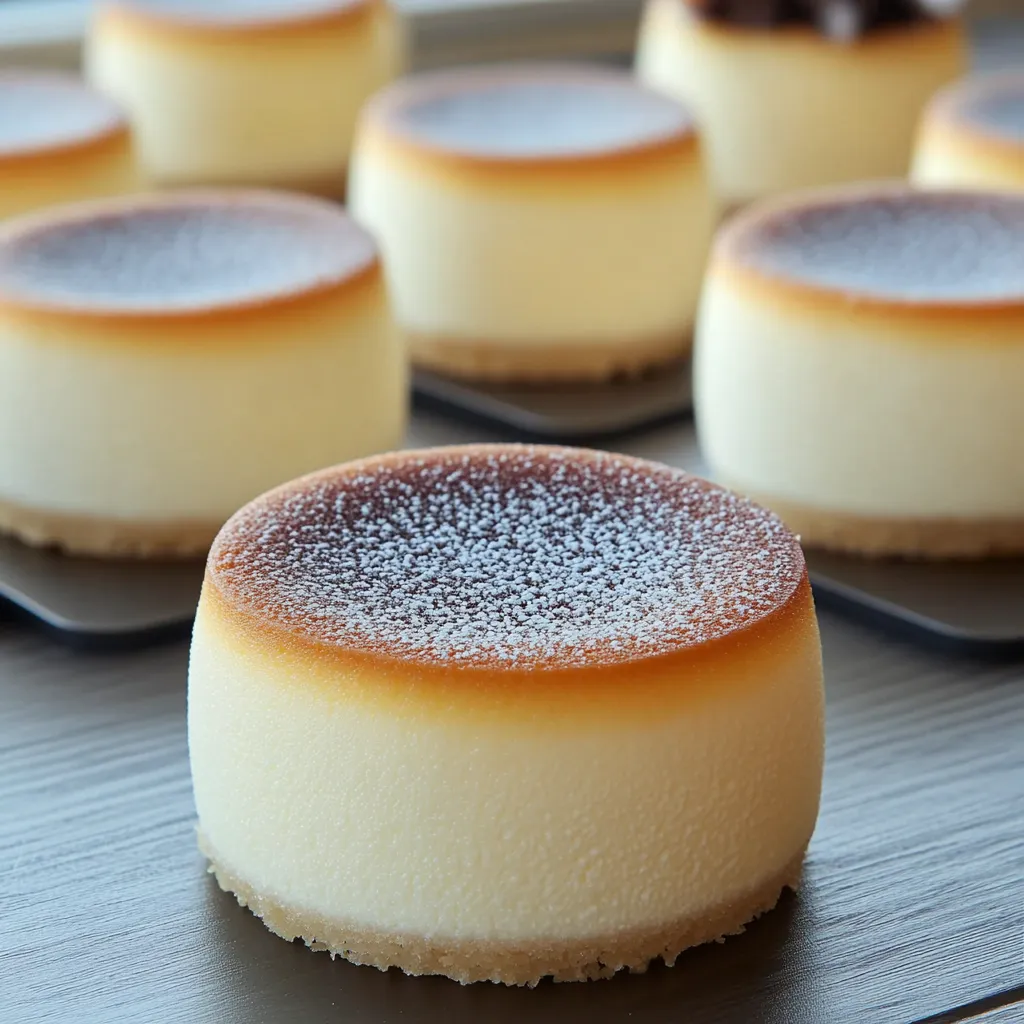
This mini Japanese cheesecake recipe creates light, fluffy, cloud-like treats that melt in your mouth with a delicate sweetness. Unlike traditional heavy cheesecakes, these Japanese versions have a soufflé-like texture that makes them irresistibly light while maintaining that rich cream cheese flavor.
I discovered this recipe during a culinary exploration of Japanese desserts and have been enchanted ever since. The first time I served these at a dinner party, my friends couldn't believe they were homemade and begged for the recipe.
Ingredients
- Liquid milk: Forms the moist base of your cheesecake while adding smoothness to the batter
- Butter: Contributes richness and helps create that melt in your mouth texture
- Cream cheese: Provides the signature tangy flavor; use Philadelphia for best results
- Egg yolks: Add richness and help bind the ingredients together
- Low protein flour: Keeps the texture light and delicate; look for cake flour if possible
- Cornstarch: Further lightens the texture and creates that signature Japanese cheesecake fluffiness
- Egg whites: Whipped properly are the secret to the airy soufflé like quality
- Granulated sugar: Provides sweetness and stability to the meringue
- Lime or lemon juice: Helps stabilize the egg whites for better whipping
- Salt: Enhances all the flavors, especially the subtle sweetness
- Vanilla extract: Adds depth and warmth to the overall flavor profile
Step-by-Step Instructions
- Prepare the baking trays and melt ingredients:
- Line 10 cm round baking trays with baking paper, ensuring no wrinkles. Using a double boiler method, melt the milk, butter, and cream cheese together, stirring constantly until completely smooth. The mixture should be warm but not hot enough to cook egg yolks.
- Combine dry ingredients and egg yolks:
- Add the flour and cornstarch to your warm liquid mixture, whisking vigorously to prevent any lumps from forming. The mixture will thicken slightly. Gently incorporate the egg yolks, one at a time, ensuring each is fully integrated before adding the next. The batter should be silky smooth with a pale yellow color.
- Prepare the egg whites:
- In a completely clean and dry bowl, beat the egg whites with lime juice and salt. Any trace of fat will prevent proper whipping. Start at medium speed until foamy, then gradually increase to high while slowly sprinkling in sugar. Continue whipping until medium stiff peaks form; when you lift your beater, they should stand up with just a slight curl at the tip.
- Combine egg mixtures:
- Strain the egg yolk mixture through a fine sieve directly into the whipped egg whites to remove any lumps. Using a large flat spatula, fold the mixtures together with a gentle downward motion followed by scraping along the bottom of the bowl and lifting up. Rotate the bowl slightly between folds. Continue until no streaks remain but be careful not to deflate the air bubbles.
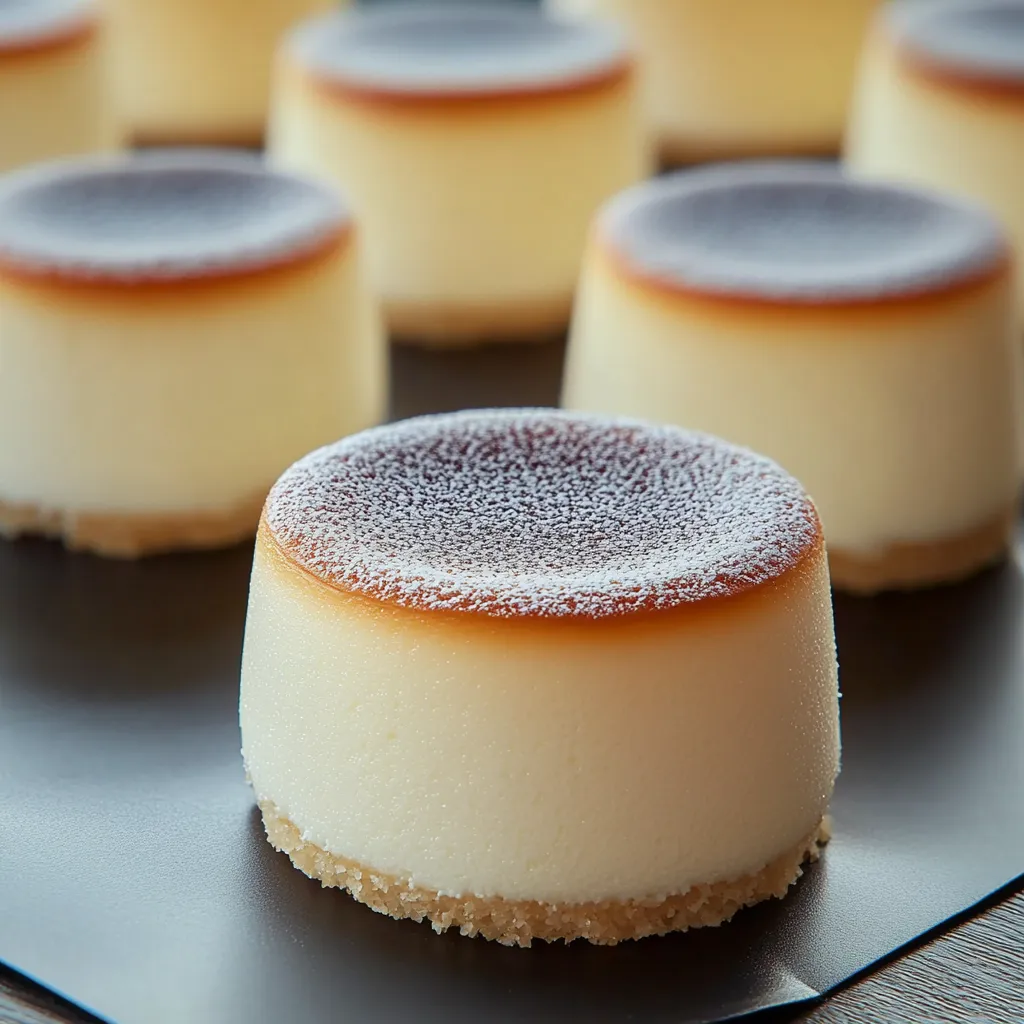
- Portion the batter and bake:
- Carefully pour exactly 70g of batter into each prepared mold. Tap gently to release large air bubbles. Place your filled molds into a larger baking tray and add hot water until it reaches halfway up the sides of your molds. This water bath ensures gentle, even heating. Bake in a preheated oven at exactly 150°C for 60 minutes without opening the door.
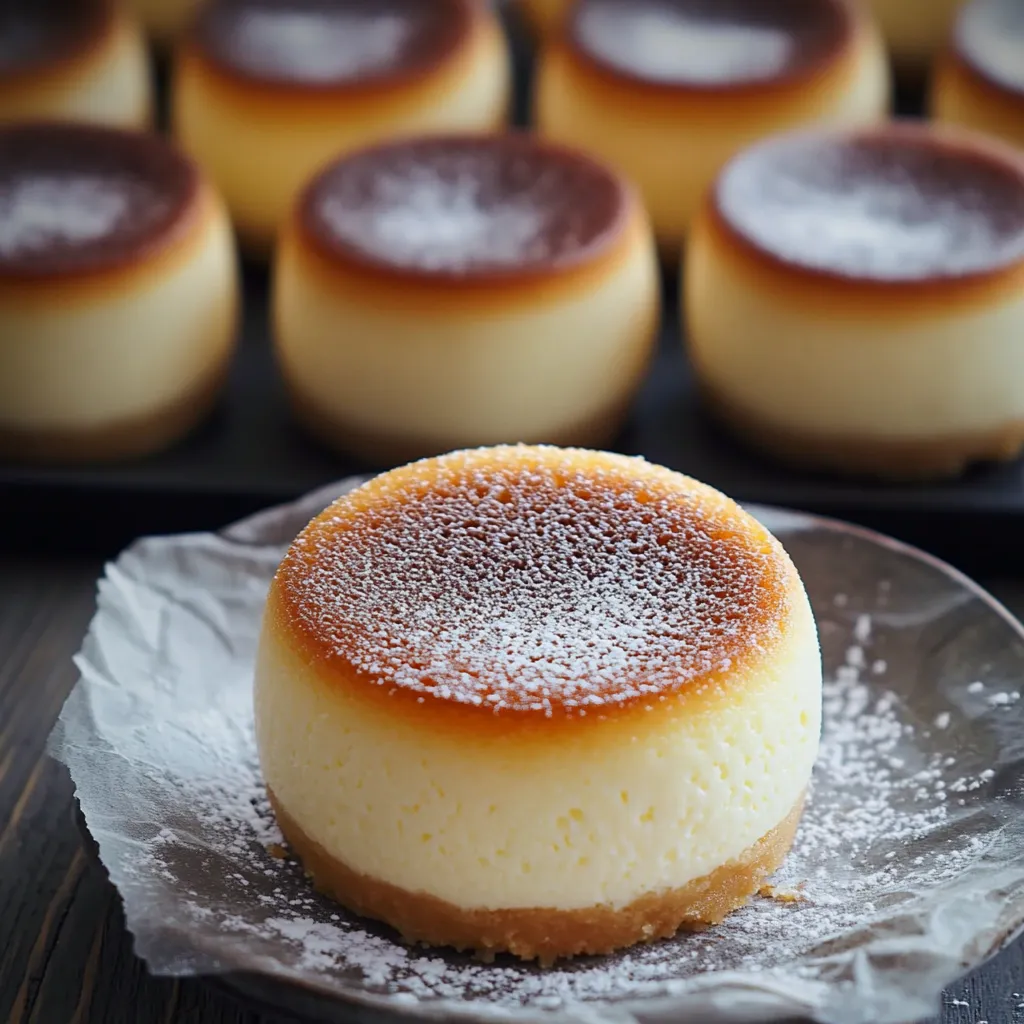
- Cool and serve the cheesecakes:
- After baking, the cakes will have risen dramatically. Gently tap each mold on the counter to prevent sudden deflation. Allow to cool in the molds for 10 minutes, then carefully remove and peel away the parchment paper. Transfer to a wire rack to cool completely before serving.
 Pin it
My favorite part of making these delightful treats is watching them rise in the oven like little soufflés. It reminds me of my first trip to Japan where I fell in love with their delicate approach to desserts. The first time I made these for my family, they were amazed at how something so light could still taste so indulgent.
Temperature Control Tips
Japanese cheesecakes require precise temperature control throughout the process. Your ingredients should all be at room temperature before starting, especially the cream cheese. If the cream cheese is too cold, it will form lumps that are difficult to incorporate. The water bath temperature is also crucial—too hot and your cheesecakes will cook too quickly on the outside before the inside is set.
Preventing Deflation
The most common disappointment when making Japanese cheesecakes is sudden deflation. To prevent this, avoid opening the oven door during baking as temperature fluctuations cause collapse. After baking, cool your cheesecakes gradually by turning off the oven, leaving the door slightly ajar, and allowing them to cool for 10 minutes before removing. This gradual cooling helps maintain their height.
Flavor Variations
While vanilla is traditional, you can easily customize these mini cheesecakes. Add 2 tablespoons of matcha powder to the flour mixture for a traditional Japanese green tea version. For a citrus variation, incorporate the zest of one orange or two lemons into your batter. You can also add a tablespoon of black sesame paste for a nutty Japanese inspired variation with beautiful color contrast.
 Pin it
These delicate cheesecakes are a joy to make and a delight to eat, bringing Japanese dessert charm to your table.
Frequently Asked Questions
- → Why use the bain-marie method for these cheesecakes?
The bain-marie method (water bath) creates a gentle, humid environment that prevents the cheesecakes from cracking and helps them bake evenly. This technique is essential for achieving the signature soft, jiggly texture that Japanese cheesecakes are known for. The steam from the water bath also contributes to the moistness of the final product.
- → Can I substitute low protein flour with all-purpose flour?
Yes, you can substitute low protein flour with all-purpose flour, but your cheesecakes may have a slightly different texture. Low protein flour (cake flour) contains less gluten, which contributes to the extraordinarily light texture of Japanese cheesecakes. If using all-purpose flour, consider reducing the amount by about 10% to help maintain the delicate consistency.
- → Why do I need to separate egg whites and yolks?
Separating the eggs and whipping the whites separately is crucial for creating the signature airy texture of Japanese cheesecakes. The whipped egg whites act as a natural leavening agent, incorporating air into the batter. When carefully folded into the yolk mixture, they create the distinctive fluffy, soufflé-like consistency that sets these cheesecakes apart from denser Western varieties.
- → What's the purpose of adding lemon juice to the egg whites?
The acid in lemon or lime juice stabilizes the egg whites when whipping them. It helps the proteins in the egg whites form stronger bonds, allowing them to trap more air and maintain their structure better during baking. This results in a more stable foam and contributes to the light, airy texture of the final cheesecakes.
- → How do I know when the cheesecakes are properly done?
The cheesecakes are done when they have a light golden color on top and are set but still have a slight jiggle in the center when gently shaken. They should spring back when lightly touched. Avoid opening the oven door during the first 40 minutes of baking, as temperature fluctuations can cause the cheesecakes to collapse. After baking, the gentle tapping helps prevent excessive sinking as they cool.
- → Can I make these in advance for a party?
Yes, these mini Japanese cheesecakes can be made 1-2 days in advance. After cooling completely, store them in an airtight container in the refrigerator. For the best texture and taste, bring them to room temperature about 30 minutes before serving. You can refresh them slightly by warming in a 150°C oven for 5 minutes if desired.