
 Pin it
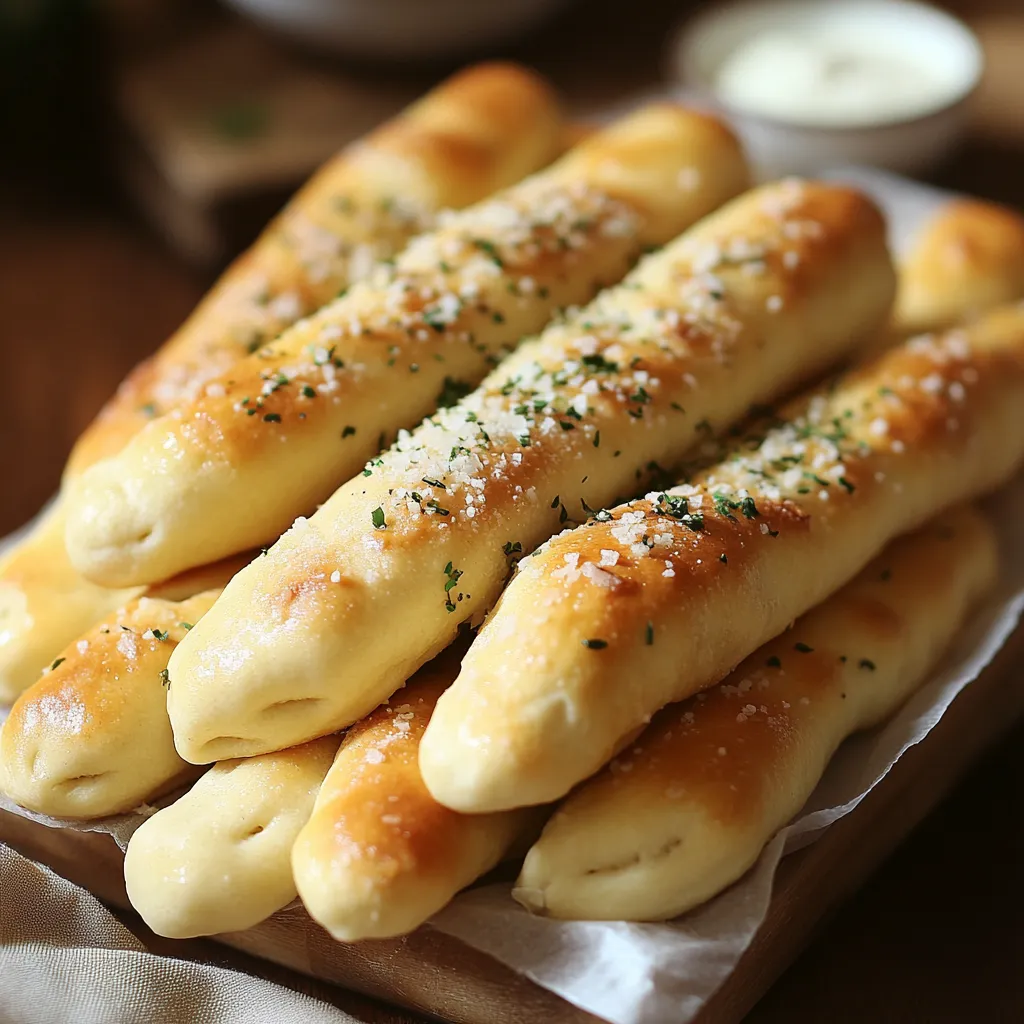
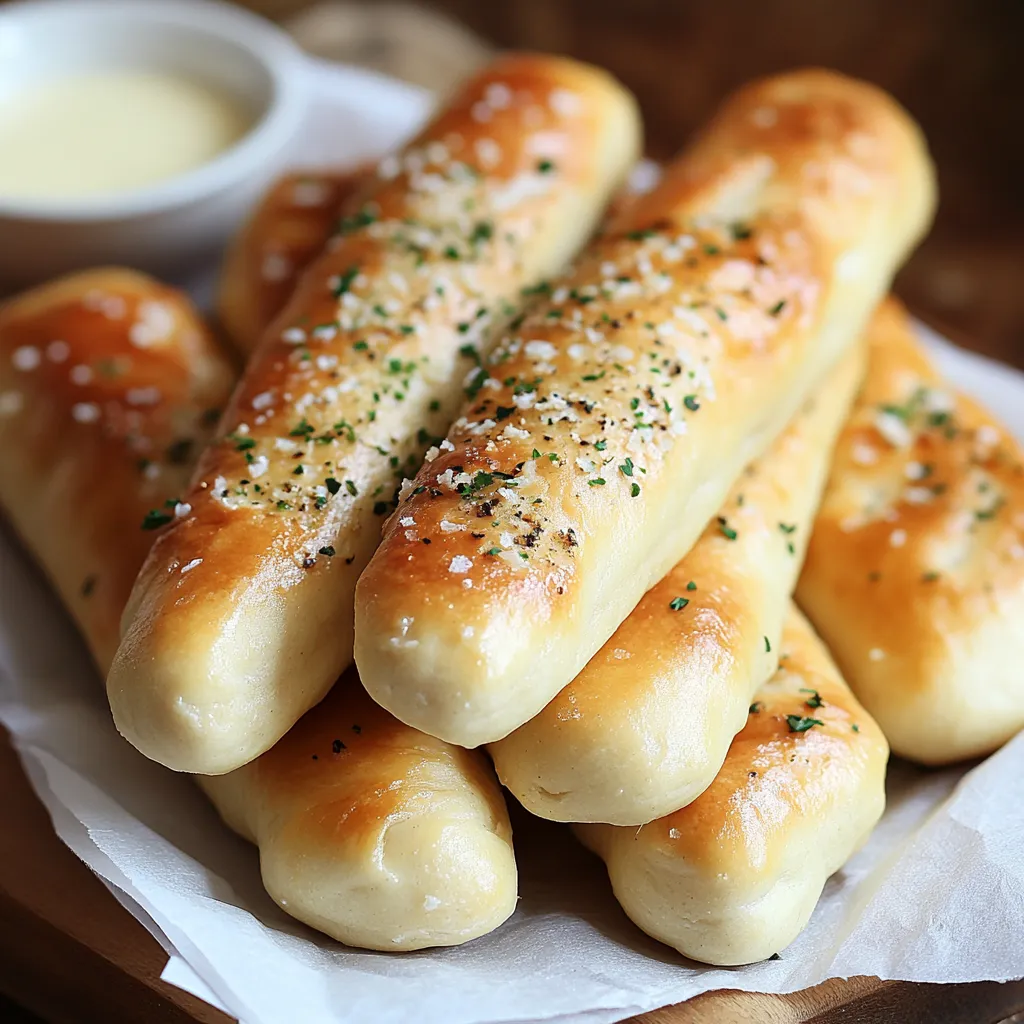
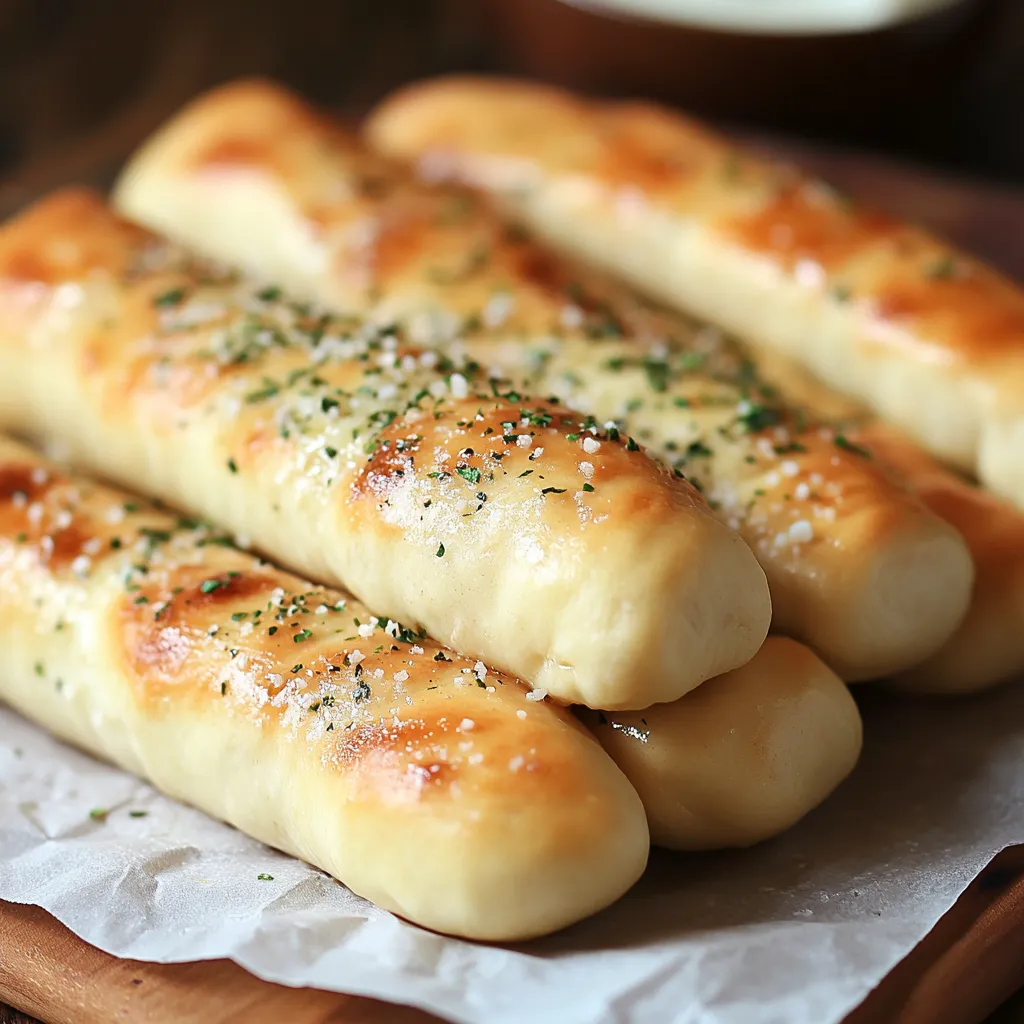
Soft, pillowy breadsticks slathered with rich garlic butter and a hint of salt provide the perfect vessel for sopping up pasta sauce or enjoying on their own. This Olive Garden Breadsticks recipe recreates the restaurant's famous side that keeps customers returning again and again. The magic lies in achieving that distinctive texture - soft and tender inside with a slight chew and buttery exterior that leaves your fingers pleasantly glossy. These homemade breadsticks rival the originals with their addictive quality that makes it nearly impossible to eat just one.
Unmissable Features
- These breadsticks require simple pantry ingredients that transform into something extraordinary through proper technique
- The double-rise method ensures that perfect airy texture that Olive Garden breadsticks are famous for
- The garlic butter topping creates that signature flavor that makes these breadsticks completely irresistible
- They freeze beautifully, allowing you to have fresh-tasting breadsticks whenever the craving strikes
I made these breadsticks for an Italian dinner party last month and my guests couldn't believe they weren't from the restaurant. Three people asked for the recipe before dessert was even served! The most satisfying moment was watching my father-in-law, who claims to dislike bread products, reach for his third breadstick while insisting they were "just too good to resist."
Foundational Elements
- Active dry yeast: provides the leavening that creates those airy pockets throughout the dough. Always check the expiration date for optimal rising
- Granulated sugar: feeds the yeast and adds a subtle sweetness that balances the savory elements. Use plain white sugar for best results
- All-purpose flour: creates the perfect structure with just enough protein content for proper gluten development. Unbleached varieties provide the best flavor
- Unsalted butter: allows control over salt levels while adding richness to both dough and topping. European-style butter creates even richer results
- Garlic powder: infuses the topping with aromatic flavor without the risk of burning that comes with fresh garlic. Look for brands without added fillers
- Fine sea salt: enhances all flavors and creates that distinctive savory finish. The fine texture ensures even distribution throughout
Baking Process
- Yeast Activation:
- In a small bowl, combine warm water (110-115°F), active dry yeast, and granulated sugar. Stir gently with a fork to dissolve the sugar and distribute the yeast. Allow this mixture to sit undisturbed in a warm spot for 5-10 minutes until it develops a frothy, foamy surface that resembles cappuccino foam. This visual indicator confirms your yeast is alive and ready to work its magic in your dough.
- Dough Formation:
- In a large mixing bowl or the bowl of your stand mixer fitted with a dough hook, combine the flour, softened butter cut into small pieces, and salt. Pour in the activated yeast mixture and mix on low speed until the ingredients begin to come together. Increase to medium speed and continue kneading for 8-10 minutes until the dough becomes smooth, elastic, and pulls away cleanly from the sides of the bowl. The dough should feel slightly tacky but not stick to your fingers.
- Initial Rising:
- Transfer your dough to a clean bowl that has been lightly coated with olive oil. Turn the dough once to coat all surfaces, which prevents it from drying out during rising. Cover the bowl with a clean kitchen towel or plastic wrap and place in a warm, draft-free location. Allow the dough to rise until doubled in size, approximately 1 hour depending on the ambient temperature of your kitchen. The dough should feel puffy and light when gently poked.
- Shaping Method:
- Gently punch down the risen dough to release excess air bubbles and transfer to a lightly floured surface. Divide the dough into 12-14 equal portions using a bench scraper or knife. Working with one piece at a time, roll each portion between your palms and the countertop into a rope measuring 6-7 inches long with tapered ends. Place the shaped breadsticks on a baking sheet lined with parchment paper, spacing them about 2 inches apart to allow for expansion.
- Secondary Rising:
- Cover the shaped breadsticks with a lightweight kitchen towel to prevent them from drying out during this crucial second rise. Allow them to rest and expand for 20-30 minutes until noticeably puffy but not quite doubled in size. This secondary rising develops the final texture and ensures the breadsticks will bake up light and airy rather than dense and heavy.
- Oven Preparation:
- While the breadsticks undergo their second rise, position an oven rack in the center and preheat your oven to 400°F. If possible, use an oven thermometer to verify the actual temperature, as many ovens can be off by 25 degrees or more. The proper temperature ensures the breadsticks rise quickly and develop that characteristic golden exterior without becoming dry.
- Baking Technique:
- Place the baking sheet on the center rack of your fully preheated oven and bake for 12-15 minutes, rotating the pan halfway through for even browning. Watch carefully during the final minutes as the breadsticks can go from perfectly golden to overbrowned quickly. They should develop a light golden color on top while remaining pale on the sides. A gentle tap on the surface should produce a slightly hollow sound, indicating they're fully baked.
- Finishing Touch:
- While the breadsticks bake, prepare the signature topping by melting butter in a small saucepan over medium-low heat or in a microwave-safe bowl. Stir in garlic powder and salt until completely combined. As soon as the breadsticks come out of the oven, brush this aromatic mixture generously over the hot surface, ensuring each breadstick is completely coated. The heat helps the butter absorb into the crust while still leaving a flavorful sheen on the exterior.
Valuable Insights
- The water temperature when activating yeast is crucial for success – too hot will kill the yeast while too cool will slow activation
- Kneading develops gluten which creates the perfect chewy-yet-tender texture that makes these breadsticks special
- Allowing proper rising time develops flavor and texture – rushing this process results in dense, heavy breadsticks
- Brushing with butter immediately after baking ensures maximum absorption and flavor development
- Using parchment paper prevents sticking without adding additional fat or affecting the texture
 Pin it
Accompaniment Ideas
Serve these freshly baked breadsticks alongside a hearty bowl of minestrone soup where they can be used to soak up every last drop of broth. They make the perfect companion to a family-style pasta night, complementing everything from classic spaghetti and meatballs to creamy fettuccine Alfredo. For an impressive appetizer spread, arrange them in a tall glass or vase like a bouquet surrounded by various dipping options such as marinara, alfredo, and herb-infused olive oil. Consider serving them with a simple antipasto platter of Italian meats, cheeses, and marinated vegetables.
Custom Creations
Transform these classic breadsticks into cheese-topped delights by sprinkling freshly grated Parmesan, asiago, or pecorino romano over the butter-brushed surface while still hot. Create a herb-infused variation by adding dried Italian herbs like basil, oregano, and thyme to both the dough and the buttery topping for an aromatic twist. For a sweeter interpretation, brush the baked breadsticks with cinnamon butter (cinnamon, sugar, and melted butter combined) and serve with a cream cheese dip. You can also consider stuffing the dough with thin mozzarella sticks before shaping for a surprise cheesy center.
Freshness Tactics
Store completely cooled breadsticks in an airtight container at room temperature for up to two days, though they're truly best enjoyed within hours of baking. To refresh day-old breadsticks, sprinkle them lightly with water and warm in a 350°F oven for 3-5 minutes until heated through and slightly crisp on the outside. For longer storage, freeze fully cooled breadsticks in a zip-top freezer bag for up to one month. Thaw frozen breadsticks at room temperature for about 30 minutes and then refresh in a warm oven for 5 minutes. For make-ahead convenience, freeze the shaped, unbaked dough sticks on a baking sheet, then transfer to a container once frozen and bake directly from frozen, adding 3-4 minutes to the baking time.
Professional Wisdom
- Achieve bakery-quality results by placing a shallow pan of water on the bottom rack of your oven during preheating and baking
- Use a digital kitchen scale to divide your dough into perfectly equal portions for uniform baking and a professional appearance
- Brush the breadsticks with a beaten egg white before the second rise for an extra golden, slightly crispy exterior
- Allow your ingredients to come to room temperature before beginning for easier incorporation and better yeast activation
- Consider using bread flour instead of all-purpose flour for extra chewiness if you prefer a more substantial texture
 Pin it
My passion for perfecting these breadsticks stems from a memorable family dinner at Olive Garden where my typically reserved grandfather couldn't stop raving about them. Creating this recipe became my way of bringing that joy home, and after countless tests and adjustments, I believe these truly capture the essence of the original. The combination of soft, yielding texture and savory garlic butter creates an experience that transcends the simplicity of the ingredients. Whether served alongside your favorite Italian dishes or enjoyed on their own, these breadsticks create moments of pure comfort that remind us why sometimes the simplest foods bring the greatest pleasure.
Frequently Asked Questions
- → How do I know if my yeast is still good?
- When you combine the yeast with warm water and sugar, it should become foamy and bubbly within 5-10 minutes. If this doesn't happen, your yeast may be dead or expired, and you'll need to start over with fresh yeast.
- → Can I make the dough ahead of time?
- Yes! You can prepare the dough and let it go through the first rise, then cover it tightly and refrigerate overnight. Remove from the fridge about an hour before shaping to let it come to room temperature.
- → Why didn't my breadsticks rise properly?
- This could be due to inactive yeast, water that was too hot (which kills yeast), or a room that's too cold for proper rising. For the best rise, place your dough in a warm, draft-free spot like an oven with just the light turned on.
- → Can I freeze these breadsticks?
- Absolutely! Bake them as directed, let them cool completely, then freeze in an airtight container for up to 3 months. To reheat, wrap in foil and warm in a 350°F oven for 10-15 minutes.
- → What can I serve with these breadsticks?
- These breadsticks pair perfectly with pasta dishes, soups, and salads. For an authentic Olive Garden experience, serve them with a simple marinara sauce or alfredo sauce for dipping.