
 Pin it
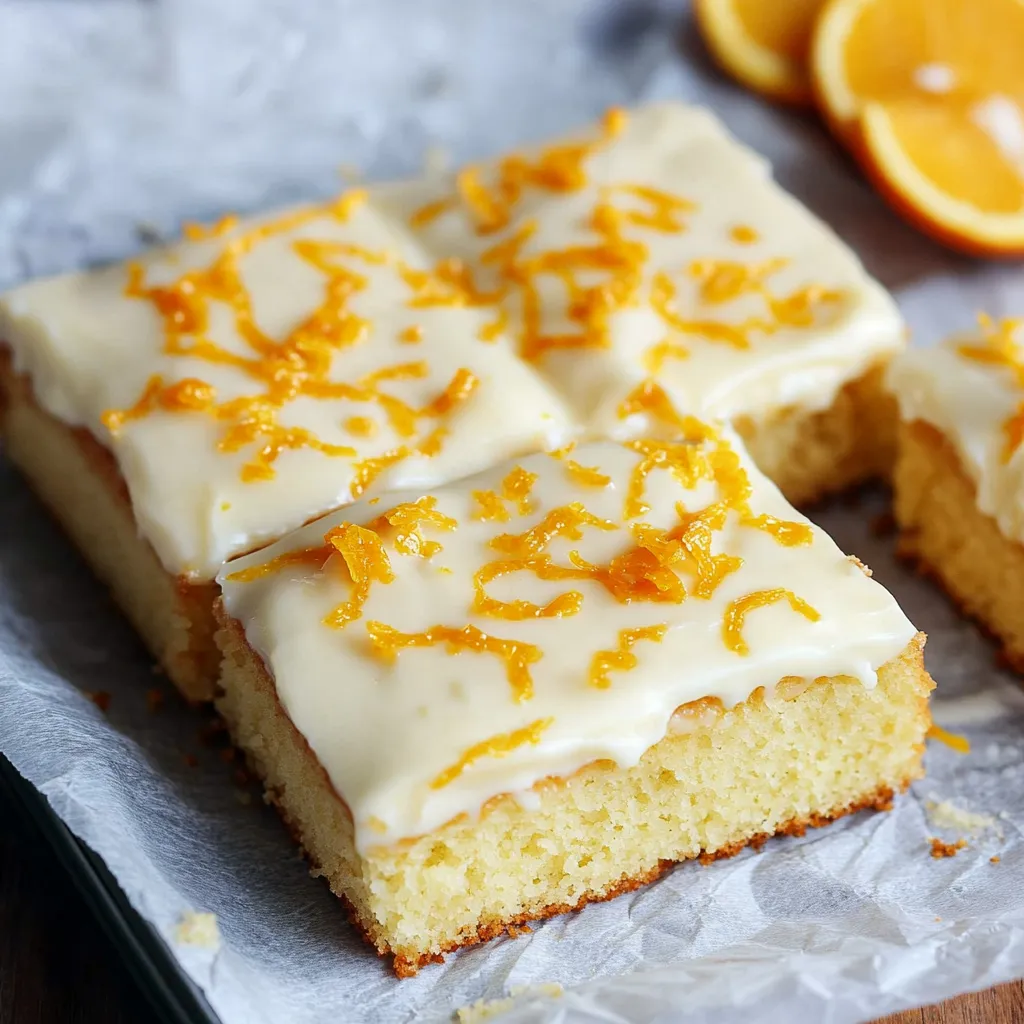
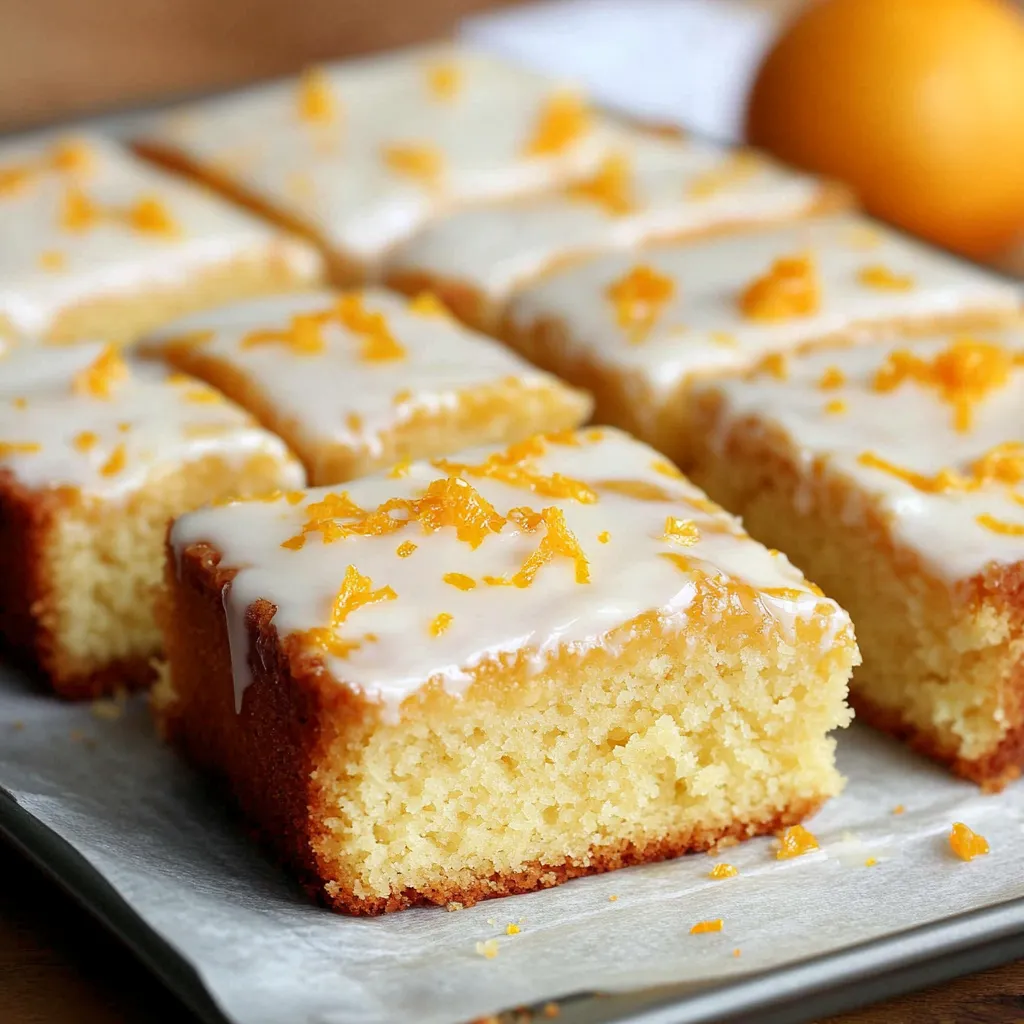
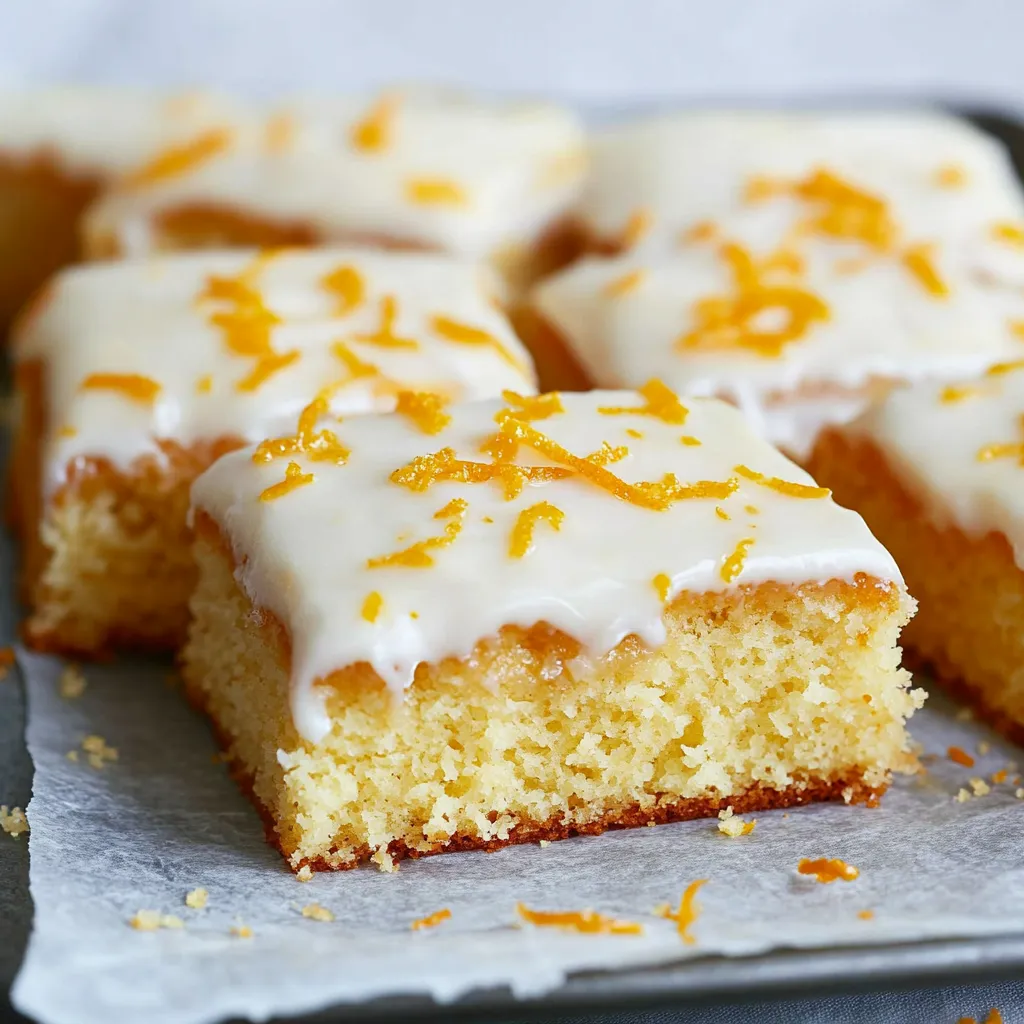
The kitchen fills with sunshine every time I bake this orange drizzle traybake. Between the sweet aroma of fresh orange zest and the buttery scent of cake baking, this recipe brings pure joy to our home. After years of baking for family gatherings and weekend treats, this simple yet wonderful cake has become my most requested recipe.
Last weekend, I brought this cake to our neighborhood potluck. Three people asked for the recipe before the evening was over, and my neighbor's daughter, who usually only eats chocolate cake, asked for seconds. That's when I knew I needed to share this recipe with you all.
Kitchen Essentials for the Perfect Cake
- Fresh oranges: Choose oranges that feel heavy and smell wonderful when gently scratched.
- Real butter: Room temperature butter creates a perfect melt-in-your-mouth texture.
- Large eggs: Farm-fresh eggs add richness and help with rising.
- Pure vanilla extract: Brings out the orange flavor beautifully.
- Self-raising flour: Ensures consistent results every time.
- Whole milk: Adds moisture and creates a tender crumb.
- Caster sugar: Dissolves perfectly for the smoothest texture.
- Quality icing sugar: Makes the glaze silky smooth.
Step by Step Baking Guide
- Getting Started:
- First, pull your butter, eggs, and milk from the refrigerator. They need two hours to reach room temperature to ensure your cake will be perfectly tender. While waiting, gather your mixing bowls, measuring tools, and grater for the orange zest. Line your 8x10-inch tin with baking paper, leaving some hanging over the sides for easy removal later.
- Creating the Perfect Base:
- Turn your oven to 180°C. While it heats, beat 250g butter until it looks creamy and pale, which usually takes about three minutes with an electric mixer. Now add 250g caster sugar gradually, beating continuously. Keep going until the mixture looks almost white and feels light when you lift the beater. This step creates tiny air pockets that make your cake fluffy.
- The Magic of Mixing:
- Break each egg into a small bowl before adding it to your mixture to prevent any shell pieces. Add them one at a time, beating well between each addition. If the mixture starts looking curdled, simply add a spoonful of your measured flour between eggs. Once all eggs are mixed in, add your vanilla extract.
- Incorporating the Dry Ingredients:
- Now comes the gentle part of our baking process. Sift 250g self-raising flour into your mixture in three portions. Use a metal spoon or spatula to fold each portion in with a figure-eight motion. This keeps your cake light and fluffy. Add a tablespoon of milk between each flour addition. Your finished batter should slowly drop from the spoon when lifted.
- Adding the Orange Magic:
- Take your orange and gently grate the outer peel, being careful to avoid the white pith underneath. The oils from the zest will release into your batter, creating a wonderful fresh orange flavor. Fold the zest through your batter until evenly distributed.
- The Baking Journey:
- Pour your batter into your prepared tin, using a spatula to spread it evenly into the corners. Give the tin three gentle taps on the counter to remove any air bubbles. Slide it into your preheated oven and set your timer for 25 minutes. Your kitchen will start smelling amazing about halfway through.
- Making the Perfect Orange Drizzle:
- While your cake bakes, squeeze the juice from your zested orange. You'll need about two tablespoons for the perfect drizzle. Mix it gradually into 200g of sifted icing sugar until you have a smooth, pourable consistency that coats the back of a spoon. This creates the signature sweet-tart glaze that makes this cake so special.
 Pin it
I learned the magic of orange drizzle cake from my grandmother, who always said the secret lies in patience. She would spend extra time choosing her oranges at the market, saying that the weight of the fruit tells its story. Now, every time I bake this cake, I think of her wisdom and take my time selecting the perfect oranges.
Making It Ahead
This cake actually improves with time as the flavors develop. I often bake it the day before serving, storing it in an airtight container overnight. The orange oils from the zest continue to infuse the cake, making it even more delicious. Just make sure to let it cool completely before storing.
A Word About Seasons
During winter months, blood oranges create a stunning pink-tinted version of this cake. In summer, adding some lemon zest alongside the orange creates a brighter flavor perfect for picnics. Spring calls for sweet oranges, while fall welcomes the addition of warm spices like cinnamon or nutmeg.
 Pin it
This orange drizzle traybake brings more than just wonderful flavors to our table. It carries memories of Sunday afternoons spent baking with my children, quick treats for unexpected guests, and countless family celebrations. Every time I make it, someone asks for the recipe, and now it's your turn to create your own memories with this beloved cake.
Frequently Asked Questions
- → How should I store this orange drizzle cake?
- Keep it in an airtight container at room temperature for up to 5 days. The cake stays moist and the icing remains set.
- → Can I freeze this traybake?
- Yes, wrap individual slices in plastic wrap and freeze for up to 3 months. Thaw at room temperature before eating.
- → How do I know when the cake is fully baked?
- Insert a toothpick into the center - it should come out clean. The cake should also be golden brown and spring back when lightly pressed.
- → Why does the icing need to set before cutting?
- Letting the icing harden prevents smearing and gives you clean, neat slices. It usually takes about an hour at room temperature.
- → What's the best way to zest an orange?
- Use a fine grater or zester, only grating the orange outer peel and avoiding the white pith underneath which can be bitter.