
 Pin it
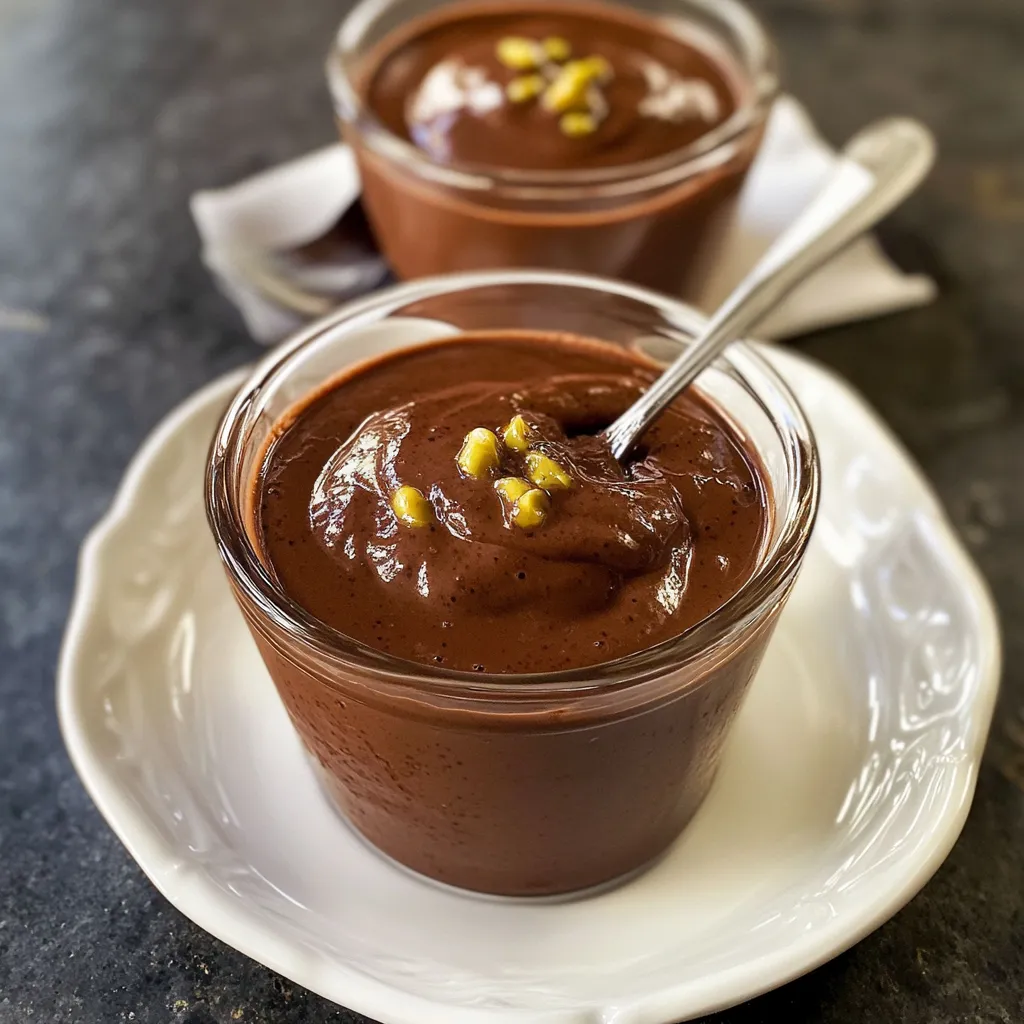
Pioneer Woman chocolate pudding delivers pure comfort in every silky spoonful, offering that perfect balance of rich chocolate depth and creamy sweetness that makes it an unbeatable classic dessert. This homemade version creates a significantly more satisfying experience than anything from a box, with a luxuriously smooth texture and deep chocolate flavor that develops from quality ingredients and careful preparation. The traditional stovetop method transforms simple pantry staples into something truly special through the magic of slow cooking and patient stirring. Whether enjoyed warm from the pot or properly chilled, this pudding captures the essence of nostalgic home cooking while elevating it to new heights.
I made this pudding last weekend when my sister visited with her family. My eight-year-old nephew, who normally only eats chocolate in candy form, asked for seconds and then requested I teach his mother how to make it. My husband, who claims he's "not a pudding person," finished his entire serving and then scraped the bowl clean when he thought no one was looking.
Ingredient Selection Guide
- Egg Yolks: Fresh eggs provide superior thickening power and silky texture. The vivid yellow color of farm-fresh eggs adds beautiful richness to the pudding's appearance.
- Cornstarch: This crucial thickener works with egg yolks to create perfect consistency. Always measure precisely, as too much creates gummy texture while too little results in runny pudding.
- Whole Milk: The fat content in whole milk creates proper richness. Lower-fat alternatives produce thinner pudding that lacks the luxurious mouthfeel that makes this dessert special.
- Sugar: Regular granulated sugar dissolves beautifully into the mixture. Adjust quantity slightly according to chocolate intensity, with darker chocolates sometimes needing slightly more sweetness.
- Cocoa Powder: Select dutch-processed cocoa for smoother flavor or natural cocoa for more intense chocolate notes. The quality of cocoa dramatically impacts the final flavor profile.
Preparation Success Steps
- Proper Tempering Technique:
- Begin with careful preparation of your egg mixture, whisking yolks until they lighten in color and develop a slightly thicker consistency. Gradually incorporate cornstarch and a small portion of cold milk, creating a smooth slurry without lumps. This preliminary step ensures proper thickening without cornstarch clumps. Meanwhile, heat your milk mixture containing sugar, cocoa, and salt just until tiny bubbles form around the edges, indicating it has reached the perfect temperature. The critical tempering stage follows, where you must gradually stream the hot liquid into the egg mixture while whisking constantly. This gradual temperature increase prevents the eggs from scrambling while allowing them to maintain their thickening properties.
- Heat Management Strategy:
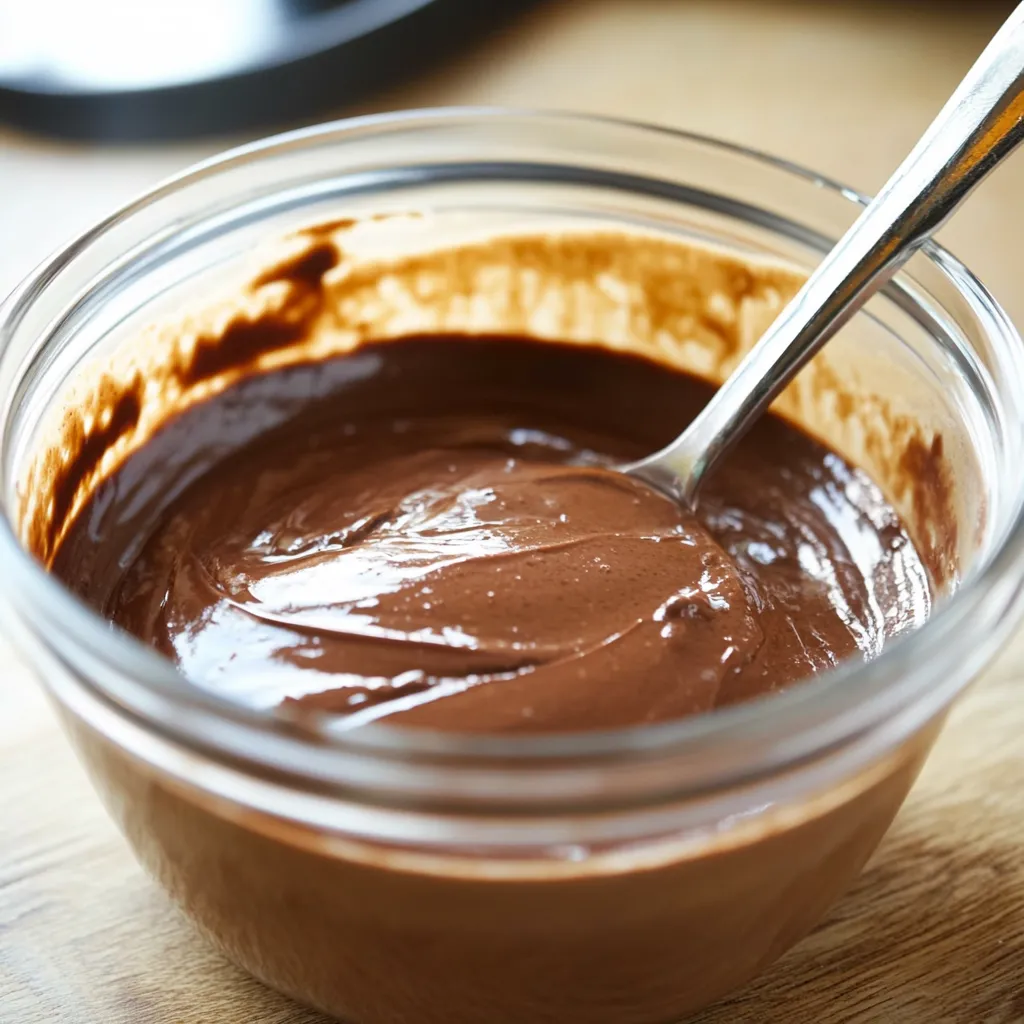
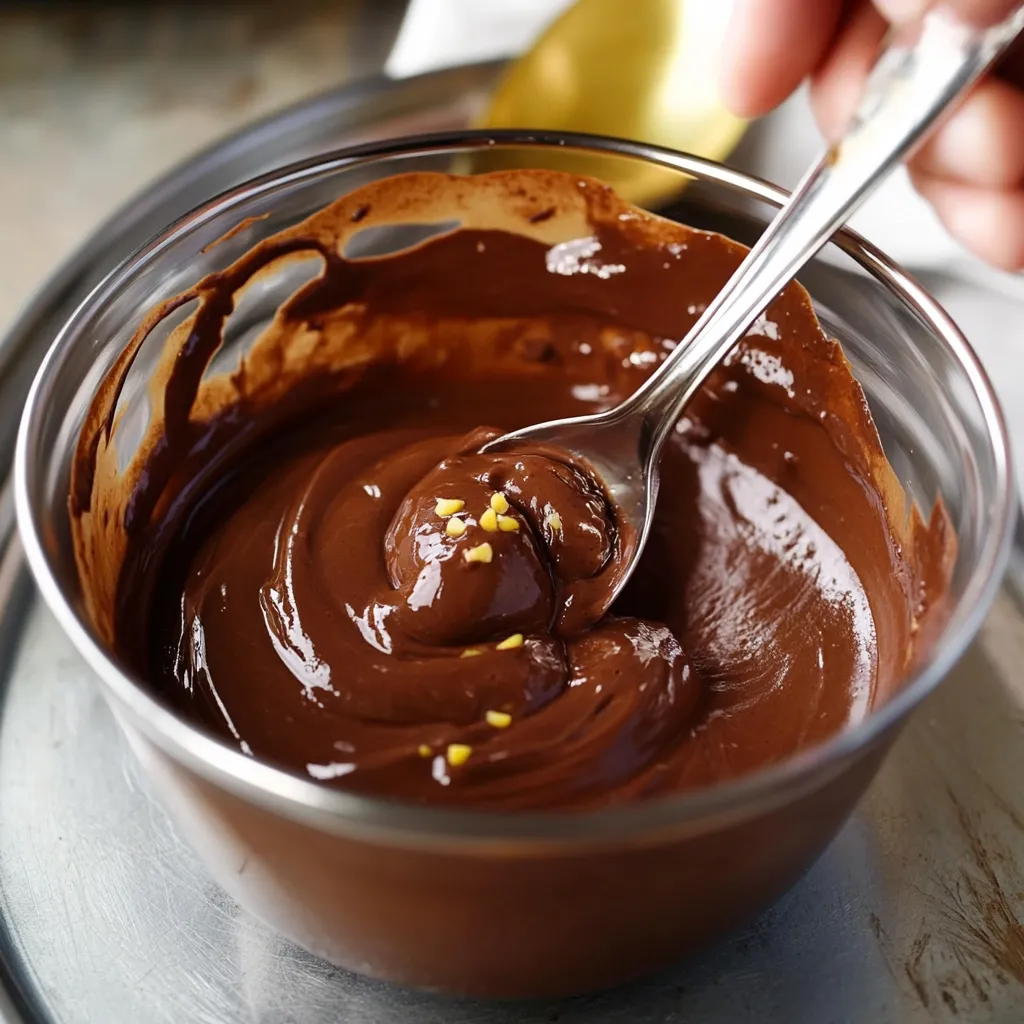
- Return the combined mixture to your saucepan and place over medium-low heat, never high heat which causes scorching. Stir constantly with a flexible silicone spatula, making sure to reach the corners and bottom of the pan where burning occurs first. Continue cooking until the pudding thickens enough to coat the back of a spoon and hold a clear line when you run your finger through it. The mixture will transition from thin and watery to noticeably thicker with a glossy appearance. Once it reaches proper thickness, immediately remove from heat to prevent overcooking, which can break down the thickeners and result in thin pudding.
- Finishing Flavor Enhancement:
- Off the heat, incorporate vanilla extract or chopped chocolate depending on your preference for flavor depth. If using chocolate pieces, allow them to sit for approximately thirty seconds before stirring, allowing the residual heat to melt them completely. Stir with purpose but gently, avoiding vigorous whisking which incorporates air and creates bubbles in the finished pudding. For traditional pudding skin lovers, simply pour into serving dishes and allow to cool naturally. For perfectly smooth pudding, press plastic wrap directly onto the surface while still warm, eliminating air contact that creates skin formation.
- Proper Chilling Process:
- Transfer the finished pudding to your desired serving container, whether individual ramekins for elegant presentation or a single bowl for family-style serving. Allow the pudding to cool at room temperature for approximately twenty minutes before transferring to the refrigerator. This gradual temperature transition prevents condensation from forming on the plastic wrap. Chill for at least two hours to allow the pudding to set completely and for flavors to meld and develop. The texture improves significantly during this resting period, transforming from merely thickened to properly set with ideal spoonable consistency.
 Pin it
My grandmother taught me that the secret to perfect pudding is patience during the cooking process. When I was learning to make it as a teenager, I would increase the heat to speed things up, inevitably resulting in scorched pudding or a grainy texture. She showed me that maintaining gentle heat and constant stirring creates that perfect silky consistency that makes homemade pudding so special. I've never forgotten this lesson in cooking patience.
Serving Suggestions
Transform this classic pudding into an elegant dessert by serving in clear glass dishes that showcase its rich color and smooth texture. For casual gatherings, layer the pudding with fresh whipped cream in parfait glasses, creating beautiful striations. Add unexpected sophistication with a sprinkle of flaky sea salt or crushed pink peppercorns that enhance the chocolate flavor. For textural contrast, serve alongside thin, crisp cookies like pirouline wafers or homemade shortbread. Consider creating a dessert board with small dishes of pudding surrounded by various toppings that guests can customize to their preference.
Creative Variations
Experiment with flavor infusions by steeping the milk with various aromatics before making the pudding. Cinnamon sticks, star anise, or fresh mint leaves create subtle complexity when steeped in warm milk for thirty minutes before straining and proceeding with the recipe. Create mocha pudding by adding one tablespoon of espresso powder to the milk mixture. For chocolate orange pudding, incorporate orange zest into the milk and a small amount of orange liqueur at the finishing stage. Mexican chocolate pudding emerges with the addition of cinnamon and a pinch of cayenne pepper that enhances the chocolate without adding perceptible heat.
 Pin it
Storage Instructions
Preserve freshness by covering individual pudding cups with plastic wrap pressed directly onto the surface, eliminating air contact that creates skin and prevents drying. Store in the refrigerator for optimal enjoyment within three days, although flavor remains excellent for up to four days. Freezing is possible but affects texture slightly upon thawing. If frozen, thaw overnight in the refrigerator rather than at room temperature for best results. When serving pudding that has been stored, allow it to sit at room temperature for fifteen minutes to soften slightly for the ideal creamy consistency and more pronounced flavor.
Frequently Asked Questions
- → Can I use a different type of milk in this pudding recipe?
- Yes, you can substitute the whole milk with alternatives, though the texture and richness will vary. For an even creamier pudding, try using half-and-half or a combination of milk and heavy cream. Plant-based milks like almond or oat will work, but the pudding might be slightly less rich and may require a little more cornstarch to achieve the same thickness.
- → How do I know when my pudding has thickened enough?
- The perfect pudding thickness test is to dip a wooden spoon into the mixture, then run your finger across the back of the spoon. If it leaves a clear path that doesn't immediately fill in, your pudding is thick enough. The mixture should also coat the back of the spoon nicely. It will continue to thicken as it cools, so don't worry if it seems slightly loose while still hot.
- → Why did my pudding develop a skin on top?
- A skin forms on pudding when it's exposed to air while cooling. To prevent this, press a piece of plastic wrap directly onto the surface of the hot pudding before refrigerating. If you're a fan of the skin (some people love it!), simply leave the pudding uncovered while it chills.
- → Can I make this pudding chocolate-free or use a different flavor?
- Absolutely! To make a vanilla pudding, simply omit the cocoa powder and use vanilla extract. For butterscotch, replace the granulated sugar with brown sugar and skip the cocoa. You can also add different extracts like almond, mint, or orange to create interesting flavor variations.
- → How long does homemade pudding last in the refrigerator?
- This Pioneer Woman Chocolate Pudding will keep well in the refrigerator for up to 3-4 days when stored in an airtight container. The texture is best within the first two days. If it seems to have thickened too much after refrigeration, give it a gentle stir before serving to restore its creamy consistency.