
 Pin it
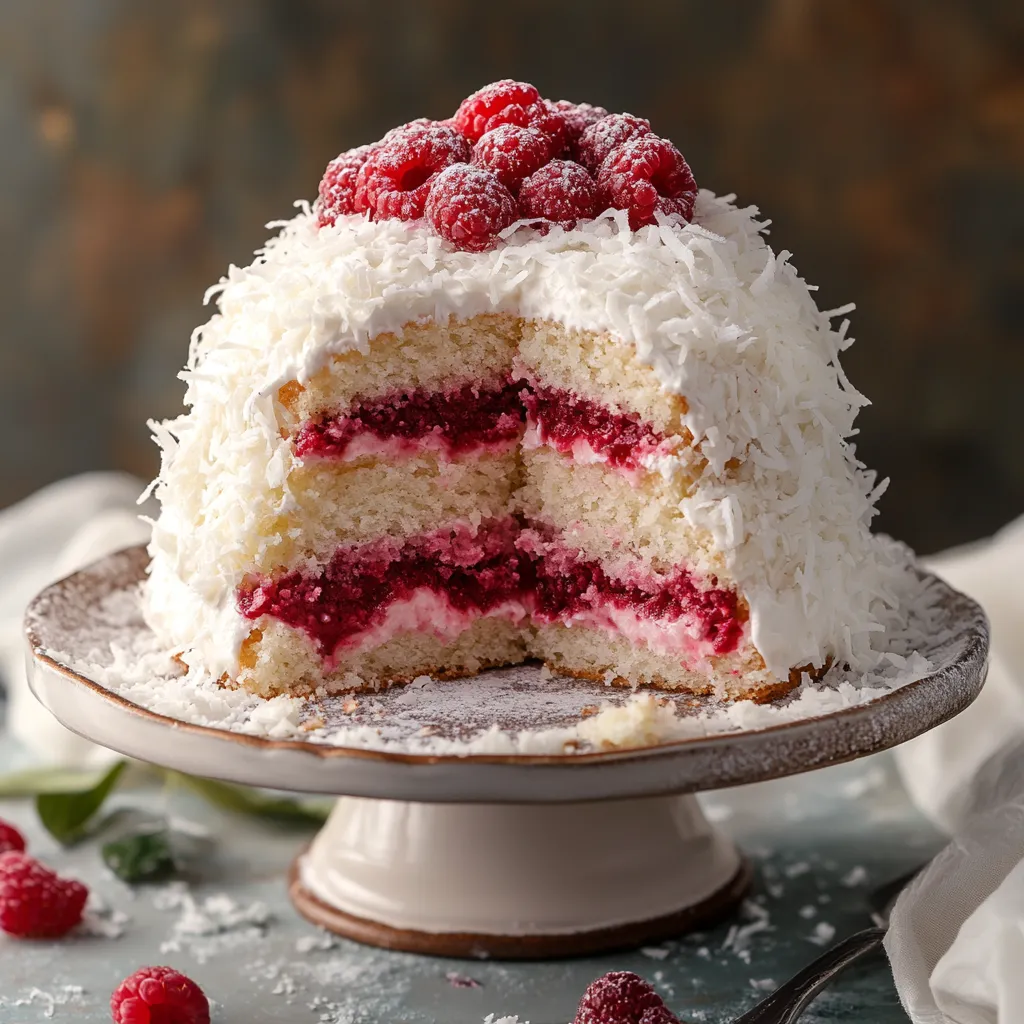
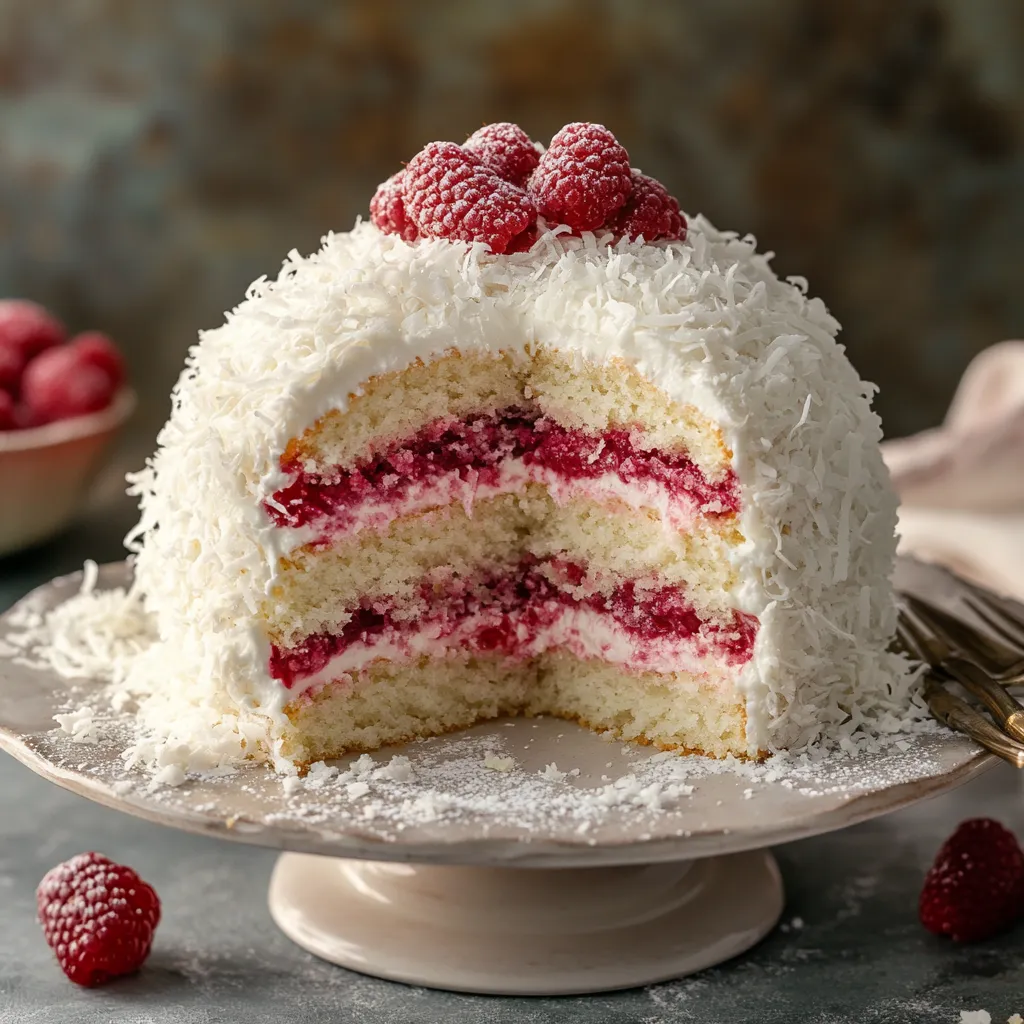
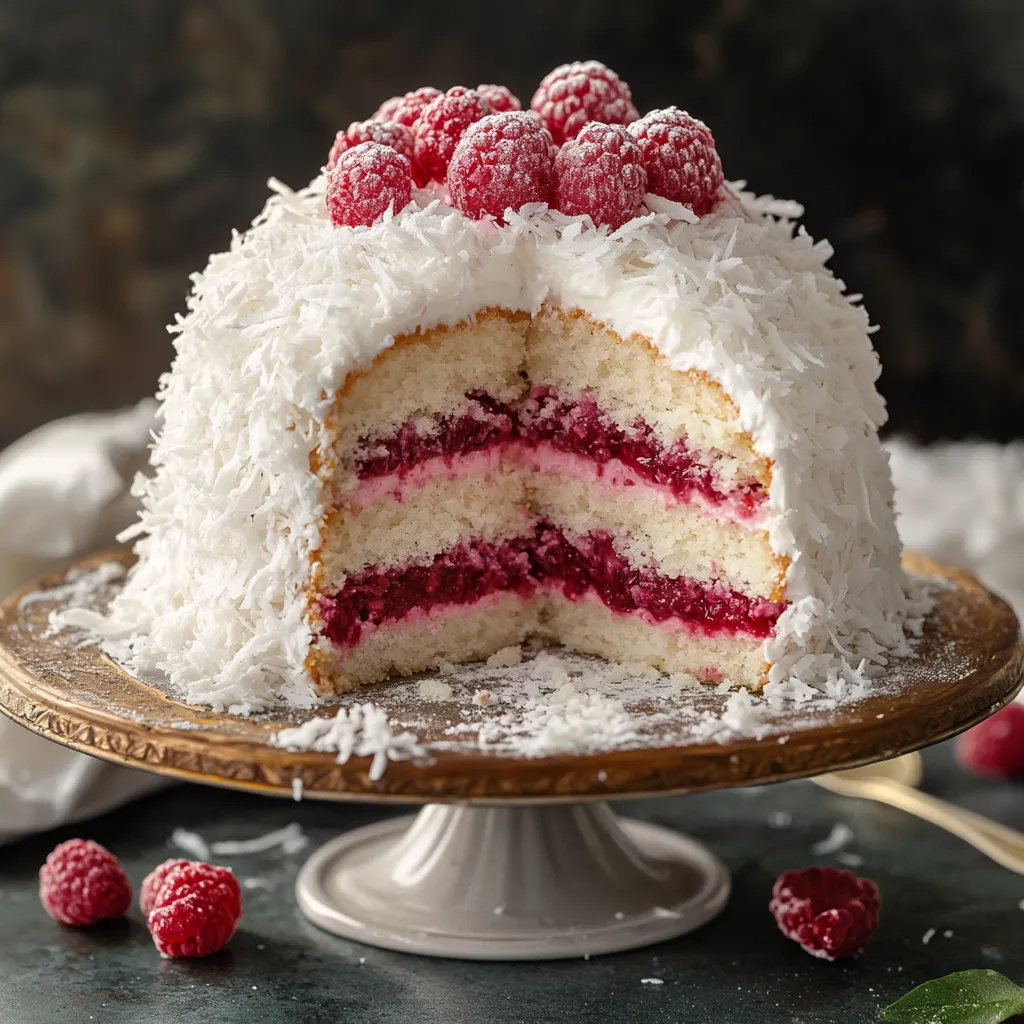
This raspberry swirl coconut snowball cake delivers the perfect combination of moist coconut cake, tangy raspberry filling, and dreamy coconut cream cheese frosting – all wrapped in a snowy coconut exterior. The contrast between the sweet coconut and tart raspberry creates a flavor symphony that's both refreshing and indulgent.
I first created this cake for my mother's birthday after she mentioned missing the coconut cakes her grandmother used to make. The raspberries were my twist, and now it's requested at every family celebration. The way everyone's eyes light up when I bring it to the table makes the effort completely worthwhile.
Key Ingredients
- All purpose flour: Provides the perfect structure for this delicate cake while remaining tender
- Baking powder and baking soda: Work together to create the ideal rise and texture
- Unsalted butter: Adds richness and helps cream the sugar for a velvety crumb
- Granulated sugar: Sweetens and helps create that gorgeous tender texture
- Vanilla extract: Provides the classic foundation for our flavor profile
- Coconut extract: Amplifies the natural coconut flavor throughout the entire cake
- Almond extract: Introduces a subtle complexity that enhances both the coconut and raspberry
- Egg whites: Create a lighter cake with beautiful white color to showcase the raspberry swirl
- Canned coconut milk: Adds authentic flavor and moisture unlike any other liquid
- Sour cream: Introduces tanginess and creates an incredibly tender crumb
- Unrefined coconut oil: Reinforces the coconut flavor while adding moisture
- Unsweetened shredded coconut: Incorporated into the batter adds texture and flavor depth
- Cream cheese: Creates a frosting with perfect balance of sweetness and tanginess
- Raspberry preserves: Provide the beautiful swirl and bright counterpoint to the coconut
- Confectioners sugar: Gives the frosting structure and sweetness without grittiness
Step-by-Step Instructions
- Prepare The Pans:
- Begin by thoroughly greasing three 9-inch cake pans, then line the bottoms with parchment paper. This double insurance guarantees your cakes will release perfectly. The parchment should be cut exactly to fit the bottom without coming up the sides.
- Mix Dry Ingredients:
- Sift together flour, baking powder, baking soda, and salt in a large bowl. Sifting is crucial here as it removes any lumps and aerates the flour, creating a lighter cake texture. Take your time with this step as it impacts the final result.
- Cream Butter And Sugar:
- In your stand mixer, beat room temperature butter until smooth, gradually adding sugar until the mixture becomes remarkably light and fluffy. This process should take a full two minutes on high speed. The mixture should visibly change color to a pale yellow and increase substantially in volume.
- Add Flavorings:
- Blend in the vanilla, coconut, and almond extracts completely. These three extracts work together to create the signature flavor profile. Make sure they incorporate fully throughout the butter mixture.
- Incorporate Egg Whites:
- Add the lightly beaten egg whites in three additions, mixing thoroughly between each. This gradual approach prevents the batter from separating. Scrape down the bowl frequently to ensure everything mixes evenly.
- Combine Wet Ingredients:
- Mix the coconut milk and sour cream in a separate container until completely homogeneous. The coconut milk should be well stirred before measuring as it tends to separate in the can.
- Alternate Dry And Wet Mixtures:
- Add the flour mixture and coconut milk mixture alternately, beginning and ending with flour. Mix just until combined after each addition. Overmixing at this stage can develop gluten and make the cake tough.
- Finish The Batter:
- Fold in the liquified coconut oil and shredded coconut with a gentle hand. The batter should be silky and thick with visible flecks of coconut throughout.
- Bake The Layers:
- Divide the batter evenly between prepared pans using a kitchen scale for precision. Bake until just set and lightly golden around the edges. When a toothpick inserted comes out clean, they're ready.
- Make Cream Cheese Frosting:
- Beat butter and cream cheese until completely smooth before adding any other ingredients. Add extracts, salt, and coconut milk, then gradually incorporate the confectioners sugar. The final high-speed beating creates the signature fluffy texture.
- Assemble The Cake:
- Level cake layers if needed. Stack with generous frosting layers and raspberry preserves between each layer. Cover the entire cake with remaining frosting, creating a smooth outer layer.
- Add The Coconut Coating:
- Press shredded coconut onto the sides and top of the frosted cake. The coconut adheres best when the frosting is still soft, so don't delay this step.
 Pin it
The coconut milk is truly the secret hero of this recipe. I discovered its transformative power after experimenting with several coconut cake recipes that left me disappointed. The richness and authentic flavor it provides cannot be replicated with extracts alone. My grandmother used to say coconut desserts need real coconut in multiple forms to taste authentic.
Make-Ahead Options
This cake works beautifully as a make-ahead dessert. You can bake the layers up to two days in advance and store them tightly wrapped at room temperature. The frosting can be made a day ahead and refrigerated, then brought to room temperature and rewhipped before assembling. The fully assembled cake actually improves with an overnight rest in the refrigerator, allowing flavors to meld perfectly.
Ingredient Substitutions
For dietary restrictions, this recipe offers several adaptable options. Gluten-free all-purpose flour blend can replace regular flour with minimal texture change. Dairy-free cream cheese and butter alternatives work well in the frosting though you may need slightly less confectioners sugar. For a less sweet option, substitute the raspberry preserves with fresh raspberry puree thickened with a small amount of cornstarch, though this will create a more subtle swirl.
Serving Suggestions
For maximum visual impact, consider garnishing with fresh raspberries and edible flowers just before serving. Slice with a sharp knife dipped in hot water and wiped clean between cuts for pristine slices. This cake pairs wonderfully with coffee, tea, or even a glass of prosecco for celebrations. For an elevated dessert course, serve slices with a small scoop of raspberry sorbet on the side.
Storage Tips
The completed cake keeps beautifully in the refrigerator for up to 5 days when stored in a cake keeper or loosely tented with plastic wrap to protect the coconut coating. Individual slices can be frozen for up to 3 months when wrapped tightly in plastic wrap and stored in freezer bags. Allow frozen slices to thaw overnight in the refrigerator for best texture results.
 Pin it
Frequently Asked Questions
- → How do I ensure moist cake layers?
Make sure to measure ingredients carefully, use room-temperature butter and eggs, and avoid over-mixing the batter.
- → Can I use fresh raspberries instead of preserves?
Yes, you can mash fresh raspberries with a little sugar for a homemade filling, though the texture may differ slightly.
- → What’s the best way to frost this cake?
Use a long spatula to gently spread the frosting, then press shredded coconut onto the sides for an even coat.
- → Can I make this cake ahead of time?
Yes, you can bake the cake layers a day in advance and assemble the cake closer to serving time. Store layers wrapped in plastic wrap.
- → What substitutes can I use for coconut milk?
If you don’t have coconut milk, heavy cream or evaporated milk can work, though it may slightly alter the flavor.