
 Pin it
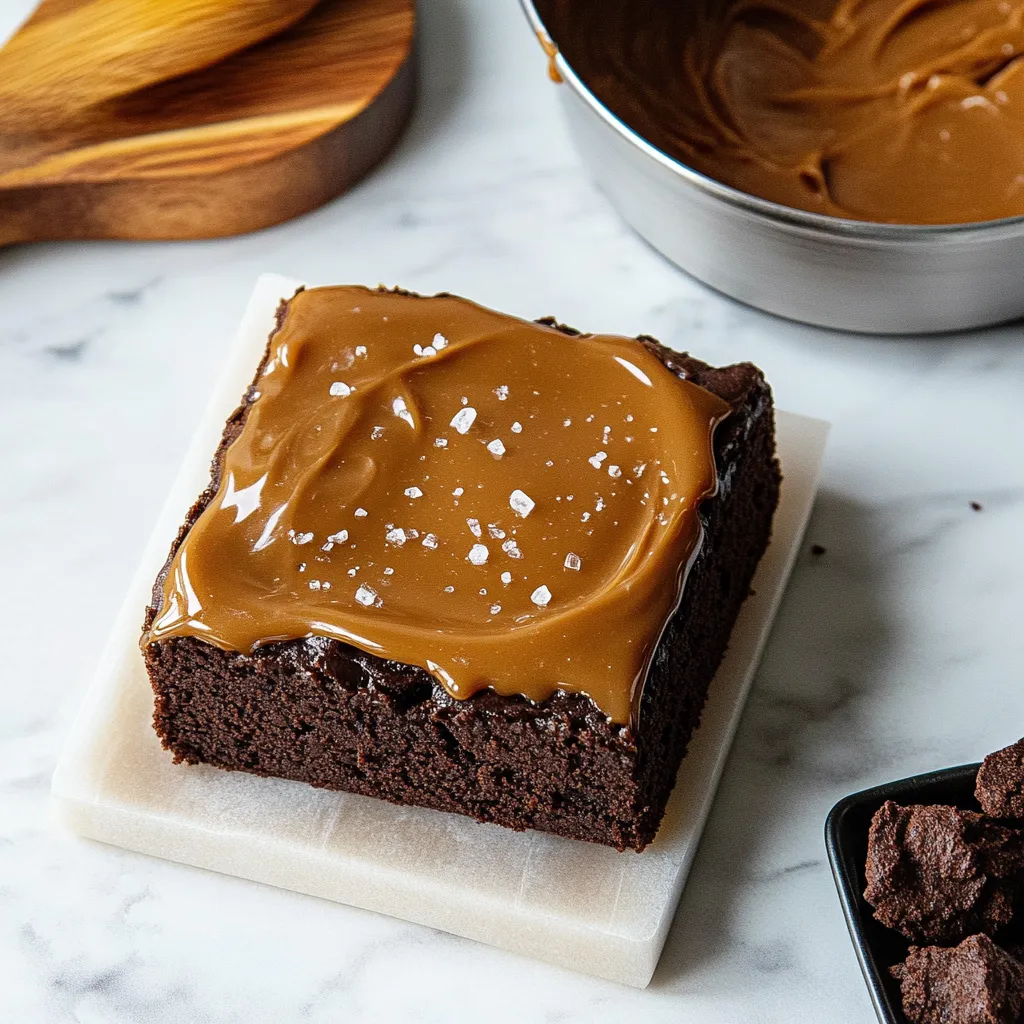
Salted caramel brownies transform an everyday chocolate treat into an extraordinary dessert experience that will make your taste buds dance with delight. Rich, fudgy chocolate brownies provide the perfect foundation for a luxurious layer of homemade whipped caramel that melts in your mouth with each bite. The final touch of flaky sea salt creates that irresistible sweet-salty balance that elevates this dessert from simple to sophisticated.
I first made these brownies for my sister's birthday gathering last summer, and they disappeared within minutes. Everyone kept asking for the recipe, amazed that something so delicious could be made at home. The whipped caramel technique creates a light, almost mousse-like topping that sets these apart from any other caramel brownies I've ever tried.
Necessary Components
- All-purpose flour: Provides structure without making brownies too cakey. Weigh it for accuracy or use the fluff, spoon, and level method.
- Unsweetened cocoa powder: Brings deep chocolate flavor. Natural cocoa offers fruitier notes, while Dutch-processed is smoother.
- Granulated sugar: Dissolves into the batter, creating essential sweetness and helping form a crackly top.
- Powdered sugar: Ensures smooth batter and glossy texture, mimicking nostalgic box-mix brownies.
- Dark chocolate chunks: Adds intense chocolate pockets. Opt for high-quality chocolate with 60-70% cacao content.
- Unsalted butter: Enhances richness and tenderness. Room temperature butter blends better.
- Large eggs: Bind ingredients while adding moisture. Room temperature eggs incorporate more smoothly.
- Vanilla extract: Complements chocolate and caramel. Use pure extract for the best flavor.
- Heavy cream: Forms the base of the caramel, creating a velvety consistency.
- Sea salt: Enhances flavor contrast. Use flaky salt like Maldon or fleur de sel for the best texture.
Preparation Approach
- Caramel Creation:
- Heat a heavy-bottomed saucepan over medium heat. Gradually add sugar, swirling to distribute heat evenly. Allow it to caramelize to a deep amber hue, then remove from heat.
- Finishing Caramel:
- Whisk in butter in small increments, followed by heavy cream. Stir in salt and transfer caramel to a container to cool. Once cooled, whip with an electric mixer until light and airy.
- Brownie Base:
- Preheat oven and line a baking pan with parchment paper. Beat butter and sugars together until light. Incorporate eggs one at a time, then mix in vanilla extract. Fold in dry ingredients and chocolate chunks gently.
- Baking Perfection:
- Spread batter into the pan and bake in a preheated oven until edges set and the center remains slightly soft. Cool completely before adding caramel.
- Final Assembly:
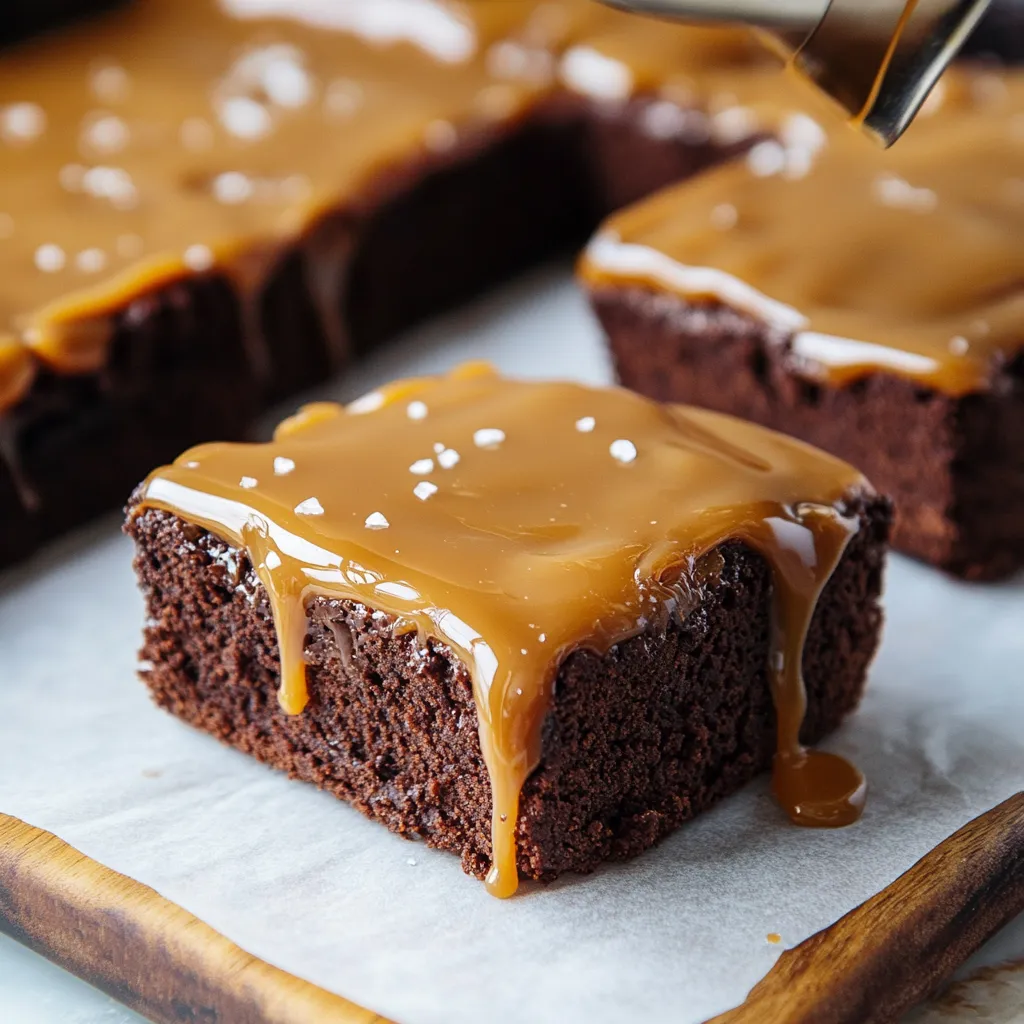
- Spread whipped caramel over cooled brownies with an offset spatula. Sprinkle flaky sea salt immediately to ensure adhesion. Chill briefly before slicing with a warm knife for clean edges.
 Pin it
I discovered the importance of properly cooling brownies during a family reunion where I rushed the process and ended up with a messy presentation. My grandmother watched me struggling and simply said, 'Patience makes perfect brownies.' Since then, I've learned that proper cooling time transforms good brownies into extraordinary ones.
Texture Secrets
Achieving the perfect brownie texture requires balance. Using both powdered and granulated sugar creates the ideal structure. Gently folding dry ingredients prevents overmixing, ensuring a fudgy texture rather than a cake-like result. Brownies continue cooking after removal from the oven, so pulling them slightly early guarantees that rich, melt-in-your-mouth center.
Customization Options
Try adding a teaspoon of espresso powder to intensify the chocolate flavor. For holiday versions, swirl peppermint extract into the batter or sprinkle crushed candy canes on top. Add toasted nuts for crunch, or drizzle melted chocolate over the caramel for extra indulgence.
Storage Solutions
Store brownies in an airtight container at room temperature for up to two days. Refrigerate for up to a week, bringing them to room temperature before serving. For longer storage, freeze in layers separated by parchment paper for up to three months, thawing overnight in the fridge.
 Pin it
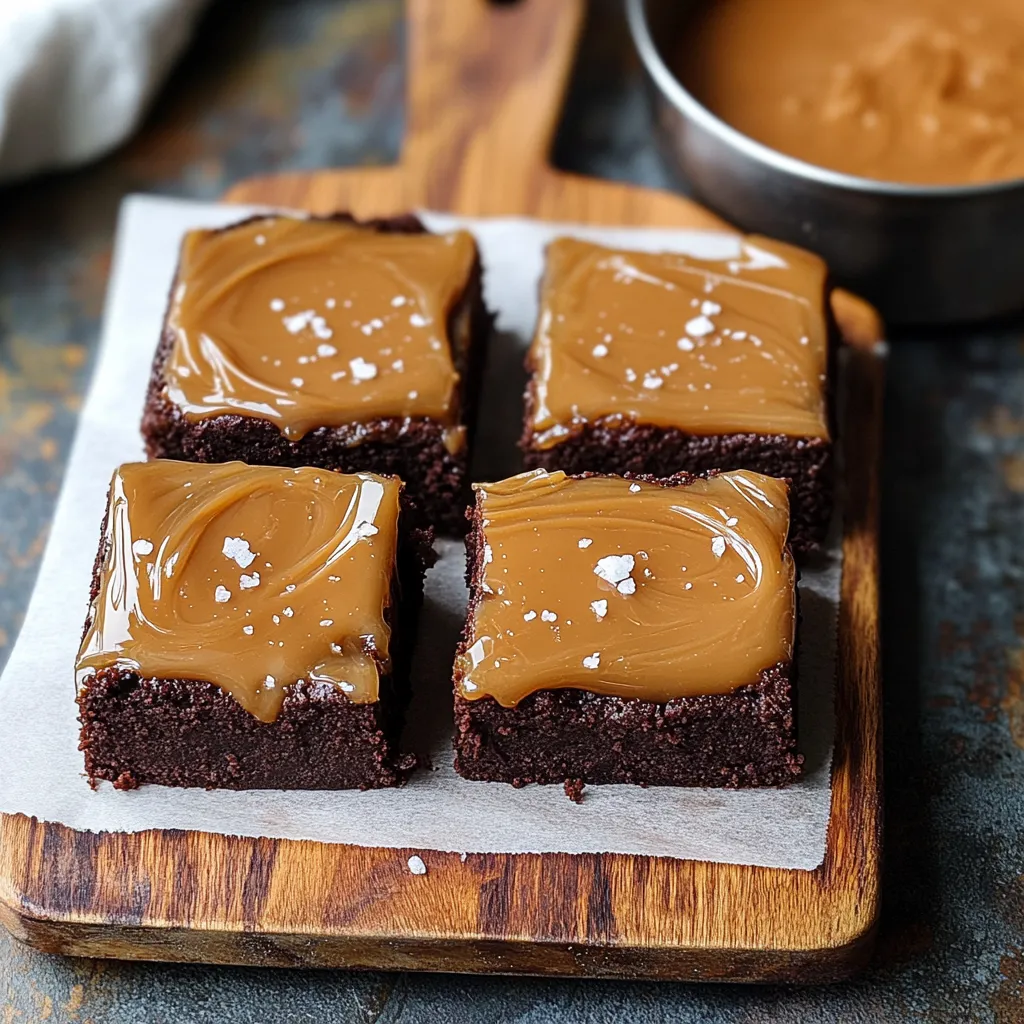
After experimenting with countless brownie recipes, I always return to this combination of techniques. The contrast between the fudgy base and whipped caramel creates a truly exceptional dessert. While patience is required, the end result is a bakery-worthy treat that impresses every time.
Frequently Asked Questions
- → Why do I need to whip the caramel for these brownies?
- Whipping the cooled caramel incorporates air, creating a lighter texture and color. This makes it easier to spread over the brownies and gives it a beautiful, fluffy consistency that contrasts nicely with the dense brownie base.
- → Can I make the caramel for these brownies in advance?
- Absolutely! The caramel can be made up to two weeks ahead and stored in an airtight container in the refrigerator. Just let it come to room temperature and whip it before spreading over your brownies.
- → Why does the recipe specify using a metal pan rather than glass?
- Metal pans conduct heat more efficiently and evenly than glass, which tends to get hotter and can cause overbaking at the edges. If you only have a glass pan, reduce the oven temperature to 300°F and monitor baking time carefully.
- → How do I know when the brownies are done baking?
- Unlike cakes, brownies are done when a toothpick inserted comes out with a few moist crumbs attached (not wet batter). If the toothpick comes out completely clean, they're likely overbaked and won't be as fudgy.
- → What's the best way to cut these Salted Caramel Brownies neatly?
- For clean cuts, make sure the brownies are completely cooled (chilling helps). Use a sharp knife dipped in hot water and dried between each cut. This prevents the caramel from sticking to the knife and gives you perfect slices.
- → Can I freeze these Salted Caramel Brownies?
- Yes! Freeze the brownies without the caramel topping for up to 3 months. Wrap tightly in plastic wrap and foil. Thaw overnight in the refrigerator, then add the caramel and salt right before serving.