
 Pin it
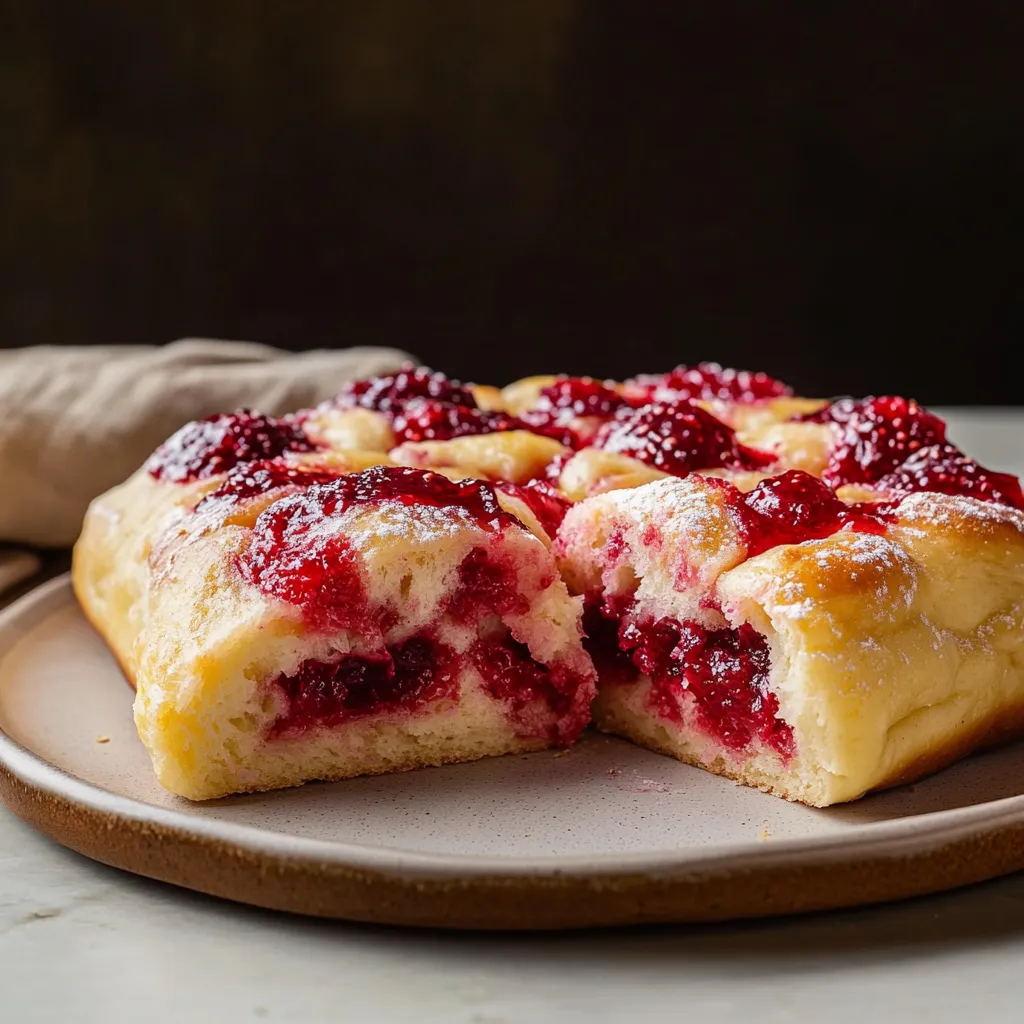
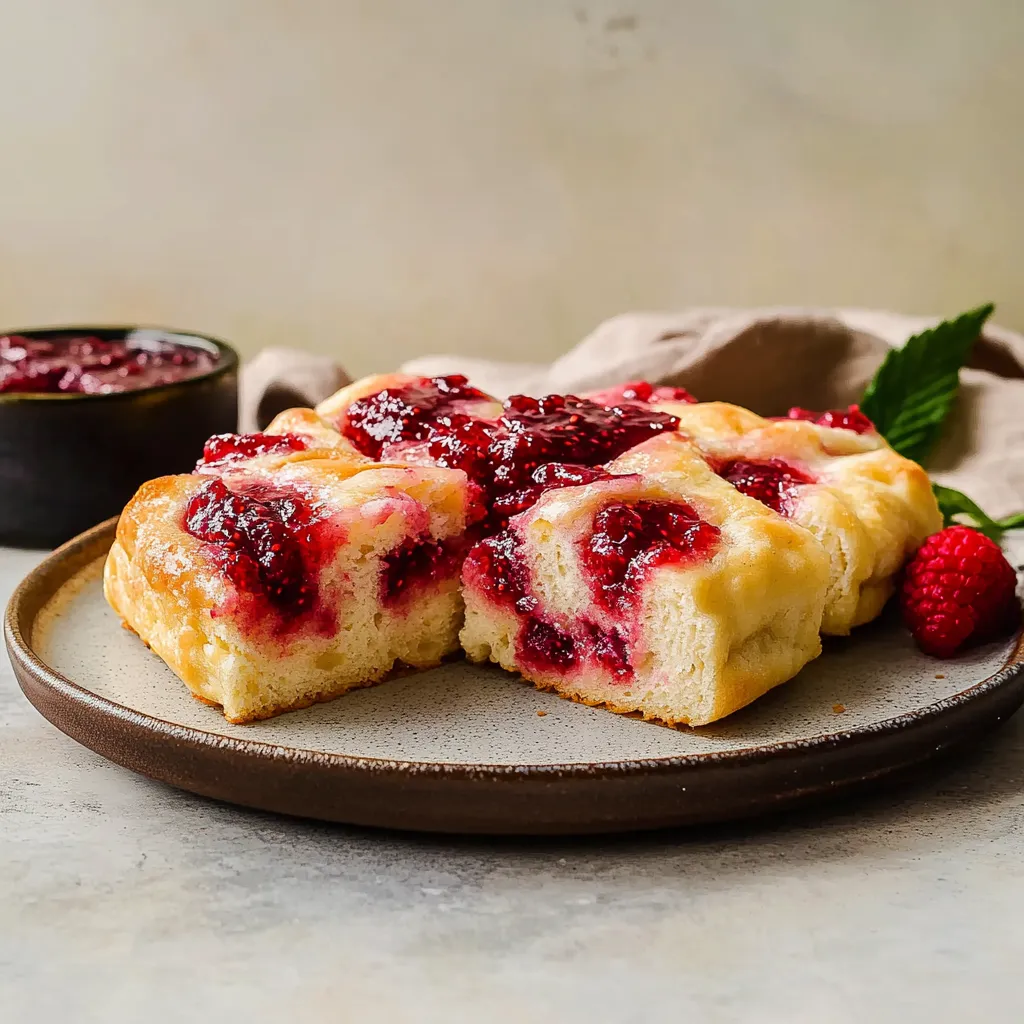
This rustic sweet focaccia with raspberry jam transforms traditional Italian bread into a delightful dessert that bridges the gap between bread and pastry. The fluffy, olive oil-infused dough creates the perfect canvas for tart raspberry jam, while the sweet glaze adds just the right amount of indulgence.
I first made this sweet focaccia for a Sunday brunch with friends, and it quickly became my signature contribution to potlucks. The combination of a slightly savory bread base with sweet jam filling creates that perfect balance that keeps everyone asking for the recipe.
Ingredients
- Warm water: 105-115°F ensures proper yeast activation without killing the yeast cells
- Sugar: Feeds the yeast and adds subtle sweetness to the dough
- Active dry yeast: Provides the leavening power, make sure it is fresh for proper rising
- Bread flour: Offers higher protein content for better structure and chewiness
- All purpose flour: Balances the texture, preventing it from becoming too dense
- Salt: Enhances flavors and controls yeast activity
- Olive oil: Adds moisture and creates that signature focaccia texture
- Raspberry jam: Provides the perfect tart sweetness, Bonne Maman brand offers exceptional flavor
- Powdered sugar: Creates a smooth glaze that sets beautifully
- Whole milk: Adds richness to the glaze while allowing it to set properly
Step-by-Step Instructions
- Activate the yeast:
- Combine warm water 105-115°F with sugar in your stand mixer bowl and whisk until sugar dissolves. Add the yeast and mix until incorporated. Let it sit for 5 minutes until foamy and bubbly. This step is crucial – the bubbling indicates active yeast; if you see no activity, your yeast may be dead and you should start over.
- Create the dough:
- Attach the dough hook to your stand mixer and add both flours and salt to the yeast mixture. Mix on medium low speed until a sticky dough forms, about 3 to 4 minutes. The dough will pull away from the sides but still stick to the bottom of the bowl, which is exactly what you want for a properly hydrated focaccia.
- First rise:
- Prepare a large mixing bowl by coating it with 2 tablespoons of olive oil, ensuring the sides are well covered. Transfer the dough to this bowl and use your hands to spread more oil over the surface of the dough. Cover with plastic wrap and place in a warm, sunny spot for one hour. The warmth accelerates the rising process, allowing the yeast to create carbon dioxide bubbles throughout the dough.
- Shape and second rise:
- Brush a 9x13 metal pan with 2 tablespoons olive oil, ensuring complete coverage. Transfer the doubled dough to the pan and fold it over itself several times while flipping to coat all surfaces with oil. This folding technique builds structure and ensures even oil distribution. Cover again with plastic wrap and let rise in a warm spot for another hour until doubled and spread to the pan edges.
- Create the texture:
- Preheat your oven to 425°F. Remove the plastic wrap and drizzle the remaining 2 tablespoons of olive oil over the dough surface. Use your fingertips to firmly press down, creating deep dimples throughout the dough. These indentations will capture the jam and create the signature focaccia texture with distinctive valleys and peaks.
- Add jam and bake:
- Spoon about 1/4 cup raspberry jam onto the dimpled dough surface, working it into the grooves with the back of a spoon. Bake for 18 to 22 minutes until the top is lightly golden brown and the bread is cooked through. The jam will bubble and caramelize slightly, creating pockets of intense flavor.
- Create filling pockets:
- While the bread is still warm, use a large straw to poke approximately 35 holes throughout the surface. Do not be timid with this step – more holes mean more jam pockets throughout the bread. The warm bread will soften the jam, allowing it to flow into these channels.
- Fill and glaze:
- Use a small spoon to carefully fill each hole with additional raspberry jam. The warm bread will help the jam spread throughout the interior. Allow the bread to cool slightly before making the glaze. Combine powdered sugar with milk, one tablespoon at a time, using an electric mixer until you achieve a consistency that is thin enough to spread but thick enough to set properly.
- Finish and serve:
- Pour the glaze over the top surface, allowing it to drip into crevices. For an extra special touch, once the top glaze sets, flip the bread and glaze the bottom surface as well, creating a true donut-like experience. Cut into squares once set and serve at room temperature.
 Pin it
This recipe reminds me of my grandmother's kitchen, where she would transform simple ingredients into memorable treats. The raspberry jam is really the star here – it provides just the right amount of tartness to balance the sweet glaze and rich bread. I keep several jars of Bonne Maman in my pantry specifically for this recipe.
Storage and Freshness
Unlike traditional focaccia, which is best eaten the day it's made, this sweet version actually improves slightly overnight. The jam has time to fully penetrate the bread, creating an even more flavorful experience. Store covered at room temperature for up to two days. For longer storage, cut into portions and freeze individually wrapped pieces for up to one month. Reheat frozen pieces in a 300°F oven for about 10 minutes to restore the texture.
Serving Suggestions
This sweet focaccia works beautifully as a breakfast treat alongside espresso or cappuccino. For a more decadent dessert presentation, warm each piece slightly and serve with a scoop of vanilla ice cream. The contrast between the warm bread and cold ice cream creates a delightful temperature contrast. For brunches, cut into smaller pieces and arrange on a platter alongside fresh berries for an impressive display that guests will remember.
Seasonal Adaptations
While raspberry jam creates a classic flavor profile, this recipe welcomes seasonal adaptations. During summer, use fresh berries pressed into the dimples before baking instead of jam. In fall, substitute apple butter and add a sprinkle of cinnamon to the dough. Winter holidays call for cranberry jam with orange zest mixed into both the dough and glaze. Spring begs for strawberry jam and a touch of fresh basil in the dough, creating a sophisticated flavor combination.
 Pin it
Enjoy making your sweet focaccia – the perfect balance of bread and indulgence!
Frequently Asked Questions
- → Can I use a different type of jam?
Absolutely! While raspberry jam creates a beautiful flavor contrast with the bread, you can substitute any jam variety you prefer. Strawberry, blackberry, or apricot would all work wonderfully. Just ensure it's a high-quality jam for the best flavor.
- → Why do I need two different types of flour?
The combination of bread flour and all-purpose flour creates the perfect texture. Bread flour provides structure and chewiness due to its higher protein content, while all-purpose flour ensures the focaccia remains tender rather than too dense.
- → How important is the rising time?
Very important! The two separate hour-long rises allow the yeast to develop flavor and create the signature airy texture. Placing the dough in a warm spot helps activate the yeast more effectively. Don't rush this process for best results.
- → Can I make this without a stand mixer?
Yes, you can mix and knead the dough by hand. Combine ingredients in a large bowl and knead on a floured surface for about 8-10 minutes until the dough becomes smooth and elastic. It requires more effort but produces equally delicious results.
- → What's the best way to store leftover sweet focaccia?
Store in an airtight container at room temperature for up to 2 days. For longer storage, wrap individual pieces in plastic wrap and freeze for up to 1 month. Reheat frozen pieces in a 350°F oven for 5-7 minutes or microwave for 20-30 seconds until warmed through.
- → Why poke holes after baking?
The holes created after baking allow additional raspberry jam to penetrate deep into the bread, creating pockets of flavor throughout rather than just on top. This technique ensures every bite contains some of the fruity sweetness.