
 Pin it
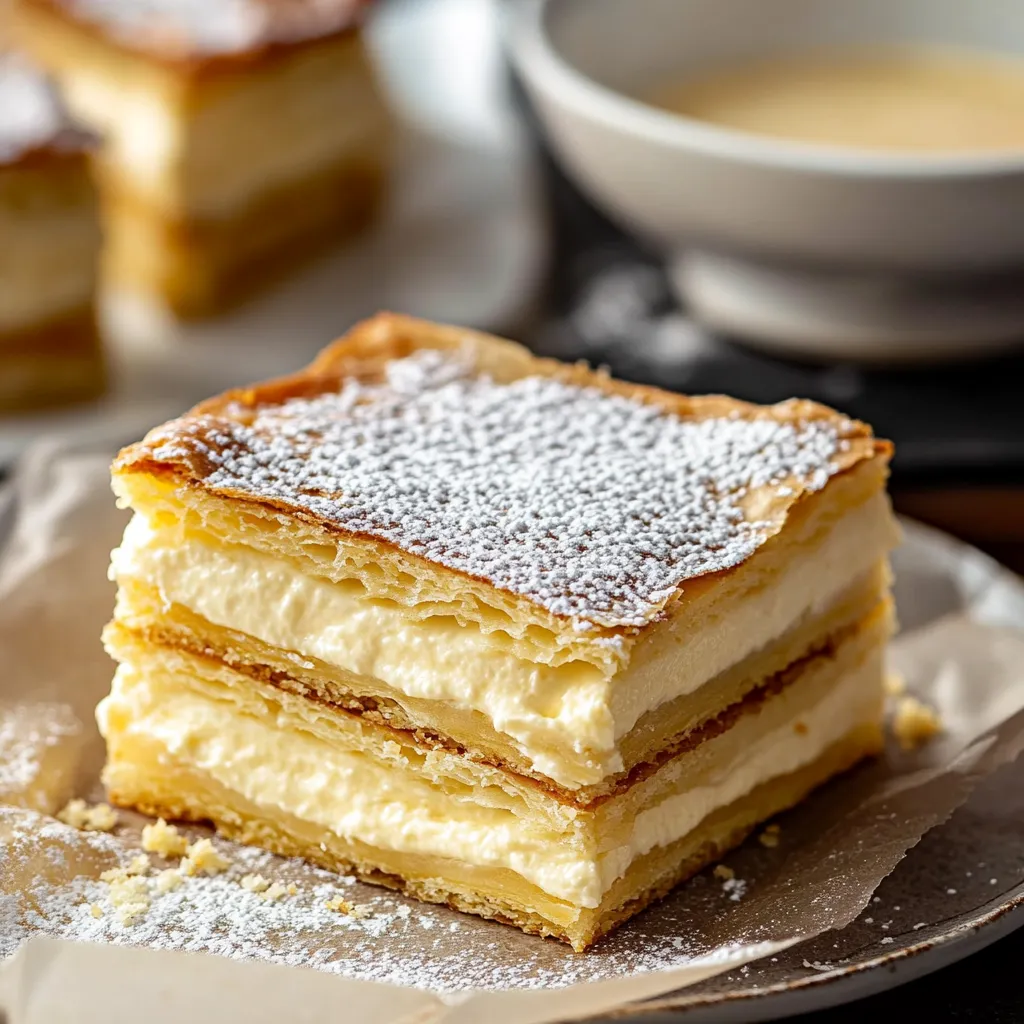
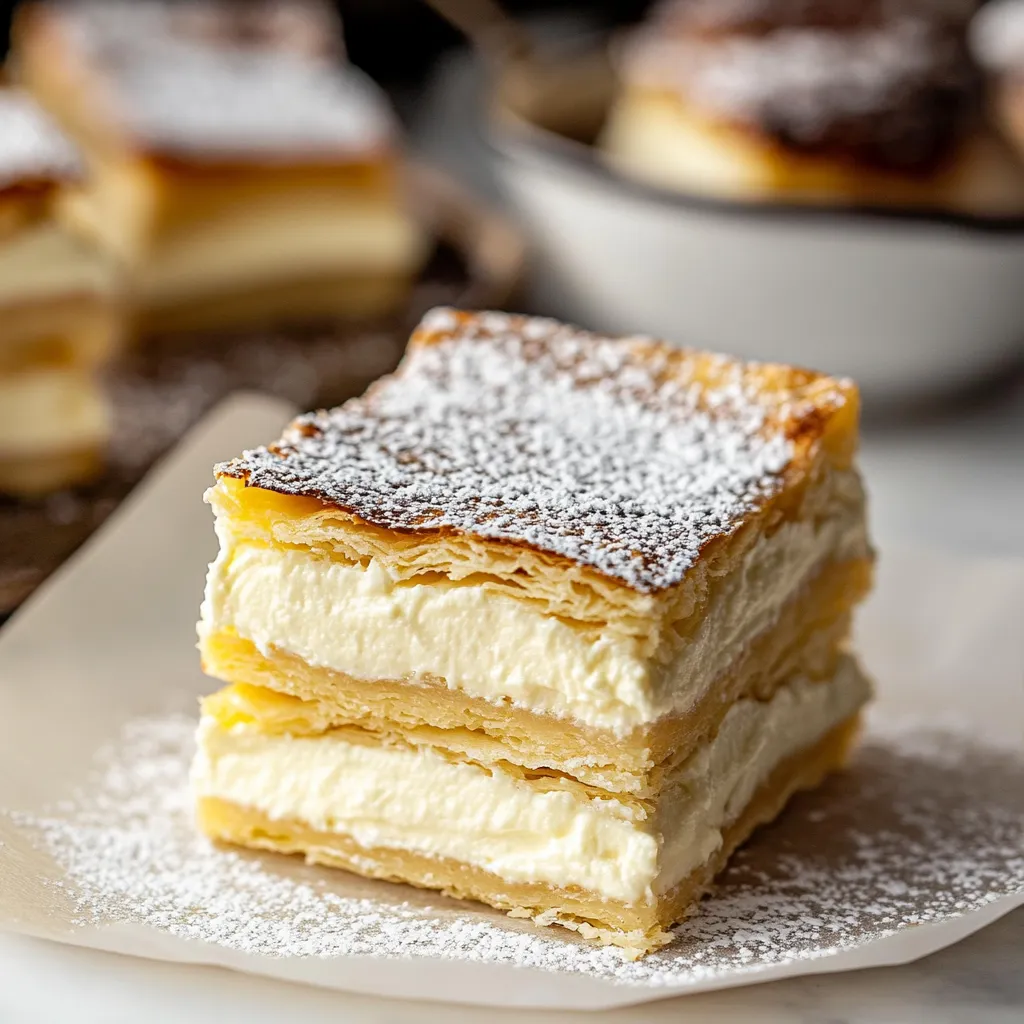
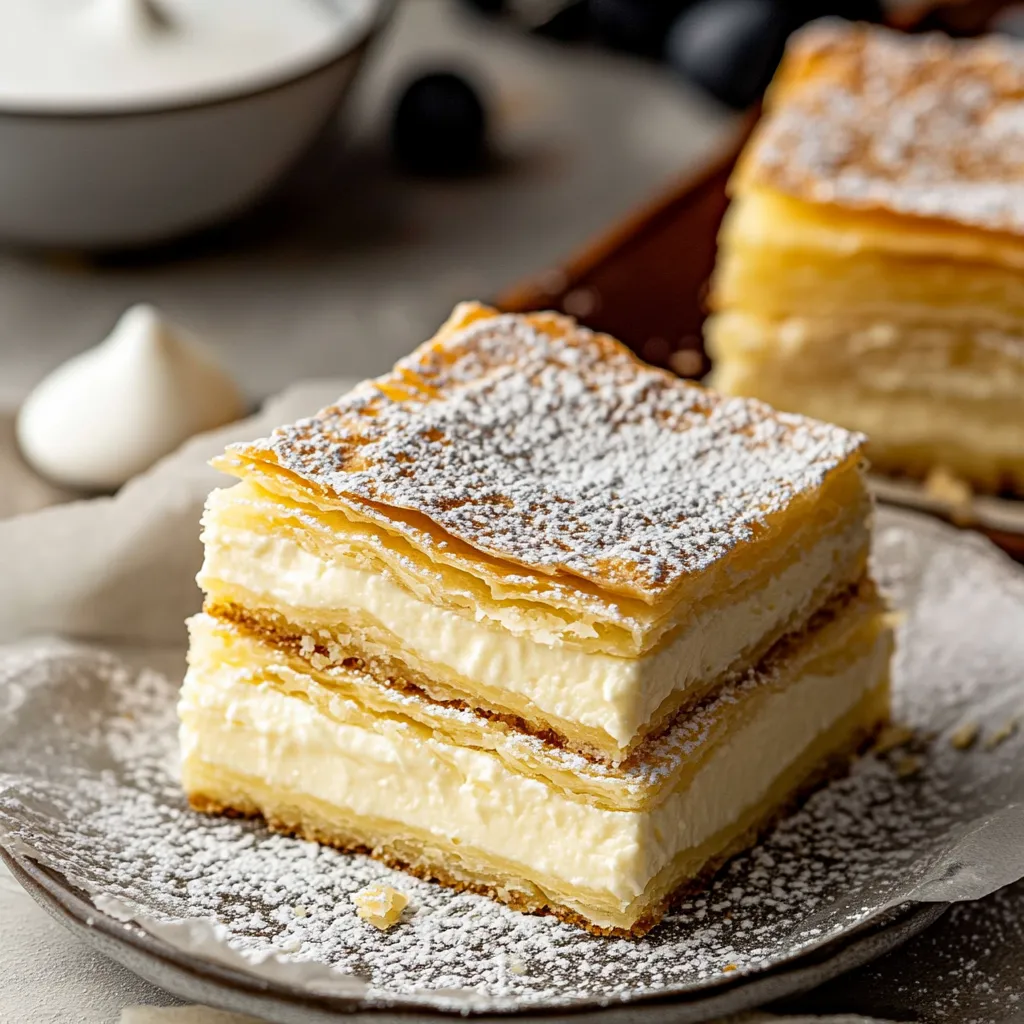
This creamy vanilla slice combines flaky puff pastry with a luscious homemade custard for a dessert that's both elegant and comforting. Perfect for special occasions or whenever you want to treat yourself to something truly special, this classic pastry brings bakery-quality indulgence right to your home kitchen.
I first made this vanilla slice for my mother's birthday after she mentioned missing the ones from her favorite childhood bakery. The look on her face when she took that first bite made all the effort worthwhile, and now it's become our family's celebration tradition.
Ingredients
- Puff pastry sheets: Offer convenience without sacrificing quality, look for all-butter varieties for the best flavor and flakiness
- Granulated sugar: Provides just the right level of sweetness without overpowering the vanilla
- Cornstarch: Creates that signature silky custard texture that holds its shape when sliced
- Whole milk: Gives richness to the custard, avoid substituting lower fat varieties
- Egg yolks: Provide color and create that luxurious mouthfeel
- Vanilla bean or paste: Delivers intense aromatic flavor and those beautiful specks throughout the custard
- Cold butter cubes: Folded in at the end give the custard a glossy finish and velvety texture
- Powdered sugar: For dusting adds that classic bakery shop finishing touch
Step-by-Step Instructions
- Prepare the puff pastry:
- Preheat your oven to 400°F and line two baking trays with parchment. Roll out each pastry sheet slightly to about 9×9 inches. Use a fork to thoroughly prick the surface all over, creating dozens of tiny holes. Place each sheet on a parchment-lined tray.
- Create the weighted bake:
- Cover each pastry sheet with another piece of parchment paper, then place a second baking tray directly on top to weigh it down. This ingenious technique ensures the pastry bakes flat while still developing those beautiful flaky layers. If you only have two trays, you can bake them one at a time.
- Bake to golden perfection:
- Slide the trays into your preheated oven and bake for 35-45 minutes. Check at the 30-minute mark, but be patient. The pastry should be deeply golden brown and completely crisp. Underbaked pastry will become soggy once the custard is added. Allow the pastry to cool completely on a wire rack.
- Trim for precise assembly:
- Once cooled, lay your 8×8 pan gently on top of each pastry sheet as a guide. Using a sharp serrated knife, carefully trim the edges to fit the pan perfectly. Make clean, straight cuts by gently sawing rather than pressing down, which could crush the delicate layers.
- Create the custard base:
- In a medium saucepan, thoroughly whisk together the sugar, cornstarch, and salt until no lumps remain. Add the egg yolks and whisk until the mixture becomes thick and pale yellow. This initial mixing ensures your custard will be silky smooth without cornstarch lumps.
- Warm the milk properly:
- In a separate saucepan, warm the milk over medium heat until you see steam rising from the surface. Watch carefully and remove before it reaches a boil. The ideal temperature is around 180°F if you have a thermometer, but steam is a reliable visual indicator.
- Master the tempering technique:
- Pour about one cup of the warm milk into the egg mixture in a thin, steady stream while whisking constantly. This gradual introduction gently raises the temperature of the eggs without scrambling them. Once incorporated, pour this mixture back into the remaining warm milk, whisking continuously.
- Cook to perfect thickness:
- Return the saucepan to medium heat and cook the custard, whisking constantly to prevent scorching. After about 5-7 minutes, the mixture will visibly thicken and begin to bubble. You'll feel resistance against your whisk as it transforms into a luxurious custard. Remove from heat immediately.
- Finish with flavor and richness:
- Add the vanilla bean seeds or paste and cold butter cubes to the hot custard. The temperature contrast is intentional here. Whisk vigorously until the butter completely melts and incorporates, giving the custard a glossy sheen and velvety texture.
- Assemble with precision:
- Line your 8×8 pan with aluminum foil, creating an overhang on all sides. Place one pastry sheet in the bottom, then pour the warm custard over it. Working quickly, use an offset spatula to spread it into a perfectly even layer. Top with the second pastry sheet, gently pressing to adhere.
- Chill for set perfection:
- Cover the assembled slice tightly with plastic wrap or foil, pressing it directly onto the surface to prevent a skin from forming. Refrigerate for at least 4 hours, though overnight is even better. This resting period allows the custard to set completely and the flavors to meld beautifully.
- Cut and serve with finesse:
- Use the foil overhang to carefully lift the entire slice from the pan. With a sharp serrated knife, score the top pastry first, then cut all the way through. Wipe your blade between cuts for pristine edges. Dust generously with powdered sugar just before serving for that classic bakery finish.
 Pin it
My absolute favorite part of making this recipe is scraping those tiny black seeds from the vanilla bean. That moment when the fragrance blooms in your kitchen is pure magic. My daughter now recognizes the smell from the hallway and comes running to help, knowing something wonderful is in the works.
Getting the Perfect Cut
Achieving those clean, professional-looking slices requires a few tricks. First, make sure your vanilla slice is thoroughly chilled. Before cutting, dip your serrated knife in hot water and wipe it clean between each slice. For the most pristine edges, score the top pastry layer first with gentle sawing motions, then cut all the way through with longer strokes. If serving for a special occasion, consider freezing the slice for 20 minutes before cutting for even cleaner lines.
Flavor Variations
While traditional vanilla slice is perfection on its own, you can create delightful variations with a few simple tweaks. For a citrus version, add the zest of one lemon or orange to your custard as it cooks. Coffee lovers can dissolve 1 tablespoon of espresso powder in the warm milk before adding it to the custard base. For a chocolate variation, add ¼ cup of sifted cocoa powder to your dry ingredients at the beginning and increase the sugar by 2 tablespoons to balance the bitterness.
Make-Ahead Tips
This vanilla slice is the perfect dessert for entertaining because it must be made ahead. Prepare it up to two days before serving and keep refrigerated. The assembled slice can also be frozen for up to a month if wrapped tightly in plastic and foil. Thaw overnight in the refrigerator before serving. For best results, wait to dust with powdered sugar until just before presenting, as it tends to absorb moisture when stored.
 Pin it
This classic vanilla slice is a symphony of textures and flavors that will leave your guests impressed every time.
Frequently Asked Questions
- → Can I use vanilla extract instead of vanilla bean?
Yes, you can substitute 2 teaspoons of pure vanilla extract for the vanilla bean or vanilla bean paste. However, the flavor won't be quite as intense, and you won't have the characteristic vanilla bean specks in your custard.
- → Why is my custard lumpy?
Lumps usually form when the eggs cook too quickly or unevenly. Ensure you're tempering the egg mixture properly by slowly adding warm milk while whisking constantly. For extra smoothness, strain the finished custard through a fine-mesh sieve before pouring it onto the pastry.
- → How long will vanilla slice keep in the refrigerator?
Vanilla slice will keep well in the refrigerator for 2-3 days. Store it in an airtight container to prevent the pastry from absorbing other flavors or becoming soggy. The pastry will gradually soften over time but will still taste delicious.
- → Can I make vanilla slice ahead of time?
Yes, this dessert is perfect for making ahead! The vanilla slice actually benefits from chilling overnight, which allows the custard to set completely and the flavors to meld. Just wait to dust with powdered sugar until right before serving.
- → Can I freeze vanilla slice?
Freezing is not recommended as the custard texture can change upon thawing, becoming watery or grainy. The pastry may also lose its distinct flaky texture. This dessert is best enjoyed fresh or within a few days of making.
- → Why do you need to weigh down the puff pastry while baking?
Weighing down the puff pastry with another baking sheet prevents it from rising too much, creating a more compact, crisp layer rather than a fully puffed pastry. This gives the vanilla slice its characteristic flat, layered appearance and makes it easier to eat.