 Pin it
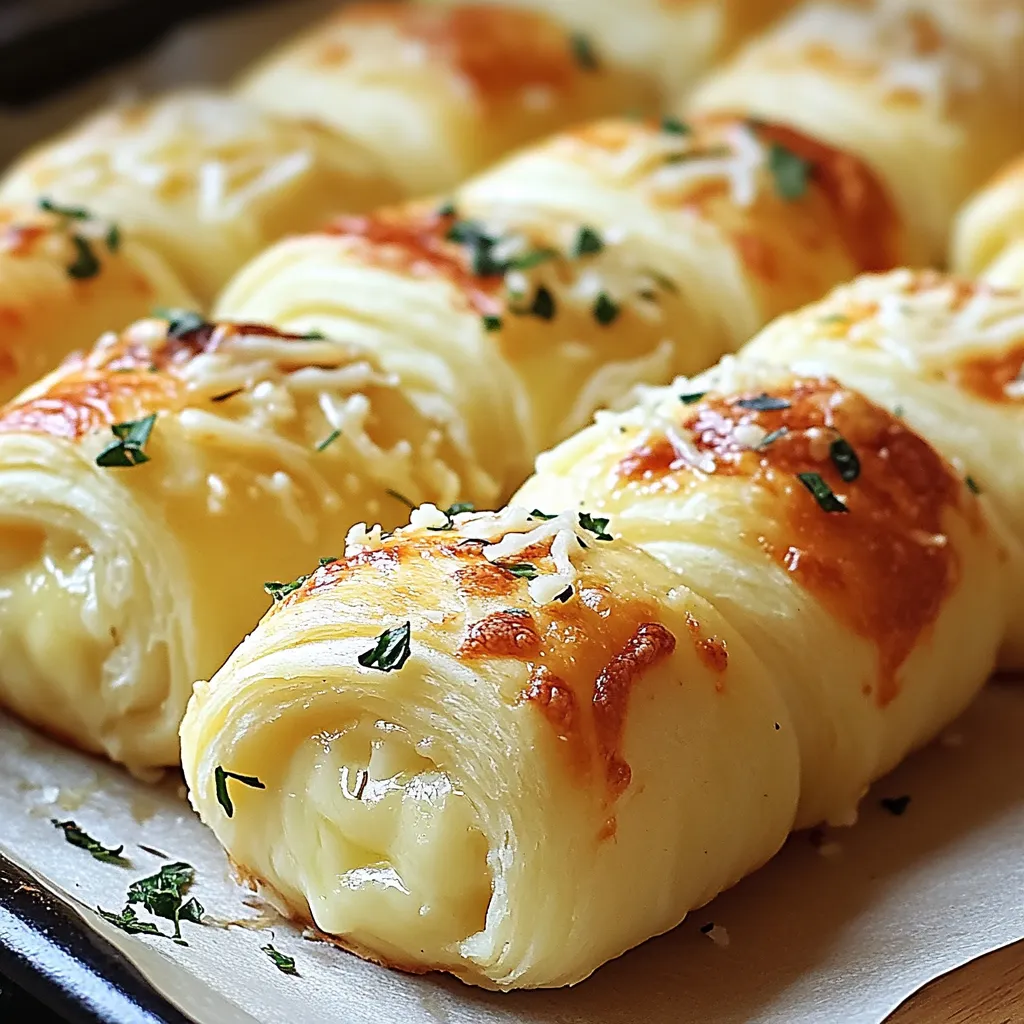
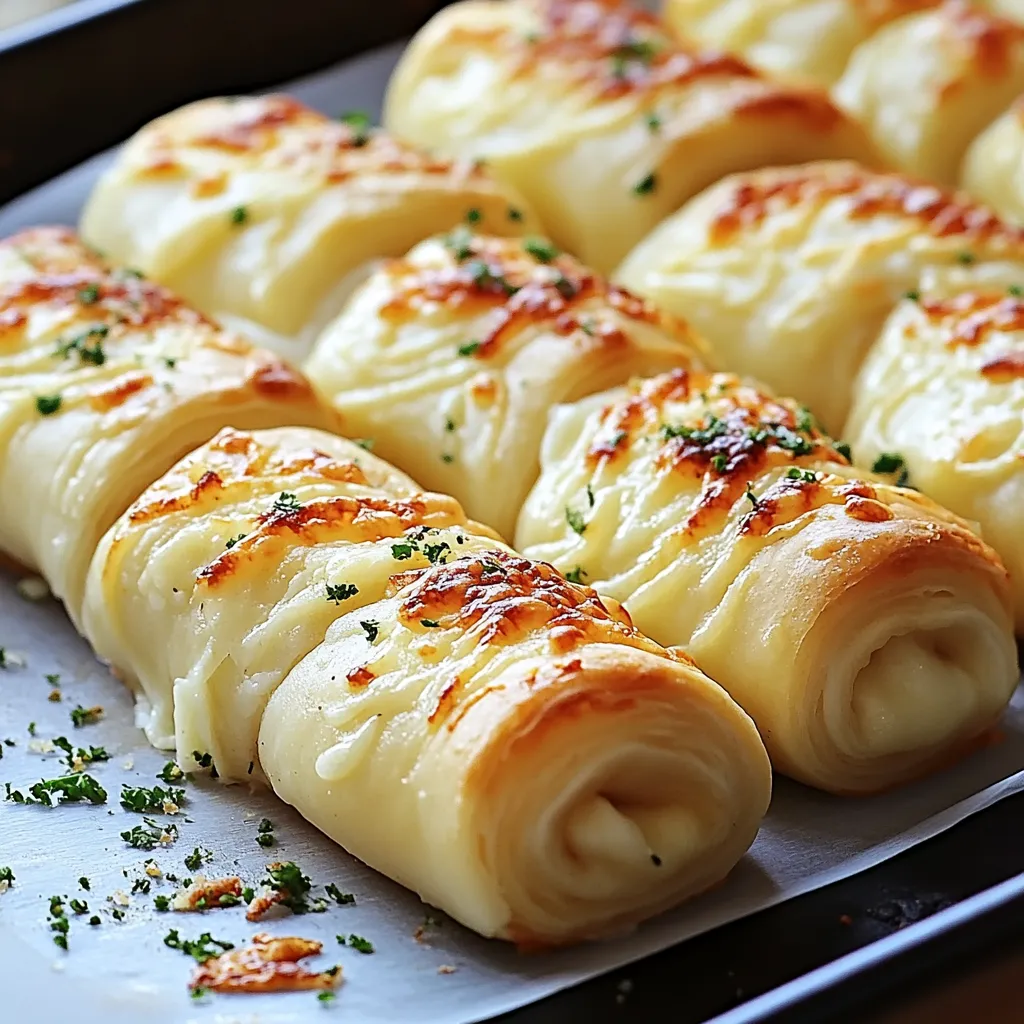
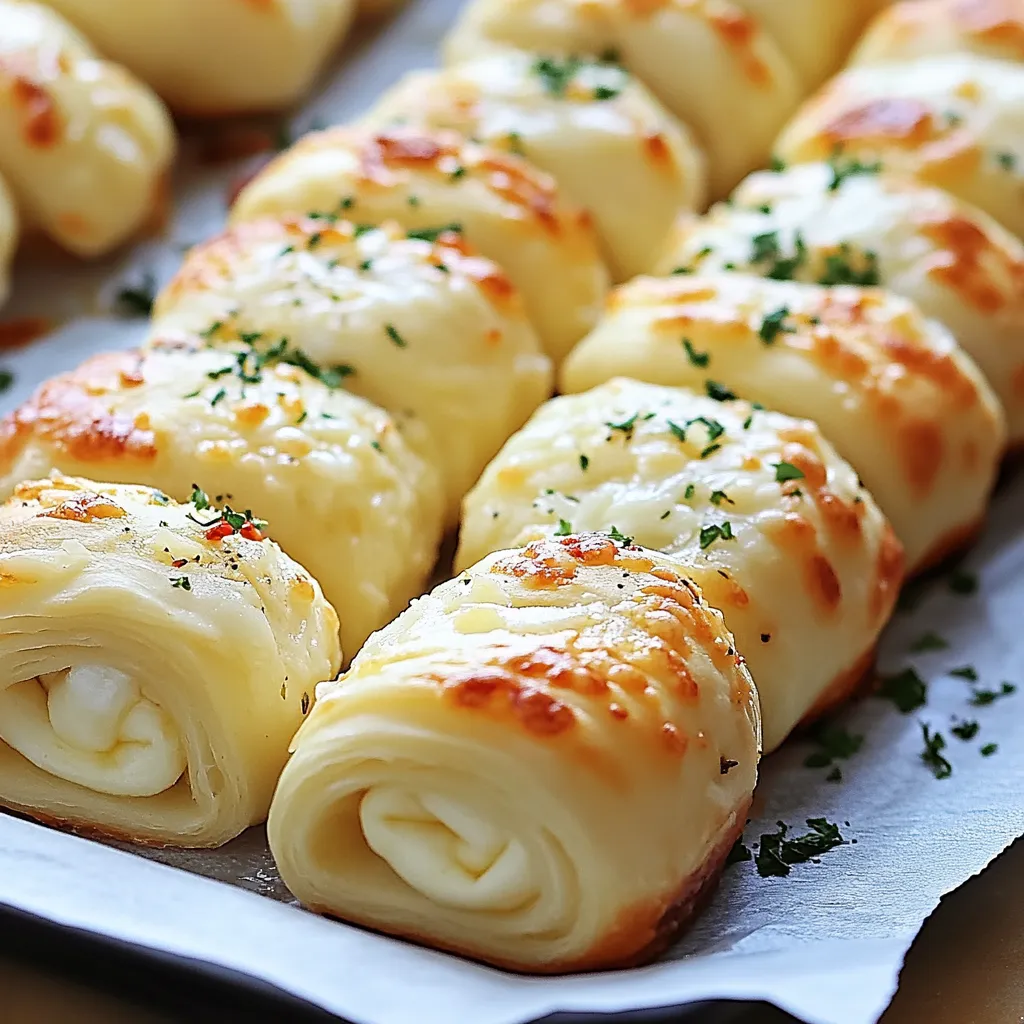
Golden spirals of soft dough wrapped around gooey melted cheese and infused with rich garlic butter create an irresistible treat that disappears moments after serving. These Cheesy Garlic Butter Rollups transform simple ingredients into a sensational appetizer that appeals to everyone from picky children to discerning food enthusiasts. The combination of warm, stretchy cheese and aromatic garlic butter creates a flavor experience that satisfies deep comfort food cravings while still being elegant enough for entertaining. Perfect alongside pasta dishes or as stand-alone snacks, these rollups deliver maximum flavor with minimal effort.
Irresistible Qualities
- These savory bites require just a handful of ingredients that most home cooks already have on hand, making them perfect for last-minute entertaining
- The preparation process takes mere minutes, allowing you to have a crowd-pleasing appetizer ready in under half an hour
- Their versatility means they work equally well as after-school snacks, party appetizers, or accompaniments to your favorite Italian dishes
- The perfect cheese pull when breaking them apart creates an Instagram-worthy moment everyone loves
I first made these rollups for my son's birthday party when I realized I needed another quick appetizer to feed hungry guests. They were such a hit that several parents requested the recipe before leaving. What amazes me most is how something so simple can generate such enthusiasm. My daughter now requests these as her special Friday night treat when we have movie nights at home. The joy on her face when she takes that first bite makes all the effort worthwhile.
Key Ingredients
- Refrigerated crescent roll dough: provides a convenient base that bakes up flaky and golden without any fuss. Look for all-butter varieties for the richest flavor
- Mozzarella cheese: creates that perfect melty stretch when the rollups are pulled apart. Fresh mozzarella works beautifully but needs to be well-drained
- Fresh garlic: infuses the butter with aromatic depth that elevates these simple rollups. Choose firm bulbs with tight skin for the most potent flavor
- Butter: contributes rich flavor and helps the exterior develop a beautiful golden color. Unsalted gives you better control over the final seasoning
- Fresh parsley: adds a pop of color and herbaceous brightness that cuts through the richness. Flat-leaf varieties offer more pronounced flavor
- Grated Parmesan cheese: brings a salty, umami finish that takes these rollups to the next level. Freshly grated melts more smoothly than pre-packaged options
Preparation Method
- Temperature Setting
- Begin by preheating your oven to 375°F (190°C) to ensure optimal baking conditions for your rollups. This temperature allows the dough to rise and turn golden while giving the cheese enough time to melt completely without burning the exterior. Line a baking sheet with parchment paper to prevent sticking and make cleanup effortless.
- Dough Preparation
- Carefully unroll the crescent roll dough from its packaging onto a clean, lightly floured surface, being gentle to maintain its integrity. Separate the perforated dough into individual triangles, arranging them with the wide end facing you for easier rolling. If any triangles tear slightly, gently press them back together with your fingertips.
- Cheese Placement
- Position a string cheese cut in half or approximately two tablespoons of shredded mozzarella at the wide base of each triangle. For optimal melting, place the cheese about half an inch from the edge, leaving room to seal the dough during rolling. If using shredded cheese, press it together slightly to create a compact filling that won't scatter during the rolling process.
- Rolling Technique
- Starting at the wide end where the cheese sits, carefully roll the dough around the cheese toward the pointed tip, maintaining gentle tension for a tight seal. The dough should completely encase the cheese with the pointed end positioned underneath to prevent unraveling during baking. For extra security, slightly pinch the sides of the dough to seal any potential cheese escape routes.
- Flavor Infusion
- Create the aromatic garlic butter by combining four tablespoons of melted unsalted butter with three finely minced garlic cloves in a small bowl. For a smoother consistency, allow the butter to cool slightly before adding the garlic to prevent it from cooking in the hot butter. Mix thoroughly to ensure the garlic is evenly distributed throughout the butter for consistent flavor in every bite.
- Generous Brushing
- Arrange your rolled dough pieces on the prepared baking sheet, spacing them at least two inches apart to allow for expansion. Using a pastry brush, generously coat each rollup with the garlic butter mixture, ensuring it penetrates the exterior surface and settles into any crevices. Save a small amount of the garlic butter for brushing after baking.
- Golden Transformation
- Place the baking sheet in the center of your preheated oven and bake for 12-15 minutes, watching carefully near the end. Look for a deep golden brown exterior and slight bubbling of cheese at the edges as indicators of perfect doneness. The rollups should feel set to the touch but still yield slightly when pressed gently.
- Final Flavor Enhancement
- Remove the rollups from the oven and immediately brush them with the remaining garlic butter while still hot to maximize flavor absorption. Sprinkle with freshly chopped parsley and a light dusting of grated Parmesan cheese while warm so these final ingredients slightly melt into the surface. Allow to cool for just 2-3 minutes before serving for the optimal cheese-pull experience.
Essential Knowledge
- Rolling the dough tightly around the cheese prevents gaps that allow cheese to leak during baking
- Using block cheese cut into sticks rather than pre-shredded cheese results in a better melt and less oil separation
- Allowing the rollups to cool for a few minutes before serving prevents burnt mouths while keeping the cheese perfectly melty
- The garlic butter can be prepared up to three days in advance and stored in the refrigerator for even faster preparation
- Slightly underbaking the rollups (around 11 minutes) creates a softer, more bread-like texture if preferred over crispiness
 Pin it
Serving Ideas
Serve these Cheesy Garlic Butter Rollups alongside a warming bowl of tomato soup for the ultimate comfort food experience. The acidity of the soup beautifully balances the rich, buttery rolls. For entertaining, arrange them on a large platter surrounded by various dipping options including marinara sauce, ranch dressing, and pesto for guests to customize their experience. Create a complete appetizer spread by pairing with antipasto skewers and marinated olives for an Italian-inspired grazing table. They also make a delightful accompaniment to a simple green salad dressed with lemon vinaigrette, creating a light yet satisfying lunch.
Flavor Twists
Elevate these rollups with Italian flair by adding a thin slice of pepperoni beneath the cheese layer and sprinkling dried oregano into the garlic butter. Create a breakfast version using scrambled eggs and cheddar cheese inside, with a sprinkle of everything bagel seasoning on top before baking. For a sophisticated appetizer, incorporate caramelized onions and gruyere cheese with a sprinkle of fresh thyme in the garlic butter for a French-inspired variation. Try a Mediterranean adaptation with feta cheese, sun-dried tomatoes, and a touch of dried oregano for a bold flavor combination that pairs beautifully with Greek yogurt for dipping.
Keeping Fresh
Store any leftover rollups in an airtight container in the refrigerator for up to three days, though they're best enjoyed within 24 hours of baking. To reheat, place them in a 350°F oven for 5-7 minutes until warmed through and crisp again. Avoid microwave reheating which makes the dough soggy and ruins the texture. For make-ahead preparation, assemble the rollups without the garlic butter, cover tightly with plastic wrap, and refrigerate for up to 8 hours before brushing with butter and baking. These rollups can also be frozen after baking and cooled completely, then reheated directly from frozen at 350°F for about 10 minutes for unexpected guests.
 Pin it
Expert Guidance
My journey with these rollups began as a simple solution to use up leftover ingredients, but they've become our most requested recipe when hosting friends. There's something undeniably satisfying about creating something so delicious with such minimal effort. I've found that even kitchen novices feel accomplished when pulling these golden treasures from the oven. That combination of accessibility and impressive results makes these rollups not just a recipe, but a confidence-building cooking experience that brings joy to both the maker and those lucky enough to enjoy them.
Frequently Asked Questions
- → Can I use different types of cheese for these rollups?
- Absolutely! While mozzarella gives you that classic stretchy cheese pull, you can try cheddar, pepper jack, provolone, or even a combo. Just make sure whatever cheese you choose melts well.
- → How do I keep the cheese from leaking out during baking?
- Make sure to roll the dough tightly, starting from the wide end, and place them seam-side down on the baking sheet. Don't overstuff with cheese, and pinch the edges closed if needed.
- → Can I make these rollups ahead of time?
- You can assemble them up to a day ahead and keep them covered in the refrigerator. Just brush with the garlic butter right before baking. They also reheat well in a 350°F oven for about 5 minutes.
- → What can I serve with these Cheesy Garlic Butter Rollups?
- They're delicious on their own but even better with marinara sauce or ranch dressing for dipping. They also pair wonderfully with soups, salads, or pasta dishes.
- → Can I add other ingredients to these rollups?
- Definitely! Try adding a sprinkle of cooked bacon bits, a thin slice of pepperoni, some finely chopped spinach, or a bit of pesto before rolling them up for different flavor variations.
