
 Pin it
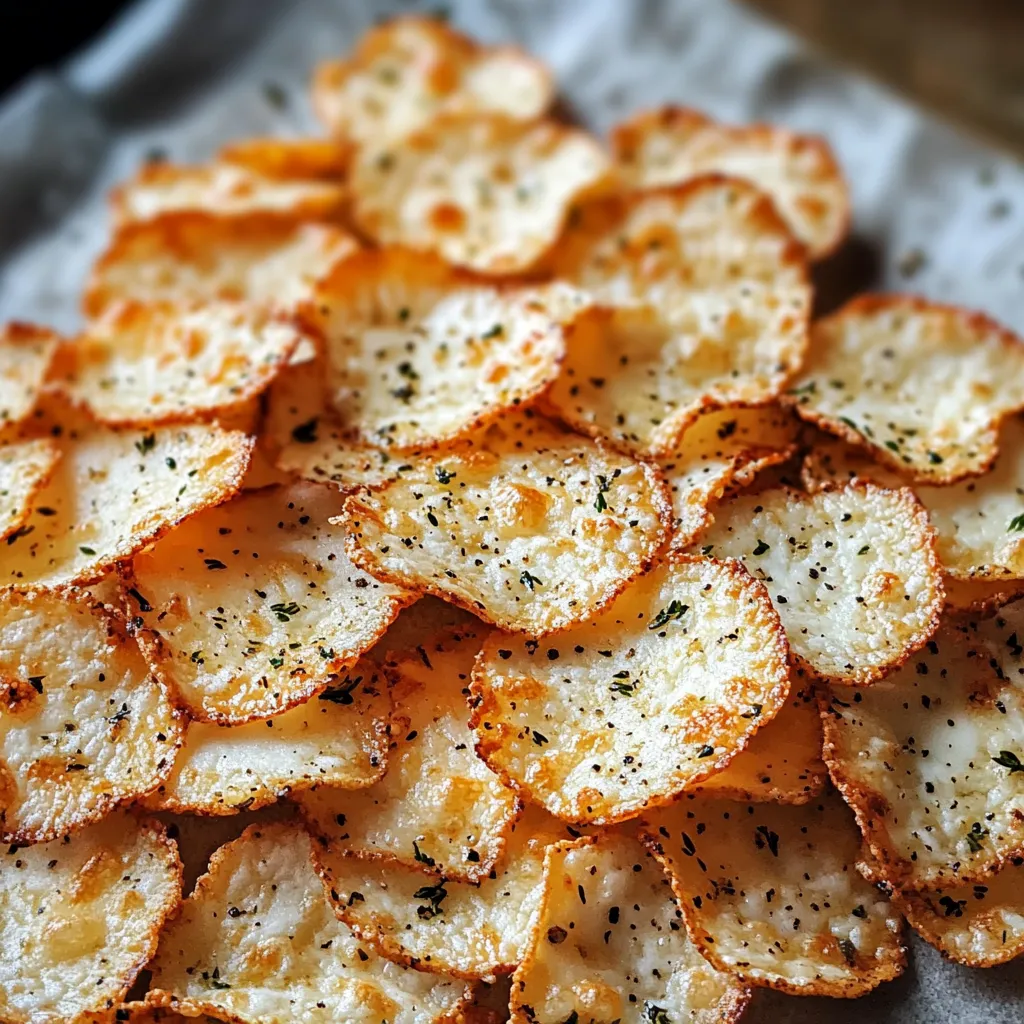
Remember that satisfying crunch of potato chips? Now imagine getting that same crispy satisfaction while feeding your muscles exactly what they need. These cottage cheese chips have revolutionized my snack game, turning simple cottage cheese into crispy, protein-packed bites that satisfy both my snack cravings and my fitness goals. With 24 grams of protein per cup of cottage cheese, these chips are a game-changer for healthy snacking.
The first time I made these chips, I was skeptical. Could cottage cheese really transform into something crispy? But after that first batch came out of the oven, golden and crunchy, I was hooked. Now they're my go-to snack for everything from hiking trips to afternoon meetings.
Perfect Ingredients for Protein-Rich Snacking
- Fresh cottage cheese: Creates the perfect base.
- Favorite seasonings: Add personality.
- Optional parmesan: Adds extra umami.
- Fresh herbs: Boost flavor naturally.
- Spice blends: Create variety.
- Sea salt: Enhances everything.
- Black pepper: Adds gentle heat.
- Nutritional yeast: Provides dairy-free cheesy flavor.
Creating Your Perfect Protein Chips
- The Essential Setup:
- Start by gathering your ingredients and lining your baking sheets with parchment paper or silicone mats. This step is crucial – it prevents sticking and helps achieve that perfect crisp. Preheat your oven to its lowest setting, usually around 170°F (75°C). Low and slow is the secret to perfectly crispy chips.
- The Base Mixture:
- Blend your cottage cheese until completely smooth – this is key for creating uniform chips. A food processor works best, but a blender can do the job too. You want it silky smooth, with no visible curds.
- Creating the Perfect Texture:
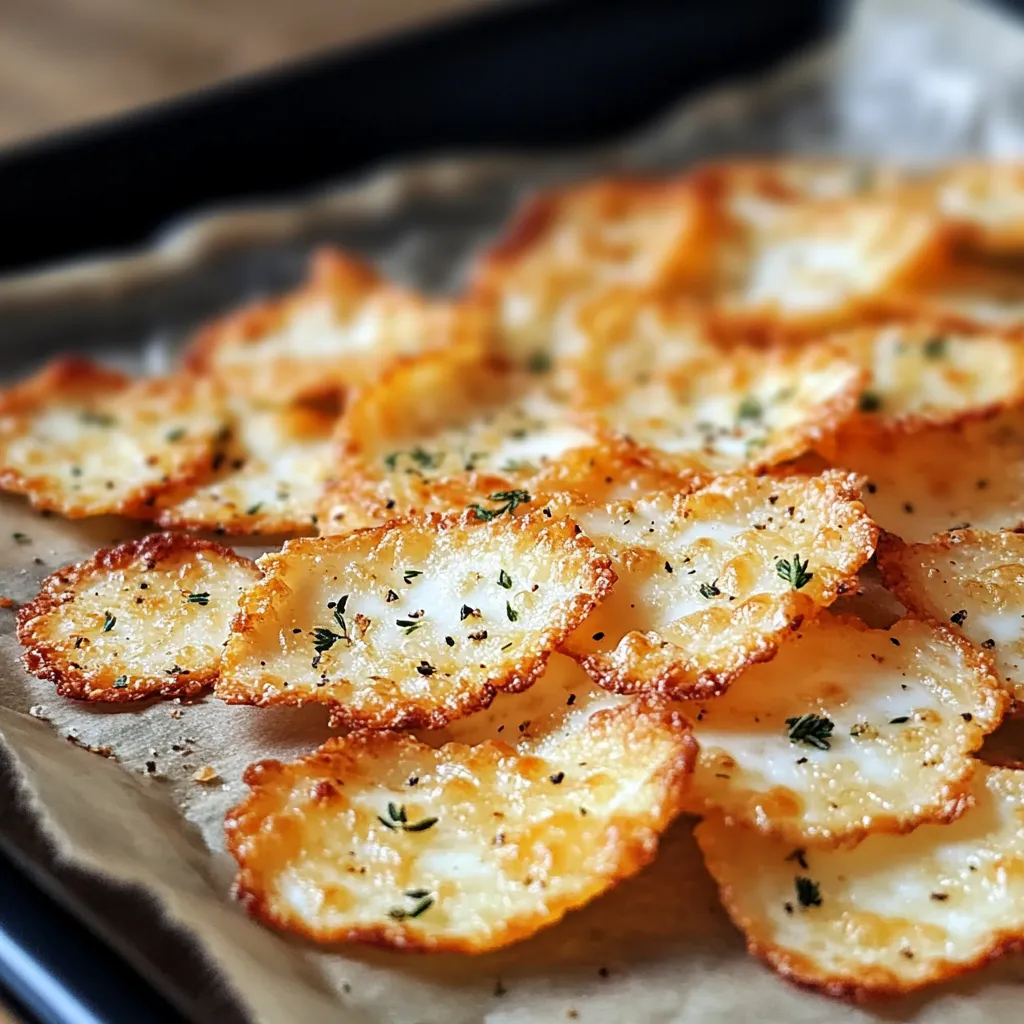
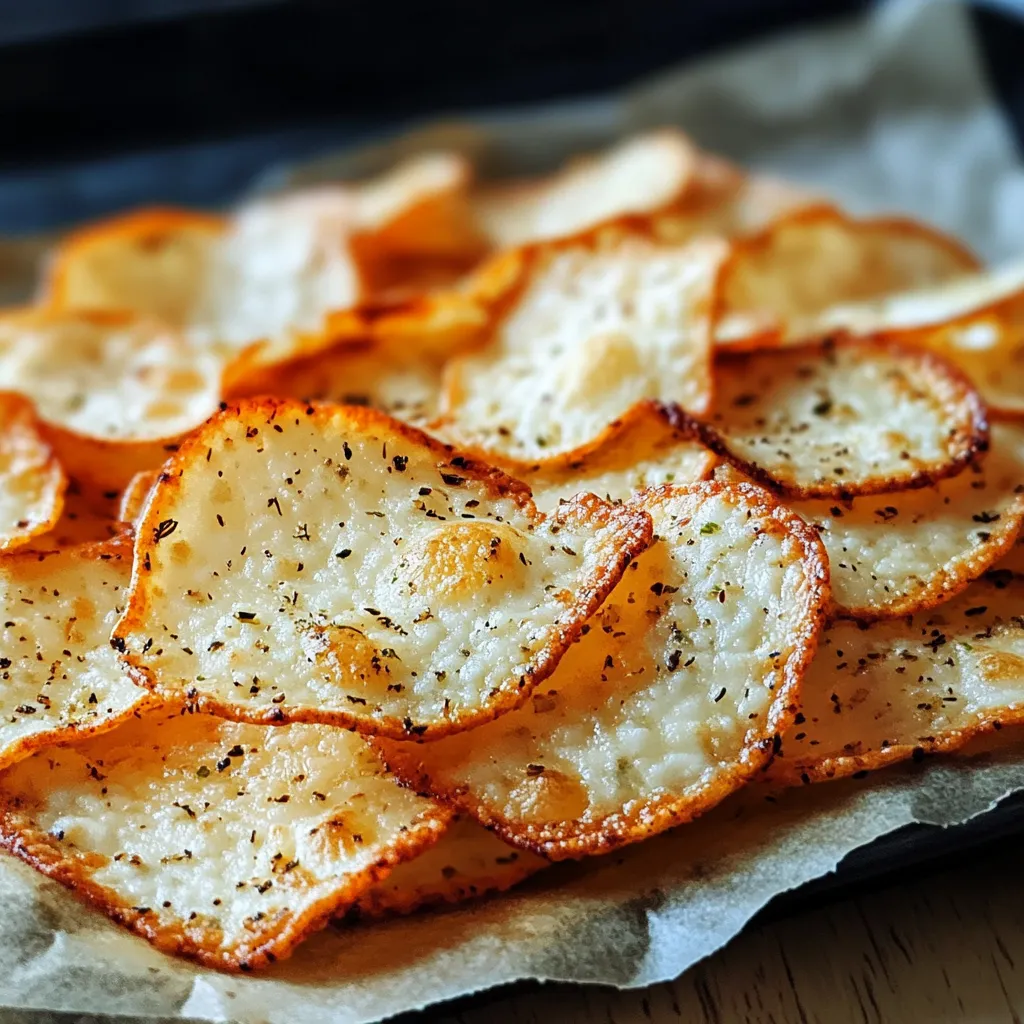
- Using an offset spatula or the back of a spoon, spread your blended cottage cheese into thin, even circles on your prepared baking sheets. Aim for circles about 2-3 inches in diameter and keep them as thin as possible – about 1/8 inch thick. This is where your future crunch comes from! Before they go in the oven, sprinkle on your chosen seasonings.
- The Low and Slow Bake:
- Here's where patience becomes your best friend. These chips need to dry out slowly to achieve that perfect crunch without burning. Bake at 170°F (75°C) for about 2-3 hours, rotating the baking sheets every hour. They're done when they easily peel off the parchment and feel crisp to the touch.
A fitness trainer friend introduced me to these chips, and now they're a staple in both our meal prep routines. She swears they're the perfect post-workout snack.
 Pin it
Professional Snacking Tips
Use full-fat cottage cheese for best results, blend until absolutely smooth, and keep portions uniform for even baking. Store with moisture absorbers, season generously before baking, and cool completely on wire racks. Make large batches for the week and package individually for portion control.
Seasoning Adventures
The possibilities are endless here. My current favorites include:
- Italian Herb: Basil, oregano, and garlic powder.
- Spicy Ranch: Ranch seasoning with a dash of cayenne.
- Everything Bagel: That beloved seasoning blend.
- Taco Tuesday: Cumin, chili powder, and lime zest.
- Pizza Style: Italian herbs with nutritional yeast.
Storage Secrets
Store your cooled chips in an airtight container with a paper towel at the bottom to absorb any moisture. They'll stay crispy for 3-4 days at room temperature. For longer storage, freeze them for up to a month and reheat in a 350°F oven for 2-3 minutes to restore crispiness.
Travel-Friendly Tips
These chips are perfect for on-the-go snacking. Pack them in hard containers rather than bags to prevent crushing. For hiking or travel, portion them into individual servings with small silica gel packets to maintain crispness.
Meal Prep Strategy
I usually make a big batch on Sunday, creating different flavors for the week ahead. Some go into my workout bag, others into my office snack drawer, and the rest get stored for easy grabbing. It takes the same amount of time to make multiple batches as it does one, so why not?
Troubleshooting Tips
If your chips aren't crisping up, they might be too thick or your oven temperature might be too high. If they're browning too quickly, lower the temperature. If they're still soft after cooling, pop them back in the oven for 15-20 minutes at 170°F.
 Pin it
These cottage cheese chips have become more than just a healthy snack alternative in my kitchen – they're a testament to how creative we can get with simple, nutritious ingredients. Whether I'm packing them for a long hike, serving them at game night, or munching on them during a busy workday, they prove that healthy snacking doesn't have to be boring. The best part? Knowing that each crunchy bite is packed with protein makes them as nourishing as they are satisfying.
Frequently Asked Questions
- → How do I ensure the chips get crispy?
- Drain the cottage cheese thoroughly and spread the portions very thin on the baking sheet. Make sure to bake until golden brown.
- → How should I store these chips?
- Store in an airtight container at room temperature for up to 2 days to maintain crispiness.
- → Can I use different seasonings?
- Yes, try Italian herbs, ranch seasoning, or even taco spices to create different flavor variations.
- → Why are my chips not crisping up?
- The cottage cheese might be too wet. Drain it thoroughly and spread the portions very thin before baking.
- → What can I serve these chips with?
- Enjoy them plain or serve with your favorite dips like hummus, salsa, or guacamole for extra flavor.