
 Pin it
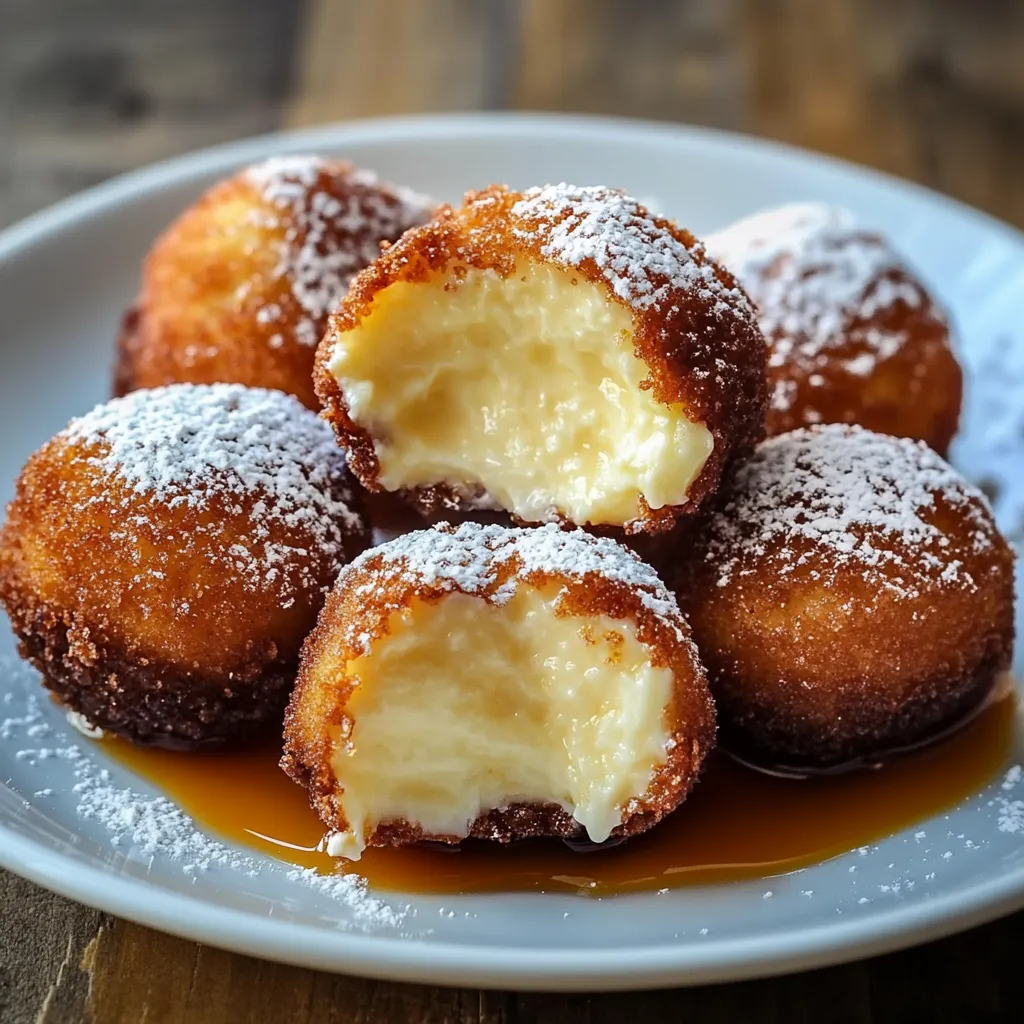
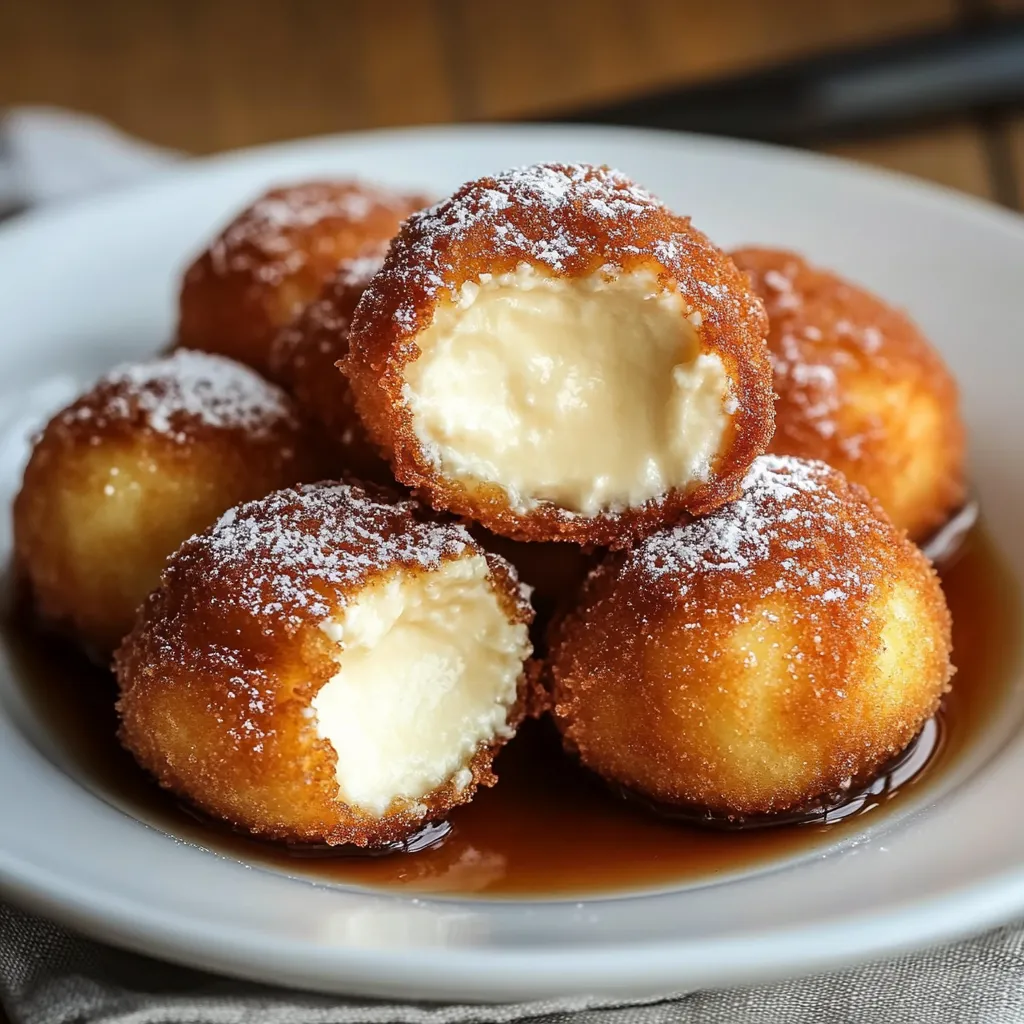
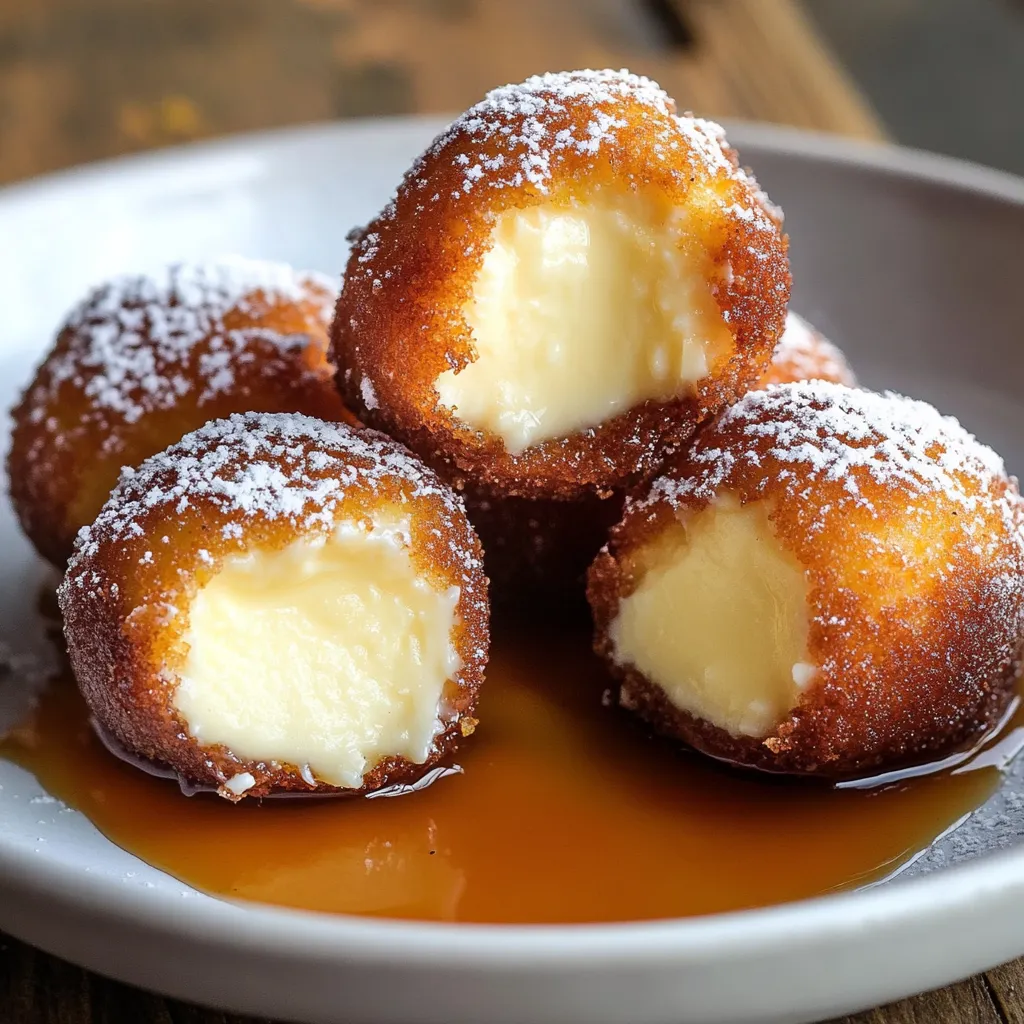
The magical combination of velvety cheesecake wrapped in a golden-brown crust has become my most requested dessert at family gatherings. Through countless testing in my kitchen, I've discovered that the key to perfect deep-fried cheesecake lies in temperature control and proper wrapping technique. This indulgent treat transforms ordinary cheesecake into something extraordinary, creating moments of pure joy when a warm, crispy exterior gives way to a cool, creamy center.
Last Christmas, my dessert-skeptical father-in-law couldn't stop reaching for these crispy bites. The secret lies in properly chilling the filling and achieving that perfect golden crust.
Premium Ingredients Guide
- Cream Cheese: Philadelphia Original provides ideal texture. Must be full-fat and perfectly softened for smooth mixing. Check expiration date for freshest flavor
- Spring Roll Wrappers: Twin Dragon brand offers ideal thickness. Look for pliable sheets without tears or dry spots. Keep covered while working to prevent drying
- Granulated Sugar: C&H Pure Cane Sugar dissolves smoothly. Look for fine crystals without clumping. Store in an airtight container
- Vanilla Extract: Nielsen-Massey Madagascar Bourbon adds complex flavor. Check for pure extract, not imitation. A dark bottle prevents flavor degradation
- Sour Cream: Daisy Full Fat creates perfect consistency. Should be fresh with no separation. Temperature matching cream cheese ensures smooth mixing
- Vegetable Oil: Chosen Foods or Wesson provide a clean flavor. The oil should appear clear with no cloudiness to ensure a crispy coating
- Powdered Sugar: C&H Confectioner's Sugar offers the finest texture. Sift before using to prevent lumps
- Fresh Berries: Select firm, bright fruits for garnish. Check undersides for freshness and rinse just before serving
Creating Dessert Magic
- Cheesecake Foundation:
- Beat room temperature cream cheese until completely smooth, watching for any remaining lumps. Gradually incorporate sugar, allowing each addition to fully blend. The mixture should become light and fluffy, with a silky texture that ribbons when lifted.
- Flavor Enhancement:
- Introduce pure vanilla extract and fresh sour cream, mixing until just combined. Add egg at room temperature, beating gently until incorporated. The batter should look glossy and smooth without being overworked.
- Wrapping Technique:
- Lay each wrapper on a diagonal, keeping remaining sheets covered. Place precisely measured filling (2 tablespoons) in the center. Fold corners inward, creating a secure envelope around the filling. Seal edges with water, ensuring no air pockets remain.
- Freezing Success:
- Arrange wrapped bites on a parchment-lined sheet, leaving space between each. Freeze until solid, about 2 hours. This crucial step prevents the filling from leaking during frying.
- Temperature Mastery:
- Heat oil to exactly 350°F, monitoring with a thermometer. Maintain a steady temperature throughout the frying process. Too hot creates a burnt exterior; too cool results in greasy bites.
- Golden Transformation:
- Lower frozen bites into oil carefully, working in small batches. Watch as they turn golden brown, typically 2-3 minutes per side. The wrapper should bubble and crisp while maintaining its seal.
 Pin it
My grandmother's cheesecake recipe inspired these bites, teaching me that patience in preparation yields the most impressive results. The technique of freezing before frying came from years of trial and error.
Perfect Pairings
Create a dessert bar with various dipping sauces like warm chocolate ganache, caramel sauce, or fresh berry compote. For celebrations, arrange them on a platter with fresh mint leaves and edible flowers.
Creative Variations
Experiment with different flavor profiles by adding lemon zest, cocoa powder, or fruit preserves to the filling. Try chocolate chip studded filling or swirl in premium fruit preserves. My family loves them with crushed Oreos mixed in.
Storage Success
Store unfried frozen bites for up to one month, wrapped tightly. Once fried, enjoy immediately for best texture. If needed, reheat in a 350°F oven for 3-5 minutes to restore crispiness.
 Pin it
After perfecting these indulgent bites through countless special occasions, I've learned that attention to detail transforms simple ingredients into memorable desserts. Whether served at elegant dinner parties or casual gatherings, these crispy cheesecake bites never fail to create moments of pure dessert bliss.
Frequently Asked Questions
- → Why do I need to freeze the cheesecake balls?
- Freezing helps the cheesecake filling hold its shape during frying and prevents it from melting into the hot oil.
- → What dipping sauces work well with these?
- Chocolate sauce, caramel, strawberry sauce, or raspberry coulis all pair perfectly with these cheesecake bites.
- → Can I make these ahead of time?
- Make and freeze the cheesecake balls up to a week ahead, but coat and fry them just before serving for the best texture.
- → How do I store leftover bites?
- Keep them in an airtight container in the fridge for up to 2 days. Reheat in the oven at 350°F for a few minutes to crisp up.
- → What oil is best for frying?
- Use vegetable oil, canola oil, or any neutral oil with a high smoke point for the best results.