
 Pin it
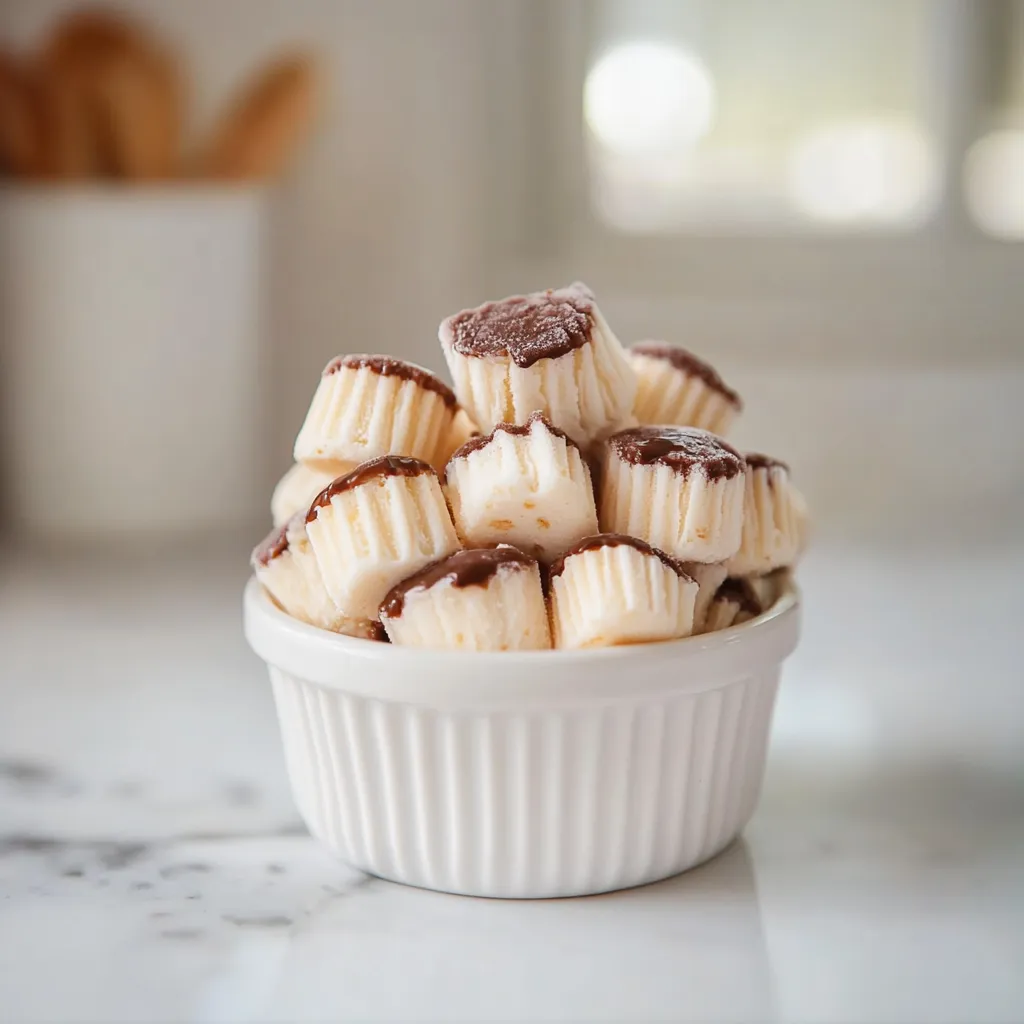
This creamy frozen yogurt bite recipe has become my go-to healthy treat whenever sweet cravings strike. The combination of rich chocolate and tangy yogurt creates the perfect balance of indulgence and nutrition in every bite.
I first created these yogurt bites during a summer heatwave when I wanted something cool and satisfying without the sugar crash. Now my family requests them weekly, and I always keep a batch in the freezer for guilt free snacking.
Ingredients
- Greek yogurt or coconut yogurt: Must be THICK for the perfect texture and provides protein and probiotics for gut health
- Cashew butter or almond butter: Adds creaminess and healthy fats that help create a smooth consistency
- Maple syrup: Offers natural sweetness with a depth of flavor you cannot achieve with processed sugars
- Protein powder (optional): Excellent for turning these treats into a more substantial snack with staying power
- Vanilla extract: Enhances all the flavors and adds warmth to the yogurt base
- Sea salt: Balances the sweetness and intensifies the chocolate flavor
- Cacao nibs: Provide antioxidants and a pleasant crunch contrast to the creamy yogurt
- Chocolate chips: Use high quality chips for the best melting properties and flavor
- Coconut oil: Creates a smooth chocolate coating that sets perfectly in the freezer
Step-by-Step Instructions
- Prepare the yogurt mixture:
- Begin by combining the thick Greek yogurt or coconut yogurt with the nut butter in a large bowl. Make sure your yogurt is very thick and drained of excess liquid, as this ensures your bites will freeze properly and maintain their texture. Add the maple syrup, optional protein powder, vanilla extract, and a generous pinch of sea salt. Whisk everything together thoroughly until you achieve a completely smooth consistency with no lumps. Take a moment to taste the mixture and adjust the sweetness or flavor as needed before proceeding.
- Fill your molds:
- Carefully spoon or pipe the yogurt mixture into your silicone molds, filling each cavity about two thirds full. Tap the mold gently on the counter to remove any air bubbles and ensure the mixture settles evenly. If using cacao nibs or other mix ins, you can either fold them into the entire mixture beforehand or sprinkle them individually into each mold for more control over distribution.
- Prepare the chocolate topping:
- Create a smooth melted chocolate by combining chocolate chips and coconut oil in a microwave safe bowl. Heat in 30 second intervals, stirring thoroughly between each heating until completely melted and glossy. The coconut oil is crucial as it prevents the chocolate from becoming too brittle when frozen and helps it adhere to the yogurt layer. Let the chocolate cool slightly but remain pourable.
- Add the chocolate layer:
- Carefully spoon the melted chocolate over each yogurt filled cavity, completely covering the yogurt mixture and filling the remaining third of each mold. Gently tap the molds again to create a level surface and remove any air bubbles from the chocolate layer. If desired, sprinkle additional toppings like sea salt flakes or more cacao nibs on top before the chocolate sets.
- Freeze until solid:
- Place the filled molds on a level surface in your freezer for a minimum of 3 to 4 hours or until completely frozen solid. The freezing time ensures the yogurt sets properly and develops the perfect texture. For best results, leave them overnight before attempting to remove from the molds.
- Unmold and store:
- Once frozen, gently flex the silicone molds to release the yogurt bites. If they resist, let them sit at room temperature for 30 seconds before trying again. Immediately transfer the unmolded bites to an airtight container and return to the freezer for storage. For optimal freshness, separate layers with parchment paper to prevent sticking.
 Pin it
The cacao nibs in this recipe are actually my secret weapon ingredient. While optional, they add incredible antioxidant benefits along with a subtle coffee like flavor and delightful crunch that transforms these from simple frozen treats into something truly special. My daughter initially questioned the little crunchy bits but now specifically requests that I add extra in her batch.
Finding The Right Yogurt
The success of these frozen yogurt bites depends significantly on starting with extremely thick yogurt. Regular Greek yogurt often works, but for best results, I recommend straining it further using a cheesecloth over a mesh strainer for at least 2 hours in the refrigerator. This removes excess moisture that would otherwise form ice crystals during freezing. Brands like Fage Total 5% or Chobani Whole Milk Greek provide excellent thickness straight from the container. If using coconut yogurt for a dairy free version, look for cultured varieties with minimal additives and strain if necessary to achieve a thick, almost cream cheese like consistency.
Creative Mix In Ideas
Transform these basic yogurt bites into unique flavor combinations by experimenting with different add ins. Fresh or freeze dried berries provide bursts of flavor and additional nutrients. Simply press a few blueberries, raspberries, or chopped strawberries into the yogurt layer before adding the chocolate. Chopped nuts add protein and textural contrast. Toasted almonds, pistachios, or pecans work beautifully. For a dessert inspired version, try adding mini chocolate chips, crushed cookies, or even a small dollop of nut butter in the center of each bite for a surprise filling. Spices like cinnamon, cardamom, or ginger add warmth and complexity, especially when paired with complementary flavors like apple pieces or crystallized ginger.
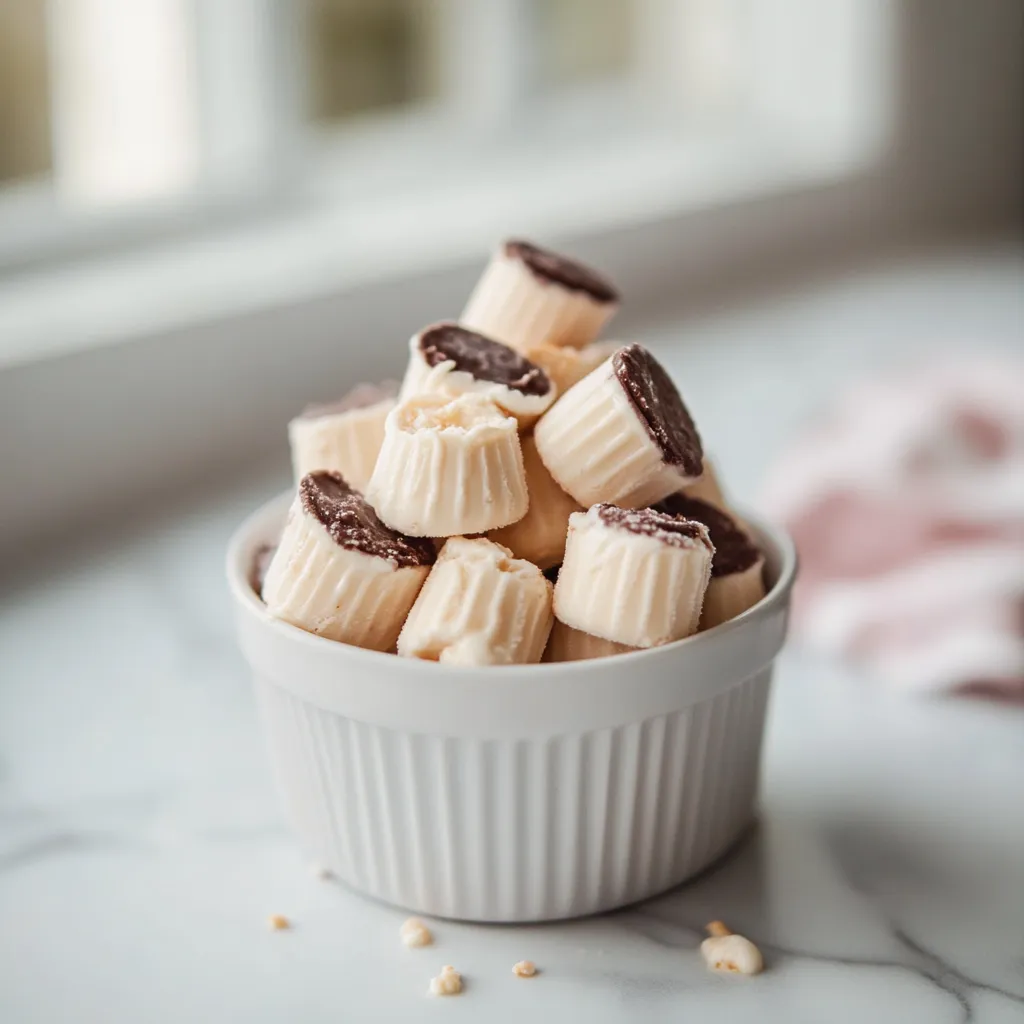
Serving Suggestions
These frozen yogurt bites require a brief thawing period for the best eating experience. Remove them from the freezer about 3 to 5 minutes before enjoying to allow the yogurt center to soften slightly while the chocolate coating remains intact. For an elegant dessert presentation, arrange several bites on small plates and garnish with fresh mint leaves and a light dusting of cocoa powder. Create a fun sundae alternative by placing 4 to 5 bites in a bowl and adding fresh berries and a small drizzle of warm nut butter. For breakfast on the go, pair two bites with a piece of fresh fruit for a balanced morning meal that satisfies your sweet tooth while providing protein and energy.
 Pin it
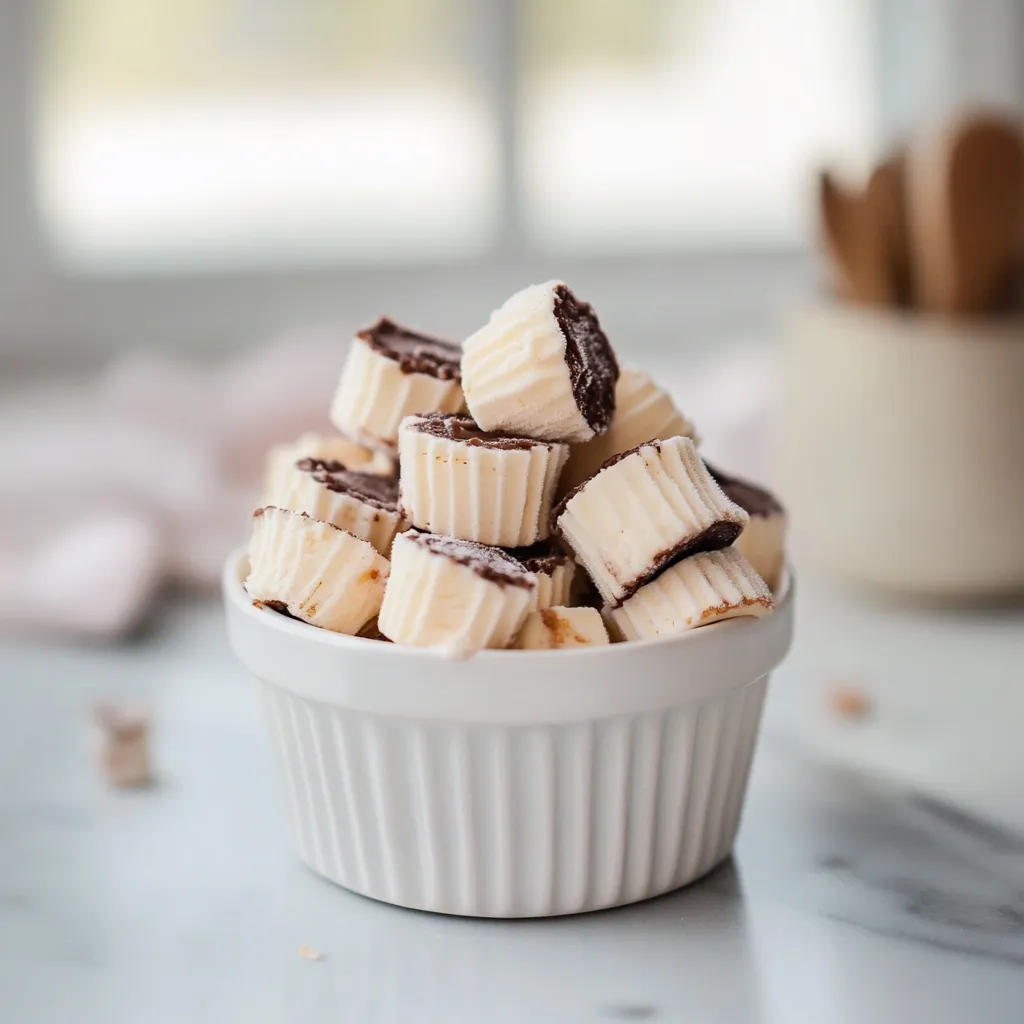
These creamy frozen bites are a game changer for satisfying sweet cravings while staying on track with nutrition goals.
Frequently Asked Questions
- → What can I use instead of Greek yogurt?
Coconut yogurt works as an excellent dairy-free alternative. Just ensure whatever yogurt you choose is thick in consistency for the best results. Strained regular yogurt can also work if you allow excess liquid to drain.
- → Can I make these without nut butter?
Yes! If you have nut allergies or preferences, you can substitute with sunflower seed butter, tahini, or even coconut butter. Each will provide a slightly different flavor profile but will maintain the creamy texture needed.
- → What mix-ins can I add besides cacao nibs?
These bites are versatile - try adding mini chocolate chips, chopped dried fruit, crushed nuts, shredded coconut, or even small pieces of granola. Just be mindful that very wet additions might affect the freezing consistency.
- → How long should I let them thaw before eating?
For the creamiest texture, let the bites sit at room temperature for about 3-5 minutes before enjoying. This allows them to soften slightly while maintaining their structure.
- → Can I use honey instead of maple syrup?
Absolutely! Honey makes a fine substitute for maple syrup. You can also try agave nectar or date syrup. Just adjust quantities to your preferred sweetness level, as different sweeteners vary in intensity.
- → What type of mold works best for these bites?
Silicone molds work best as they allow for easy removal after freezing. Ice cube trays, mini muffin tins, or chocolate molds all work well. If using metal molds, consider lining with parchment paper for easier removal.