
 Pin it
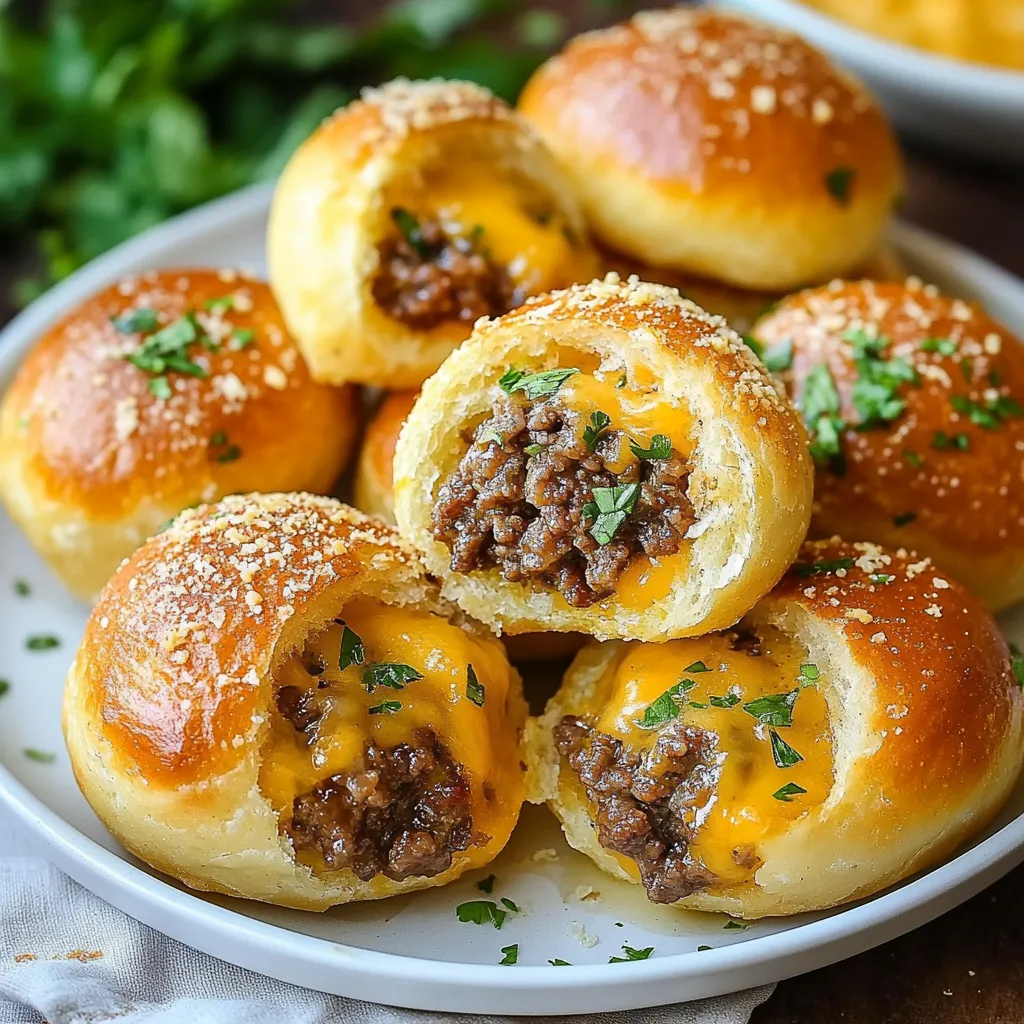
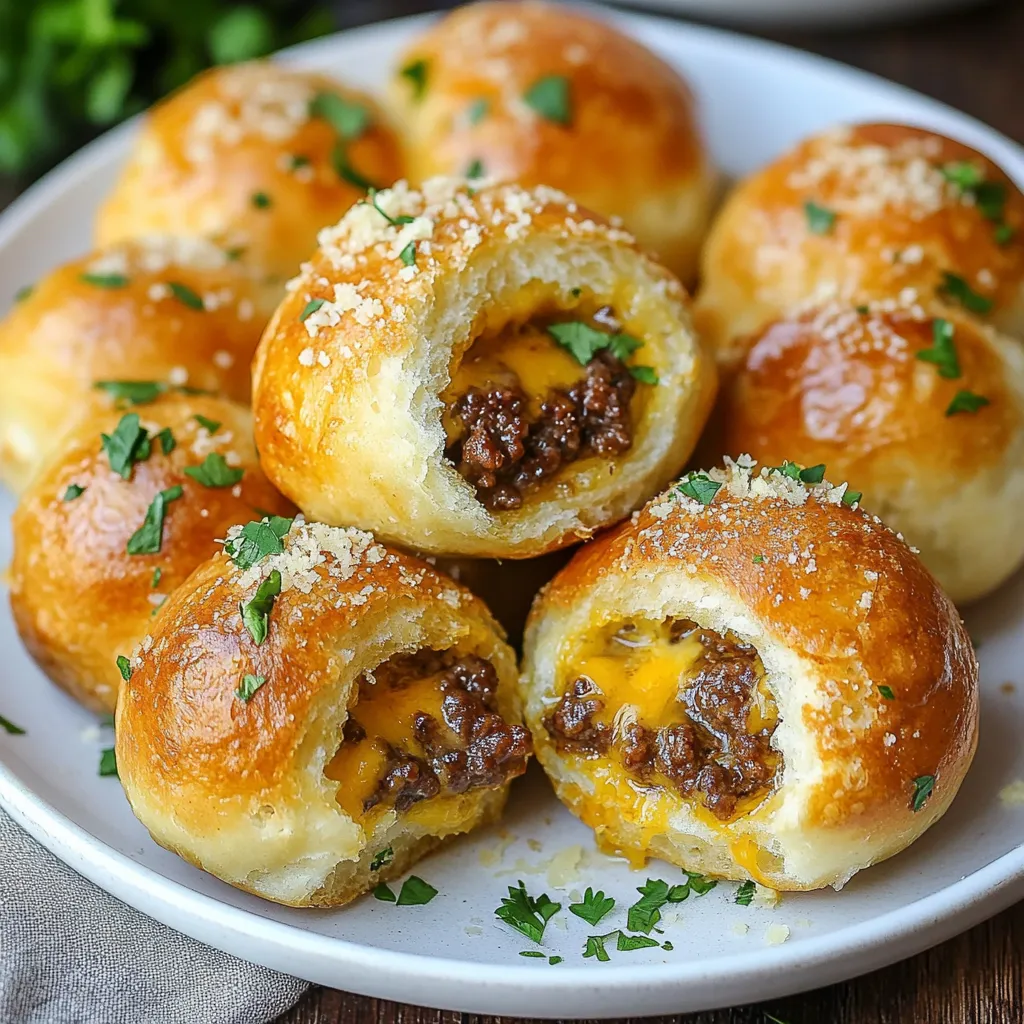
These garlic Parmesan cheeseburger bombs transform the classic burger experience into perfectly portioned, handheld bites of pure comfort. Every time I make these, the aroma of garlic butter and melting cheese fills the kitchen, creating an irresistible anticipation. They've become my go-to recipe for casual entertaining, combining the familiarity of a cheeseburger with a fun, creative presentation.
The inspiration for these came from wanting to create something special for game day gatherings. After several attempts at perfecting the filling-to-bread ratio, these bombs became an instant crowd favorite.
Essential Ingredients Guide
- Ground Beef: Use 80/20 for best flavor and moisture.
- Cheese: Choose a good melting cheese like sharp cheddar or American.
- Dough: Fresh pizza dough works best, but refrigerated biscuit dough is a great shortcut.
- Garlic: Fresh minced garlic provides the most vibrant flavor.
- Parmesan: Freshly grated creates the best crusty topping.
- Butter: Use unsalted to control the overall saltiness.
- Worcestershire Sauce: Adds depth to the beef filling.
Detailed Cooking Instructions
- Step 1: Preparing the Filling
- Heat skillet over medium-high heat. Add beef in small chunks, don't overcrowd. Season with salt and pepper while cooking. Break up meat into small, even pieces. Add Worcestershire sauce for depth. Drain excess fat but leave some for flavor. Let cool for 10 minutes before assembly.
- Step 2: Creating Perfect Portions
- Divide dough into equal portions. Roll each portion into a 4-inch circle. Keep unused dough covered while working. Ensure centers are slightly thicker than edges. Dust work surface lightly with flour.
- Step 3: Assembly Technique
- Place beef in center of each circle. Add cheese cube on top of beef. Carefully fold edges up and over. Pinch seams firmly to seal. Roll gently between palms to smooth.
- Step 4: Finishing Touches
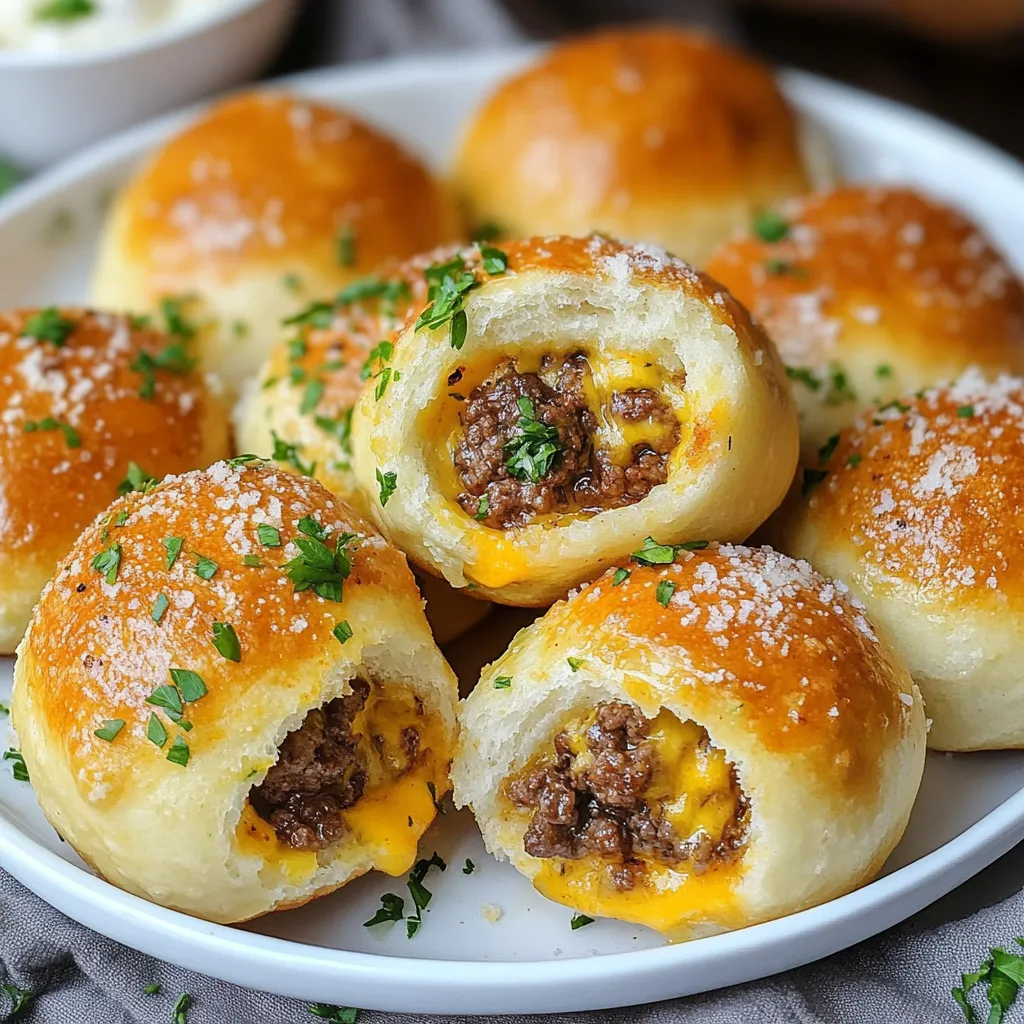
- Place seam-side down on baking sheet. Mix melted butter with minced garlic. Brush generously with garlic butter. Sprinkle with Parmesan mixture. Score top lightly for steam to escape.
 Pin it
My favorite aspect of these bombs is the garlic Parmesan crust that forms during baking. The contrast between the crunchy exterior and the gooey interior makes each bite incredibly satisfying.
Serving Suggestions
I love setting up a dipping station with various sauces - classic ketchup and mustard, garlic aioli, and even ranch dressing. For parties, I arrange them on a platter with fresh herbs and cherry tomatoes for color. They're perfect for game day spreads or casual dinner parties.
Temperature Control
The right baking temperature is crucial. Too hot and the outside browns before the inside is done; too cool and they'll be doughy. I've found 375°F gives the perfect balance, allowing the cheese to melt while the crust turns golden brown.
Make-Ahead Tips
You can prepare these ahead of time and refrigerate before baking. Just brush with garlic butter right before they go in the oven. I often make a double batch, freezing half for last-minute entertaining needs.
Troubleshooting Common Issues
If cheese leaks out during baking, make a note to use less filling next time or double-check your seals. If they're browning too quickly, tent with foil. For soggy bottoms, try preheating your baking sheet.
 Pin it
These cheeseburger bombs have become a staple in my entertainment repertoire. They combine the comfort of a classic cheeseburger with the fun of a handheld snack. Whether served at a casual gathering or as a unique family dinner option, they never fail to bring smiles to faces. The way the garlic butter creates a golden, crispy exterior while protecting the juicy, cheesy interior makes each one a perfect, self-contained burst of flavor.
Frequently Asked Questions
- → Can I make these ahead of time?
- Yes! You can prepare them and refrigerate for up to 3 days, or freeze for up to a month. Just reheat in a 350°F oven when ready to serve.
- → What's the best way to seal the dough?
- Pinch and twist the edges firmly, making sure there are no gaps where cheese could leak out during baking.
- → What dipping sauces work well?
- Ketchup, mustard, ranch dressing, or barbecue sauce all pair great with these bombs.
- → Can I use different cheese?
- Yes, try mozzarella, pepper jack, or American cheese instead of cheddar - any melting cheese works well.
- → Why are my bombs leaking?
- Make sure to seal the dough completely and place them seam-side down on the baking sheet to prevent leaks.