
 Pin it
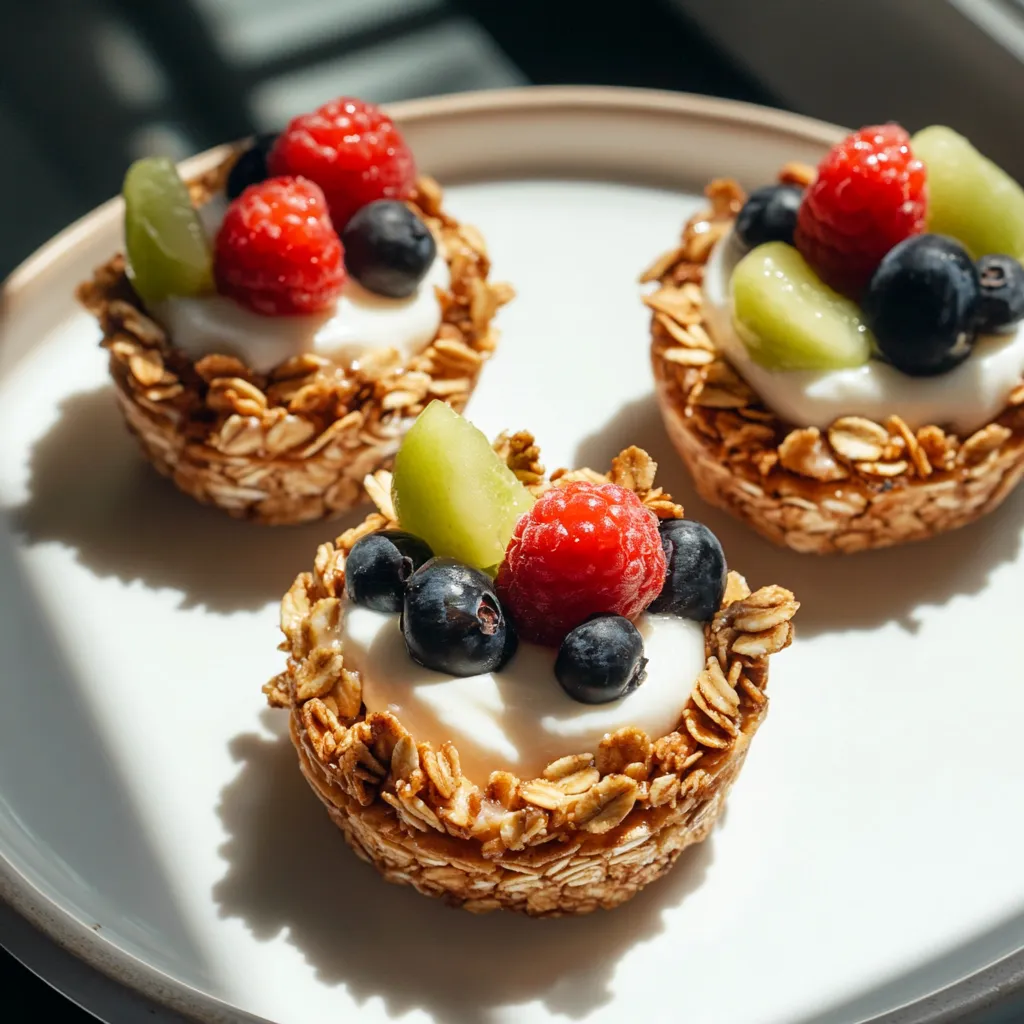
This breakfast powerhouse combines crunchy homemade granola cups with creamy yogurt and fresh fruit for a nutritious start to your day. The cups bake up perfectly crisp while maintaining just enough chewiness, creating an edible vessel that transforms ordinary yogurt into something special.
I created these granola cups after growing tired of traditional breakfast options. My children now request them weekly, and they've become our go-to breakfast for busy mornings when we need something substantial that feels special.
Ingredients
- Rolled oats: Provide the hearty base and create that perfect chewy yet crisp texture
- Peanut butter: Acts as the binding agent while adding protein and richness
- Maple syrup: Naturally sweetens and helps create that golden caramelization
- Vanilla extract: Enhances the warming flavors throughout
- Cinnamon: Adds subtle warmth that complements the peanut butter beautifully
- Salt: Balances the sweetness and enhances all other flavors
- Yogurt: Creates the creamy center (choose Greek for extra protein)
- Fresh fruit: Adds natural sweetness and vibrant color
- Chia seeds: Provide omega-3s and a satisfying crunch
Step-by-Step Instructions
- Prep Your Equipment:
- Preheat your oven to 350°F and thoroughly grease 6 muffin cavities with coconut oil. Be generous with the oil as this prevents sticking and helps create a golden exterior.
- Mix The Base:
- Combine rolled oats, peanut butter, maple syrup, vanilla extract, cinnamon and salt in a medium bowl. Mix until every oat is coated with the wet ingredients. The mixture should be slightly sticky but still crumbly.
- Form The Cups:
- Divide the mixture evenly among the 6 greased muffin cavities. Using your fingers or the back of a tablespoon, press firmly against the bottom and sides while creating a well in the center. Make sure the walls have even thickness.
- Bake To Perfection:
- Bake for 12 to 15 minutes, watching carefully after the 10-minute mark. The cups should be turning golden brown around the edges but not dark. They will still feel slightly soft when hot.
- Cool And Release:
- Allow the cups to cool in the pan for exactly 5 minutes. This cooling time is crucial as it allows them to set up enough to hold their shape. Run a butter knife gently around the edges and carefully lift them out to a wire rack.
- Assemble Your Creation:
- Once completely cooled, fill each cup with a generous dollop of your favorite yogurt. Top with fresh berries, sliced bananas, or seasonal fruit. Sprinkle with chia seeds for added nutrition and texture.
 Pin it
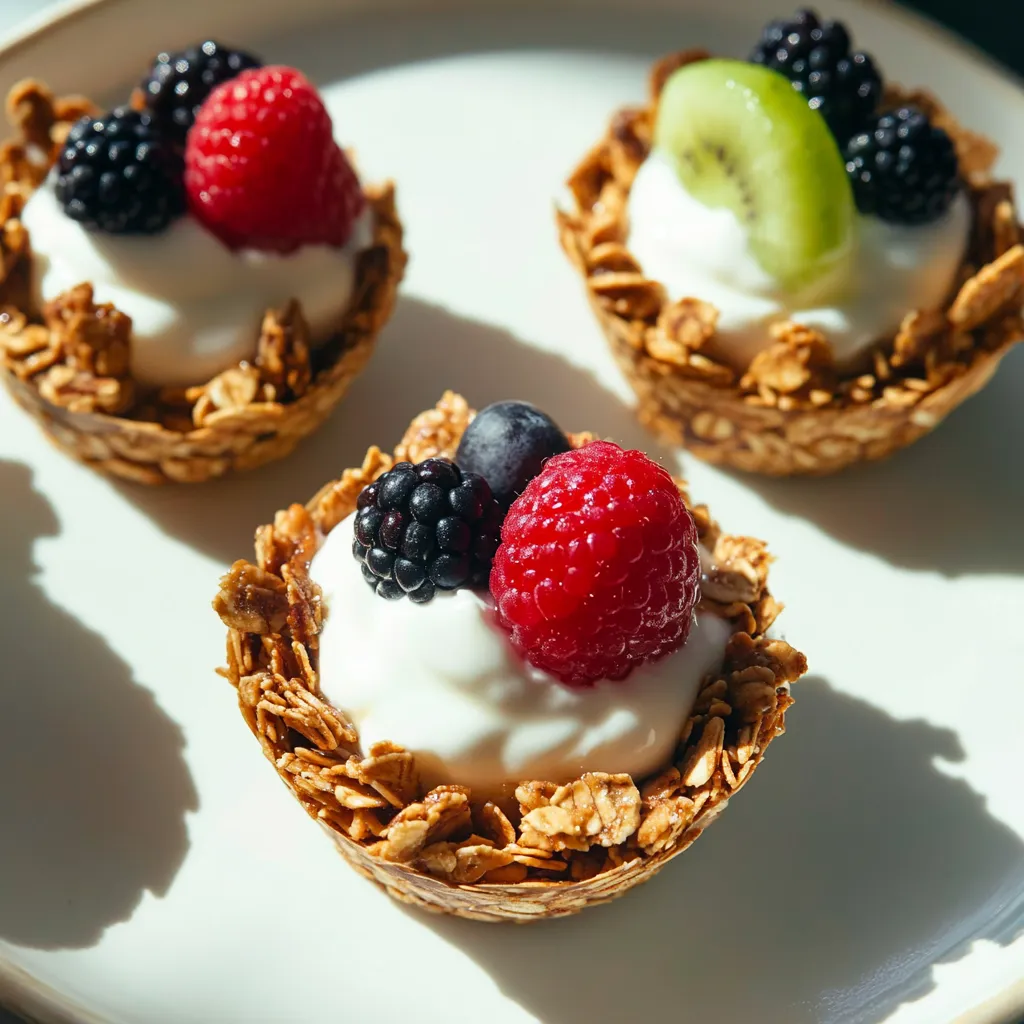
My absolute favorite way to enjoy these is with vanilla Greek yogurt and fresh blueberries picked from our garden. Something magical happens when the juicy berries mix with the creamy yogurt against the nutty crunch of the granola cup.
Make Ahead Options
These granola cups store beautifully in an airtight container at room temperature for up to one week. Keep them separated with parchment paper to prevent sticking. For longer storage, they freeze exceptionally well for up to three months. Simply thaw at room temperature before filling.
Flavor Variations
The base recipe is incredibly versatile. Swap the peanut butter for almond butter or sunflower seed butter for different flavor profiles or allergen concerns. Add mini chocolate chips to the mixture before baking for a more indulgent version. Experiment with different spice combinations like cardamom, nutmeg, or ginger for seasonal adaptations.
Nutrition Boosters
Transform these cups into nutritional powerhouses by adding 2 tablespoons of ground flaxseed or hemp hearts to the base mixture. For extra protein, mix collagen peptides into your yogurt before filling the cups. Consider topping with pomegranate arils, chopped pistachios, or cacao nibs for additional antioxidants and texture.
 Pin it
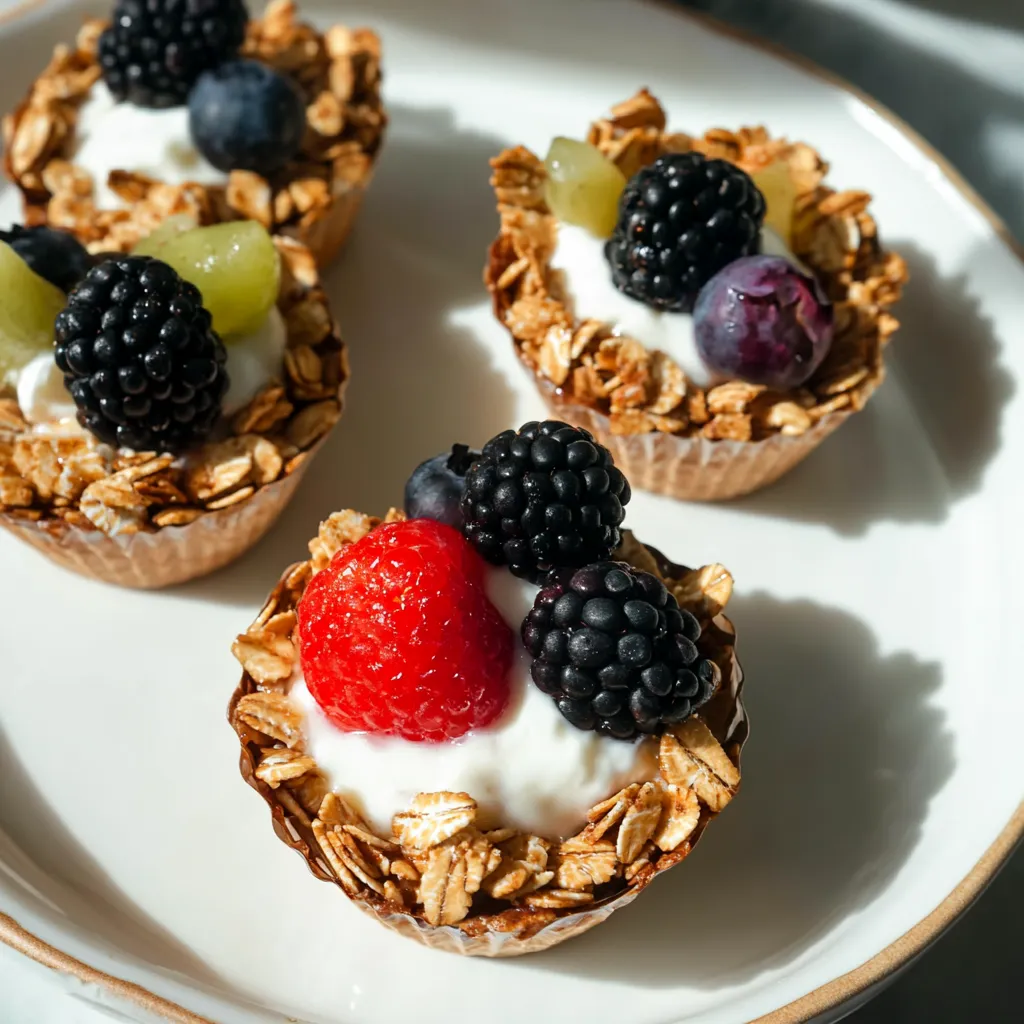
These granola cups are a delightful, healthy start to any day and guaranteed to be a family favorite!
Frequently Asked Questions
- → Can I make these granola yogurt cups ahead of time?
Yes! The baked granola cups can be stored in an airtight container at room temperature for up to 5 days. Only add the yogurt and toppings when you're ready to serve them to maintain the crunchy texture.
- → Can I substitute the peanut butter with another nut butter?
Absolutely! Almond butter, cashew butter, or sunflower seed butter work beautifully as alternatives. Each will impart a slightly different flavor while maintaining the binding properties needed for the cups.
- → What type of yogurt works best for these cups?
Any yogurt works well - Greek yogurt provides more protein and a thicker consistency, while regular yogurt offers a smoother texture. Plant-based yogurts like coconut or almond-based options make excellent dairy-free alternatives.
- → How do I prevent the granola cups from sticking to the muffin tin?
Be generous with greasing the muffin tin cavities using coconut oil as recommended. Allowing the cups to cool slightly (about 5 minutes) before carefully removing them with a knife helps them maintain their shape without breaking.
- → What are some good fruit topping combinations for these cups?
Classic combinations include mixed berries (strawberries, blueberries, raspberries), banana and strawberry, mango and pineapple for tropical flavors, or apple and cinnamon for a fall-inspired option. Adding a drizzle of honey or maple syrup can enhance the sweetness.
- → Can I freeze the baked granola cups?
Yes, the baked and cooled granola cups freeze well for up to 3 months. Store them in an airtight container with parchment paper between layers. Thaw at room temperature before filling with yogurt and toppings.