
 Pin it
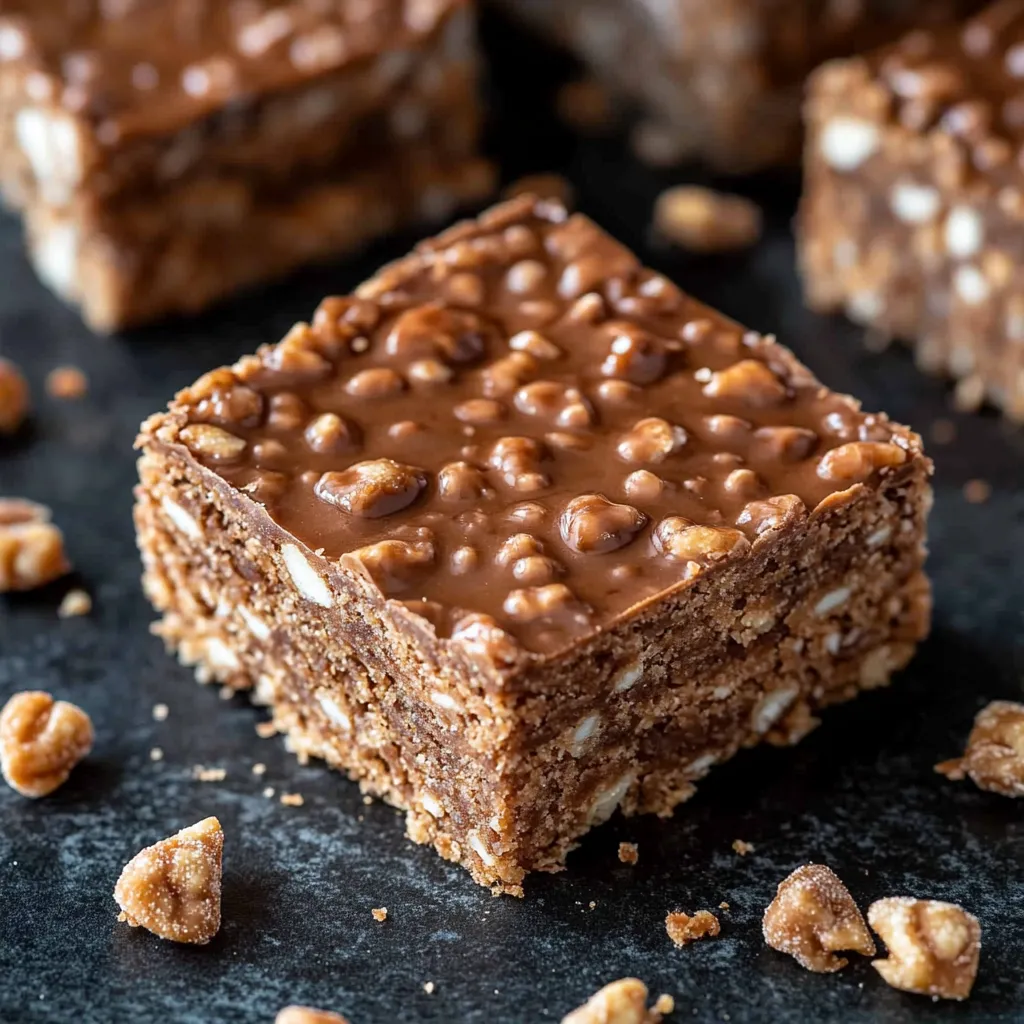
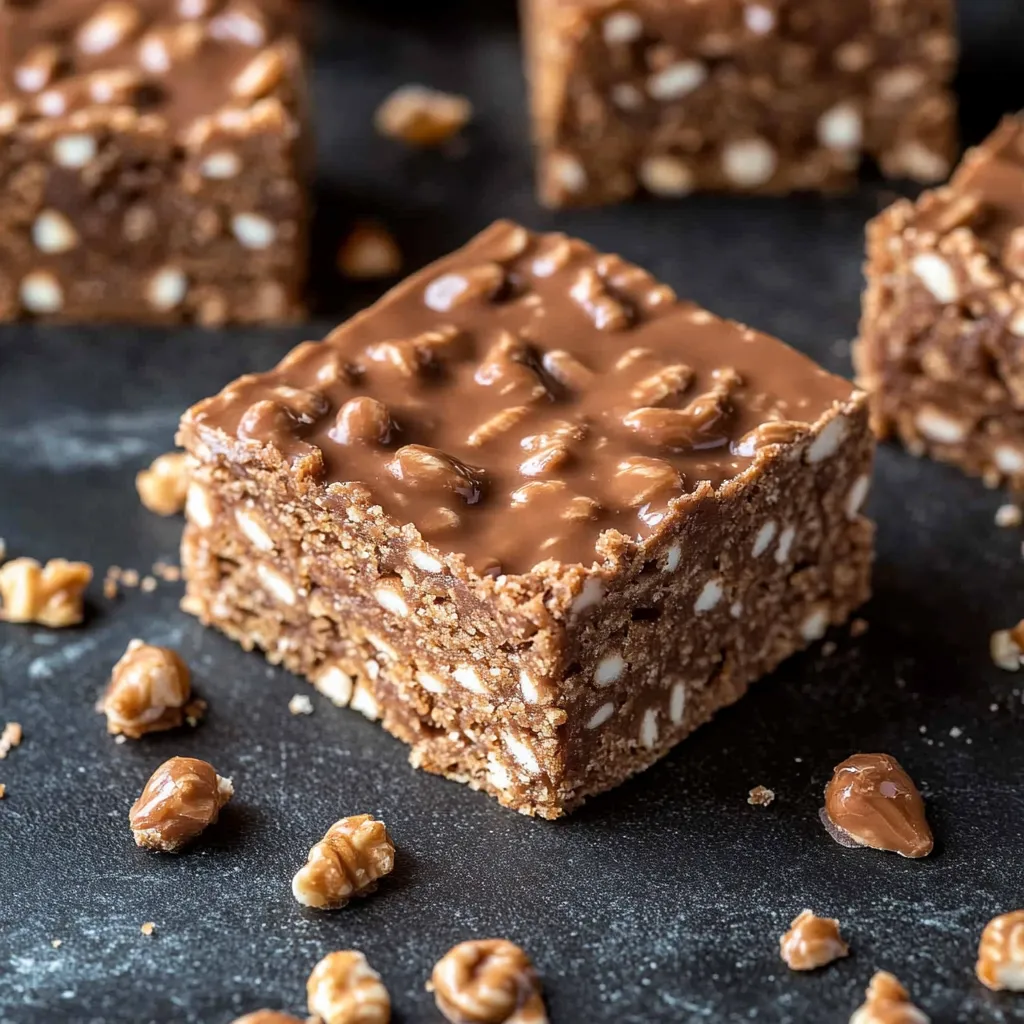
These homemade crunch bars transform simple pantry ingredients into an irresistible treat that satisfies sweet cravings without any baking required. The combination of crispy cereal, rich chocolate, and creamy peanut butter creates that perfect balance of textures and flavors we all crave in a snack.
I first made these bars when my nephew came to visit and declared he was "starving" after school. We whipped these up together, and now they've become our special tradition whenever he stays over. The smile on his face when he bites into one is absolutely priceless.
Ingredients
- Crispy rice cereal: Provides that signature crunch and lightweight texture that makes these bars so addictive
- Chocolate chips: Create the rich base. I recommend semisweet for the perfect balance but dark or milk work beautifully too
- Peanut butter: Adds creaminess and protein. Look for natural varieties with minimal ingredients for the best flavor
- Maple syrup: Naturally sweetens while adding depth. Always opt for pure maple syrup rather than pancake syrup
- Coconut oil: Helps everything bind together with a subtle tropical note that elevates the entire treat
Step-by-Step Instructions
- Prepare the Pan:
- Line your 8x8 baking dish with parchment paper ensuring it hangs over the edges slightly for easy removal later. This step seems simple but is crucial for stress free removal once the bars are set.
- Mix the Dry Ingredients:
- Add your crispy rice cereal to a large mixing bowl ensuring you have enough space to fold in the wet ingredients without spilling. A light touch here preserves the cereal's crunch factor.
- Create the Binding Mixture:
- Combine chocolate chips, peanut butter, maple syrup and coconut oil in a microwave safe bowl. Heat in 30 second intervals stirring between each until completely melted and smooth. This usually takes about 90 seconds total but watch carefully to avoid scorching the chocolate.
- Combine Wet and Dry:
- Pour the warm chocolate mixture over the cereal and fold gently but thoroughly with a spatula. Work quickly but carefully to ensure every piece of cereal gets coated without crushing them.
- Set the Bars:
- Transfer the mixture to your lined baking dish and press down firmly with slightly damp hands or the back of a measuring cup to create an even layer. Refrigerate for at least one hour until completely firm.
- Slice and Serve:
- Remove from the refrigerator, lift out using the parchment paper edges and slice into squares or rectangles on a cutting board. A warm knife makes cleaner cuts through the chilled mixture.
 Pin it
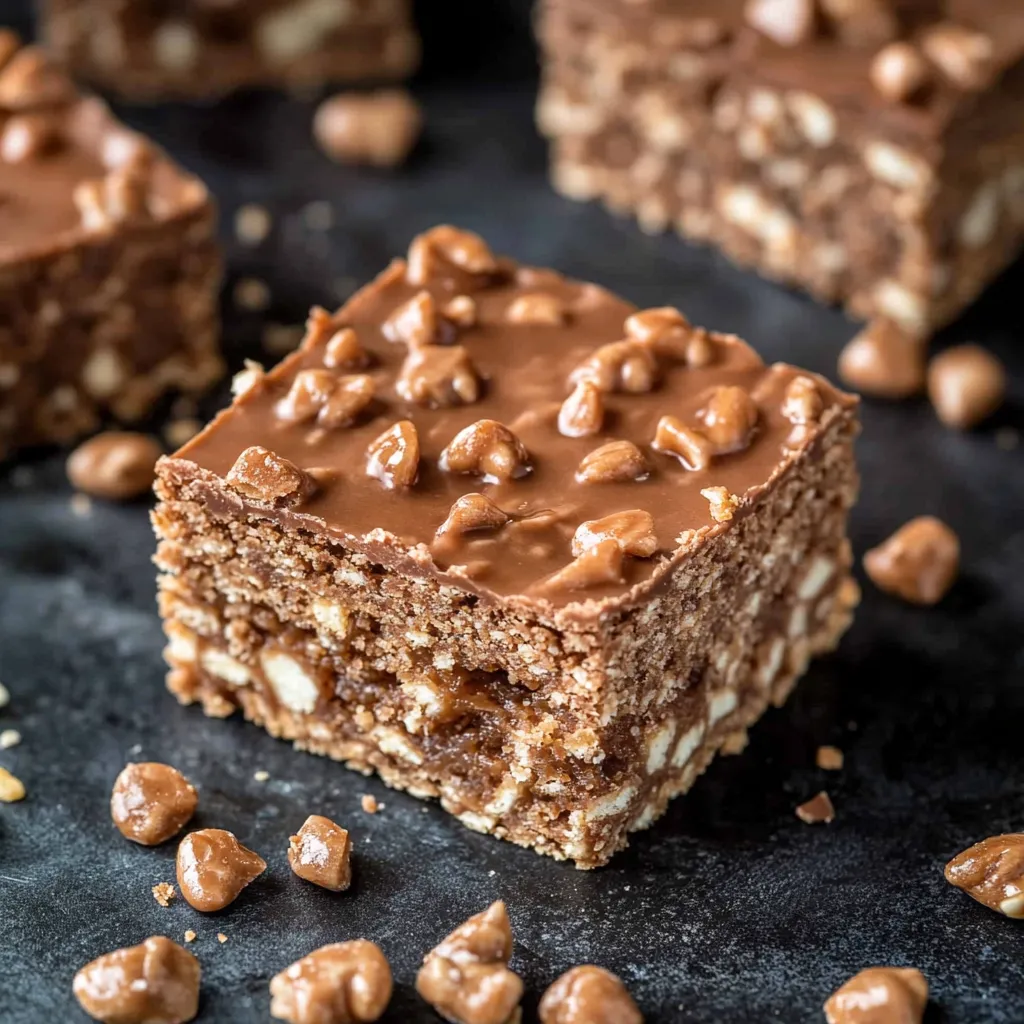
The first time I made these crunchy treasures, I accidentally used crunchy peanut butter instead of smooth, and it turned out to be a happy accident. The extra texture from the peanut pieces added another dimension that my family now requests specifically. Sometimes kitchen mistakes lead to the best discoveries.
Storage Tips
These homemade crunch bars should be stored in an airtight container in the refrigerator where they'll maintain their perfect texture for up to a week. If your kitchen runs warm, refrigeration is essential as the coconut oil and chocolate will soften at room temperature. For longer storage, wrap individual bars in parchment paper and freeze in a freezer safe container for up to three months. I like to pull one out about 10 minutes before eating for the perfect chewy yet crunchy texture.
Dietary Adaptations
One of the things I appreciate most about this recipe is how easily it adapts to different dietary needs. For a gluten free version, simply ensure your crispy rice cereal is certified gluten free. Need a nut free option? Sunflower seed butter works beautifully in place of peanut butter. For a vegan treat, just verify your chocolate chips are dairy free. You can also reduce the sweetness by cutting the maple syrup to 1/3 cup if you prefer a less sweet snack. The base recipe is incredibly forgiving and welcomes creative adaptations.
Flavor Variations
While the classic chocolate peanut butter combination is hard to beat, this recipe welcomes countless variations. Try adding 1/4 cup of shredded coconut for a tropical twist. Stir in dried cranberries and pistachios for a festive holiday version. My personal favorite variation includes a teaspoon of espresso powder in the chocolate mixture which deepens the flavor profile dramatically. You can even drizzle the finished bars with white chocolate for an elegant presentation when serving guests.
 Pin it
These bars are the perfect combination of crunchy, sweet, and satisfying—an irresistible treat for any occasion.
Frequently Asked Questions
- → Can I use different types of nut butter?
Yes! While the recipe calls for peanut butter, you can substitute any nut or seed butter such as almond butter, cashew butter, sunflower seed butter, or even tahini. Each alternative will give the bars a unique flavor profile.
- → How should I store these crunch bars?
Store the crunch bars in an airtight container in the refrigerator for up to a week. You can also freeze them for up to 3 months by wrapping individual pieces in parchment paper and placing them in a freezer-safe container.
- → Can I make these bars vegan?
These bars are already vegan if you use dairy-free chocolate chips! Just double-check your crispy rice cereal ingredients to ensure they don't contain honey or other animal products.
- → Why did my bars fall apart when cutting?
If your bars are crumbling, they may need more time to set in the refrigerator. For clean cuts, chill for at least 2 hours or even overnight. Using a warm knife (run under hot water and dry) can also help create cleaner slices.
- → Can I add other mix-ins to these bars?
Absolutely! Try adding chopped nuts, dried fruit, shredded coconut, or even mini marshmallows to the cereal mixture before adding the chocolate. Just keep the ratio of wet to dry ingredients balanced so the bars still hold together.
- → Are these suitable for kids' lunch boxes?
These make excellent lunch box treats! For school settings with nut allergies, substitute the peanut butter with sunflower seed butter or another school-safe alternative. They're sturdy enough to transport well if kept cool.