
 Pin it
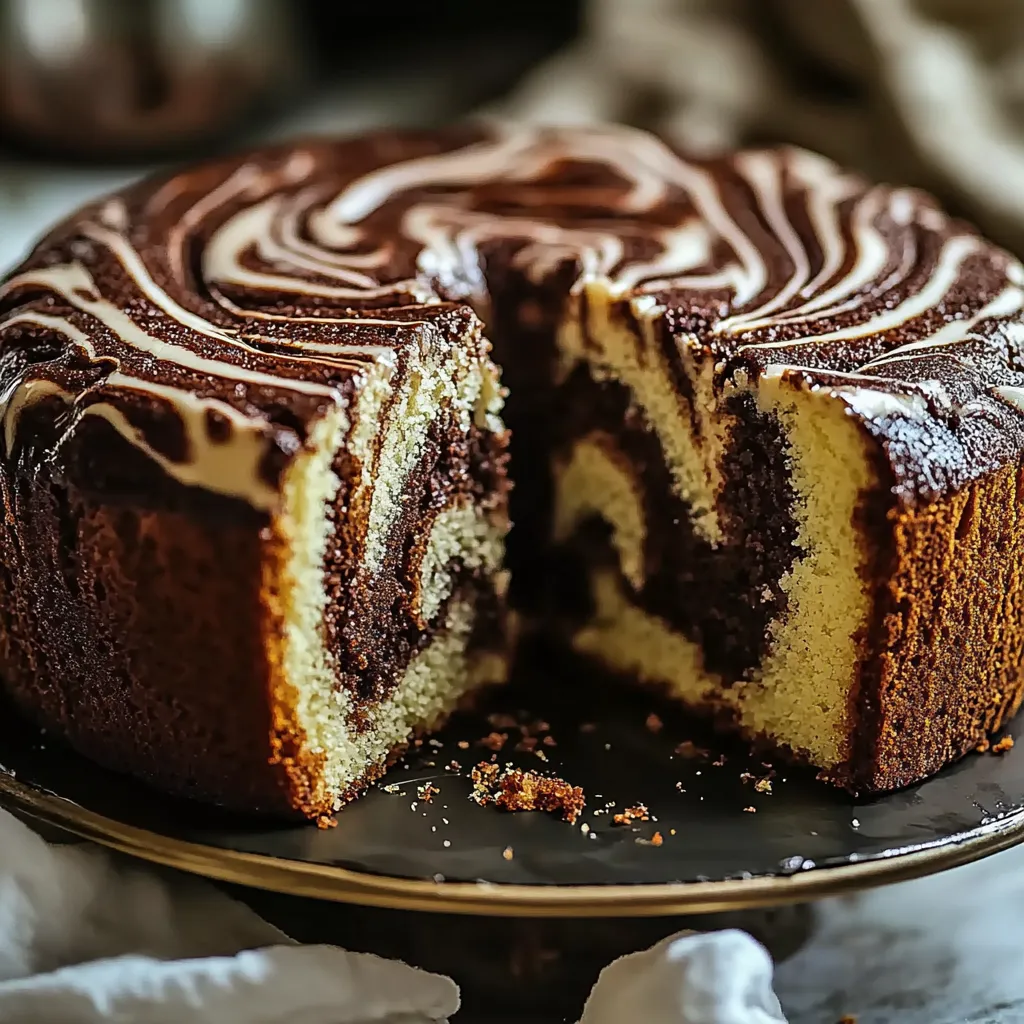
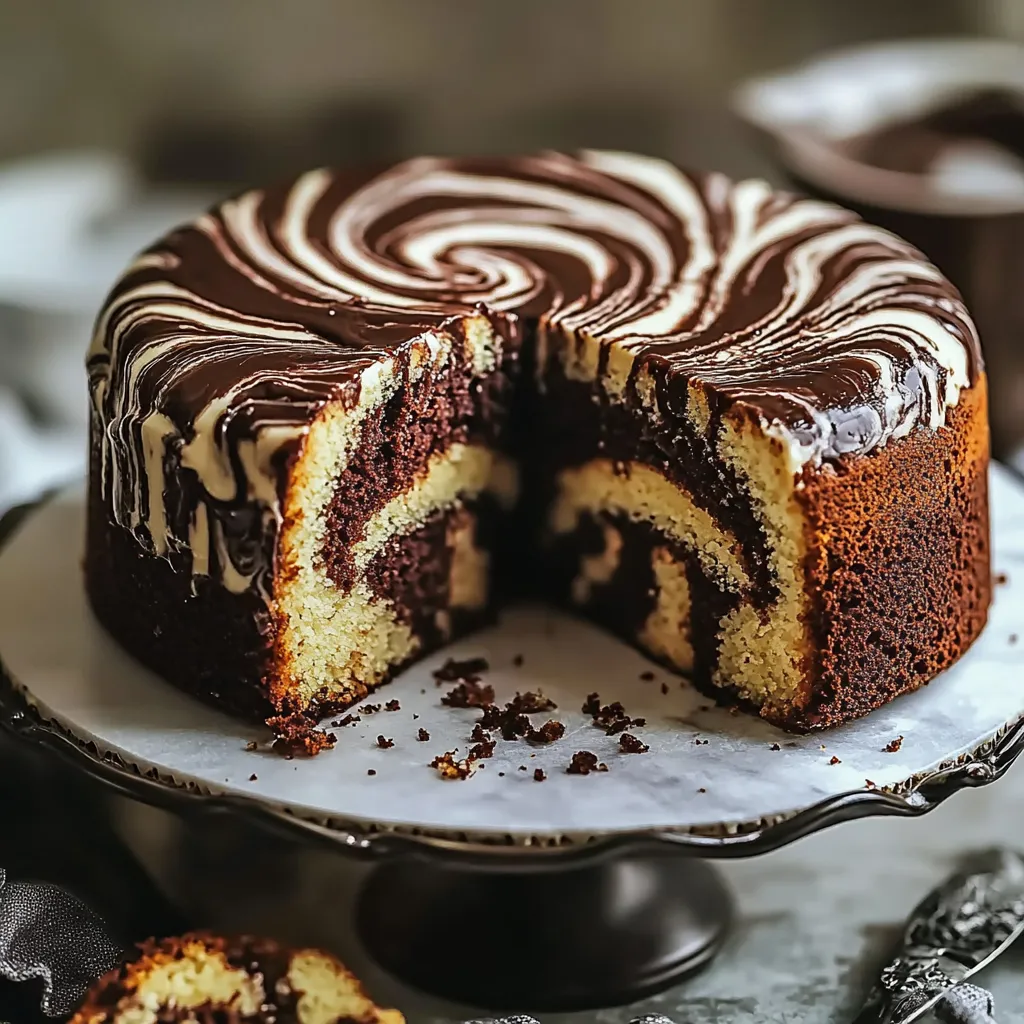
This marble cake recipe has been my go-to dessert for family gatherings and special occasions for years. The perfect balance of vanilla and chocolate swirled together creates a visually stunning treat that never fails to impress guests while satisfying both chocolate lovers and vanilla enthusiasts alike.
I first made this marble cake for my daughter's fifth birthday when she couldn't decide between chocolate or vanilla cake. The delighted look on her face when she saw both flavors swirled together convinced me this would become our signature family dessert.
Ingredients
- All purpose flour: Provides the perfect structure while keeping the cake tender
- Baking powder and baking soda: Work together to create the ideal rise
- Unsalted butter: Adds rich flavor and tender crumb, look for European style for extra richness
- Granulated sugar: Sweetens while helping create that perfect caramelized exterior
- Large eggs: Bind the ingredients and add moisture, choose room temperature for best incorporation
- Vanilla extract: Adds warm aromatic flavor, use pure extract not imitation for best results
- Milk: Creates tenderness and moisture, whole milk gives the richest result
- Cocoa powder: Provides the chocolate component, Dutch processed gives deeper color and flavor
- Hot water: Activates the cocoa powder's flavor compounds, use just boiled water for best results
Step-by-Step Instructions
- Prepare Your Workspace:
- Preheat your oven to 350°F and organize your ingredients by temperature and order of use. Thoroughly grease your bundt or loaf pan, ensuring you reach all crevices. The preparation step is crucial for a smooth baking experience and prevents that dreaded moment of cake sticking to the pan.
- Create The Base Batter:
- Begin by sifting your dry ingredients together, this creates airiness in the flour mixture and distributes the leavening agents evenly. In your stand mixer, cream the softened butter and sugar on medium high speed for at least 3 minutes until notably lighter in color and fluffy in texture. This extended creaming incorporates air that gives your cake its soft texture.
- Incorporate Wet Ingredients:
- Add eggs one at a time, allowing each to fully incorporate before adding the next. This prevents the batter from curdling and ensures even distribution. The vanilla goes in next, filling your kitchen with its warm aroma. Now alternately add your dry ingredients and milk, starting and ending with the flour mixture. Mix on low speed just until combined to avoid developing too much gluten which could make your cake tough.
- Create The Chocolate Component:
- Divide your batter evenly between two bowls, one will remain vanilla. For the chocolate portion, mix the cocoa powder with hot water in a small separate bowl until it forms a smooth paste with no lumps. This blooms the cocoa, releasing its full chocolate flavor. Fold this chocolate mixture into one bowl of batter using a gentle hand to maintain the airiness you've worked to create.
- Master The Marble Technique:
- Using a large spoon or ice cream scoop, drop alternating dollops of vanilla and chocolate batter into your prepared pan. Create layers of different batters for the most striking visual effect. Once all batter is in the pan, use a butter knife or skewer to gently swirl through the batters. The key is restraint, swirl just 3 4 times to create distinct marbling without overmixing the batters together.
 Pin it
The first time I served this marble cake at a family reunion, my grandmother who rarely gives compliments asked for the recipe. She said it reminded her of the cakes her mother made during special holidays in her childhood home in Vienna. That moment cemented this recipe as a treasured family heirloom.
The Secret To Perfect Marbling
The most common mistake bakers make with marble cake is overmixing the two batters when creating the swirl. For distinct and beautiful marbling, restrain yourself from excessive swirling. The key is creating clear boundaries between the vanilla and chocolate portions while still achieving an appealing pattern. After adding alternating spoonfuls of batter to your pan, insert a butter knife or skewer vertically and make no more than 5 6 figure-eight motions through the batter. This creates the perfect balance between distinct colors and integrated patterns.
Storage Solutions
This marble cake maintains its moisture and flavor remarkably well when stored properly. Once completely cooled, wrap it tightly in plastic wrap and store at room temperature for up to 3 days. For longer storage, freeze individual slices wrapped in plastic and then aluminum foil for up to three months. Defrost slices at room temperature for about an hour before serving, or briefly microwave for 15 20 seconds for that fresh-baked warmth. The flavor actually develops further after a day of resting, making this an excellent make-ahead dessert for gatherings.
Serving Suggestions
While this marble cake is delicious on its own, there are several ways to elevate it for special occasions. For an elegant dessert, serve slices with a dollop of lightly sweetened whipped cream and fresh berries. A light dusting of powdered sugar adds visual appeal without overwhelming the marbled pattern you worked so hard to create. For chocolate lovers, drizzle slices with a simple ganache made from equal parts hot cream and chocolate. This cake pairs beautifully with coffee or tea for afternoon gatherings, or with a glass of milk for a satisfying treat.
 Pin it
This marble cake is guaranteed to impress with its beautiful swirls and rich flavors, making it the centerpiece of any dessert table.
Frequently Asked Questions
- → What type of pan works best for marble cake?
Both a bundt pan and a loaf pan work well for marble cake. Bundt pans create an impressive presentation with more surface area for marbling, while loaf pans make it easier to slice and serve. Whichever you choose, be sure to grease and line it properly.
- → Can I add more chocolate flavor to the marble cake?
Yes! For a more intense chocolate flavor, you can increase the cocoa powder to 1/3 cup and add 1-2 tablespoons of hot water to maintain the proper consistency. You could also fold in mini chocolate chips to the chocolate portion of the batter.
- → How do I get the perfect marble effect?
For the best marbling, alternate spoonfuls of each batter in the pan, then use a knife or skewer to gently swirl them together. The key is not to overmix - just 3-5 gentle figure-eight motions will create beautiful swirls without muddying the colors.
- → How can I tell when my marble cake is done baking?
The cake is done when a toothpick inserted into the center comes out clean or with a few moist crumbs. The top should spring back when lightly pressed, and the edges will begin to pull away from the sides of the pan. Baking time may vary depending on your oven, so start checking at 45 minutes.
- → Can I make this marble cake in advance?
Absolutely! This marble cake actually tastes even better the day after baking as the flavors have time to develop. Store it at room temperature in an airtight container for up to 3 days, or refrigerate for up to a week. You can also freeze it for up to 3 months.
- → What frosting pairs well with marble cake?
Marble cake pairs beautifully with chocolate ganache, vanilla buttercream, or cream cheese frosting. For a simpler finish, dust it with powdered sugar or drizzle with a simple glaze made from powdered sugar and milk.