
 Pin it
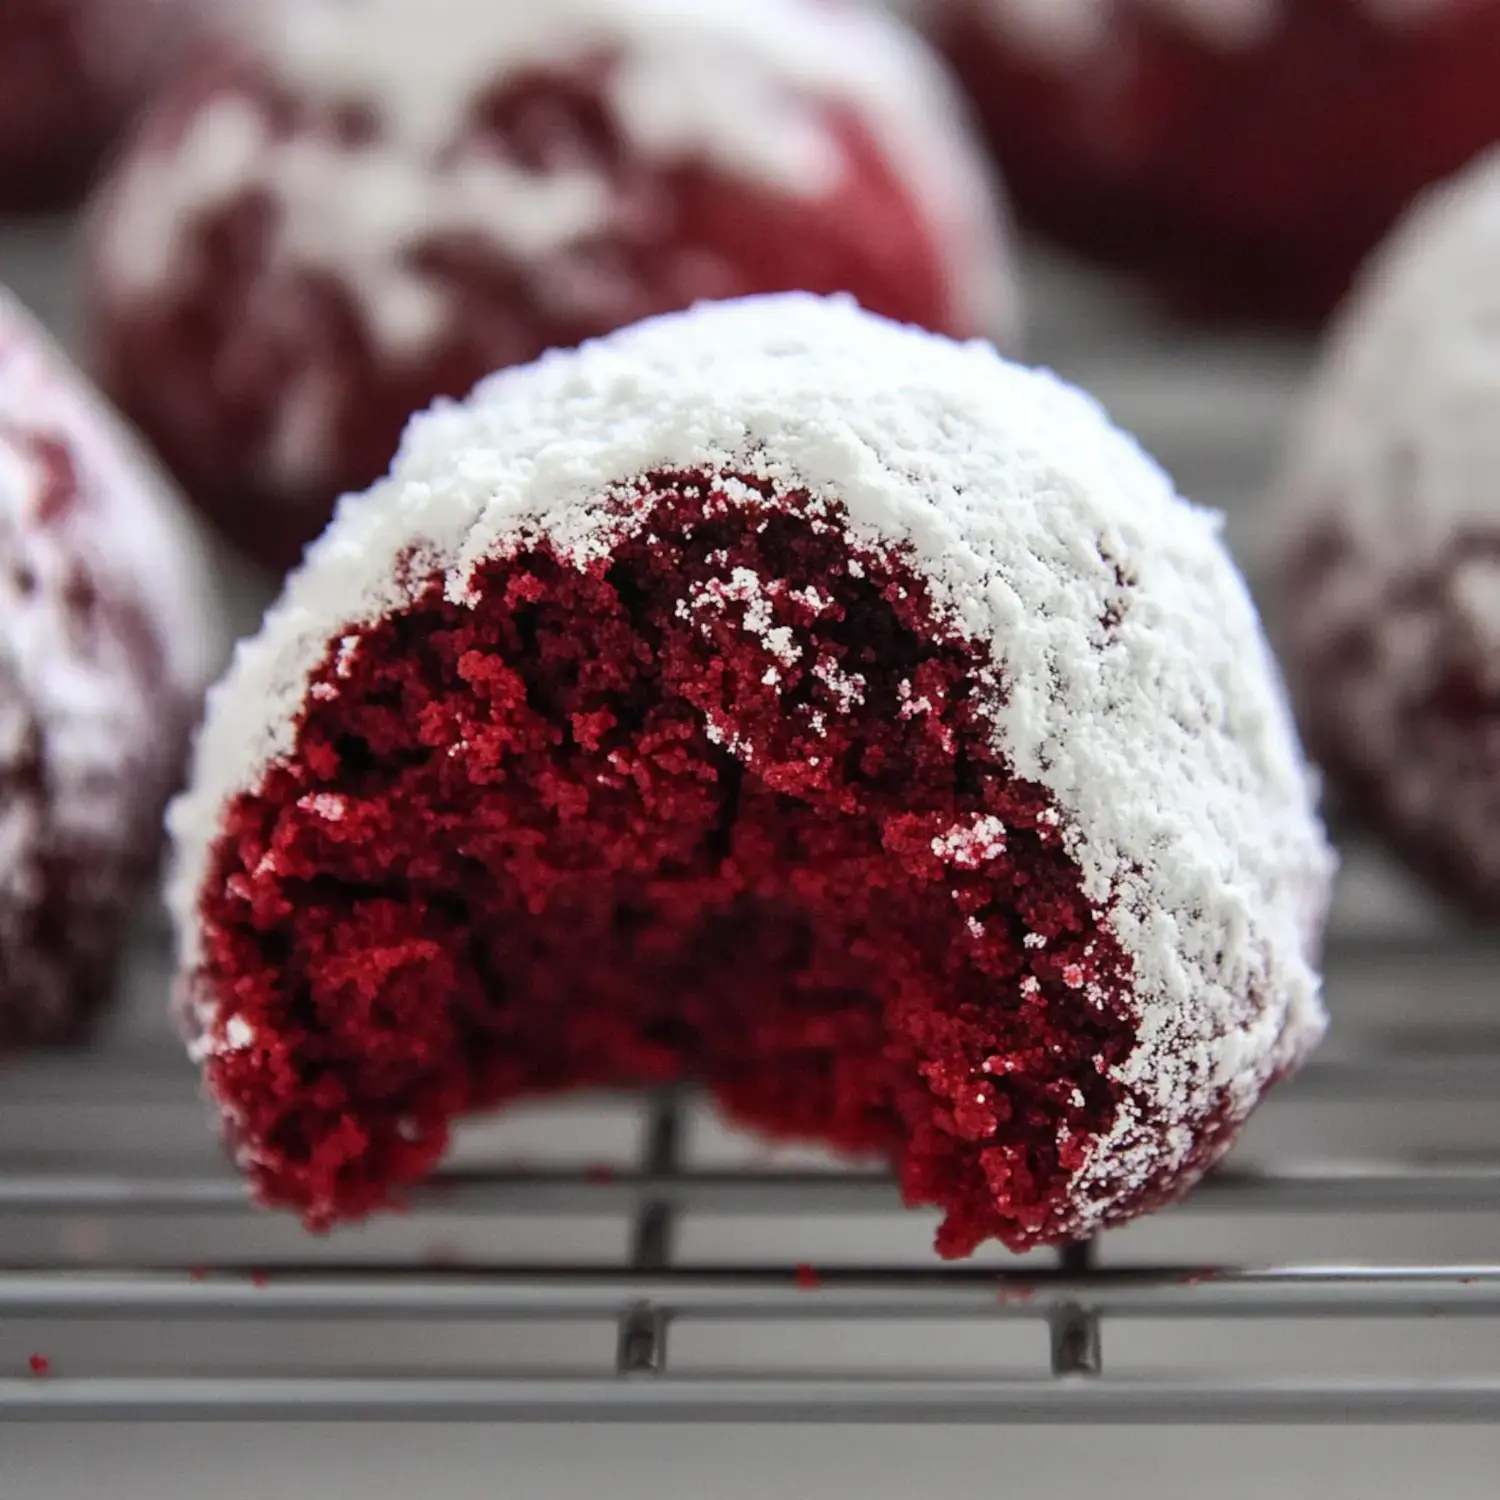
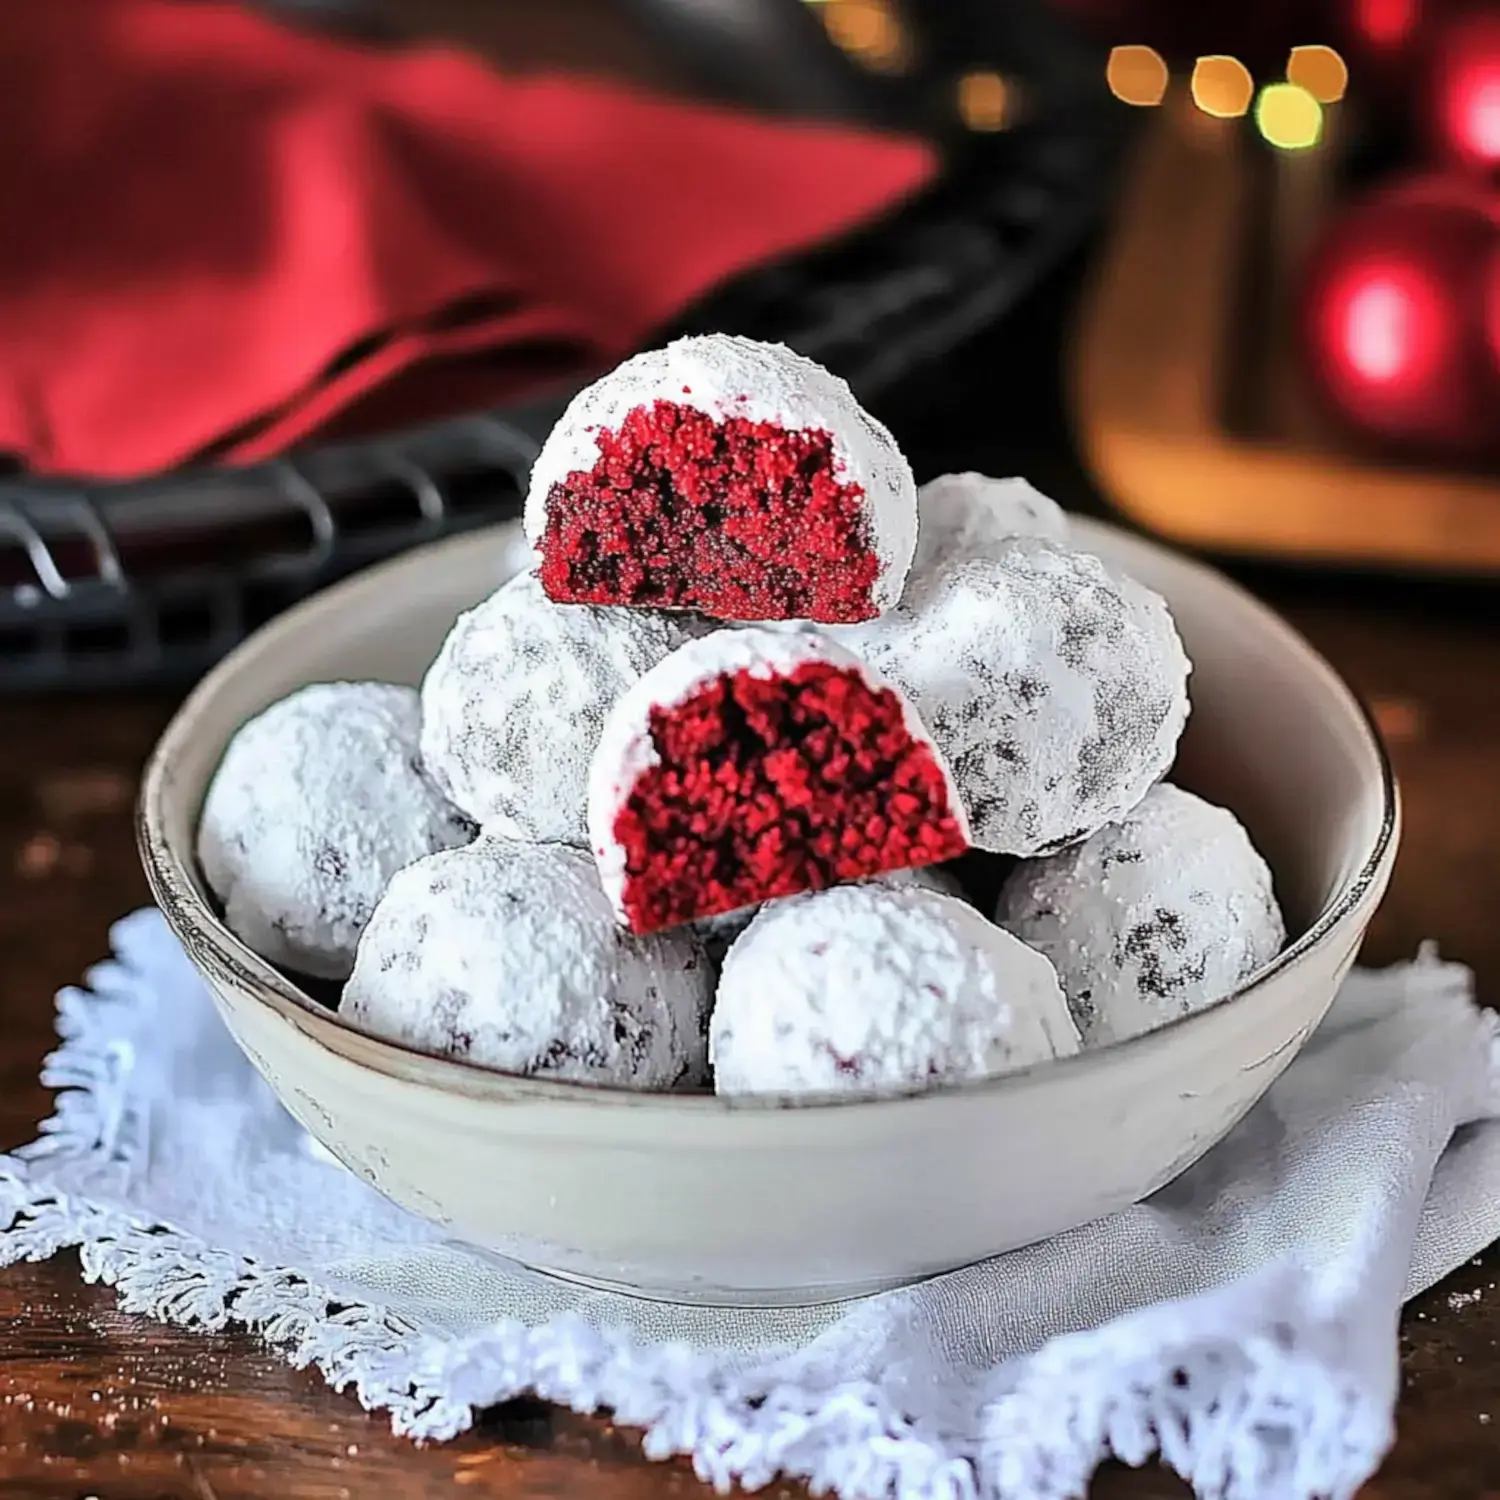
I've taken the classic snowball cookie and given it a gorgeous red velvet makeover that's absolutely perfect for the holidays. These beauties have that same melt in your mouth texture we all love but with a rich red velvet twist. Every time I make these they disappear from cookie platters first the vibrant color and powdery white coating just draws everyone in.
A Cookie Worth Celebrating
What makes these cookies truly special is how they combine two beloved treats. You get that subtle chocolate flavor and tangy buttermilk notes of red velvet wrapped in the delicate crumbly texture of a snowball cookie. They're surprisingly simple to make but look so elegant people always think they're from a fancy bakery.
Everything You Need
- Unsalted Butter (½ cup): Let it soften properly it makes such a difference.
- Butter-Flavored Shortening (½ cup): My secret for that perfect tender texture.
- Egg (1 large): Take it out early to warm up.
- Buttermilk (3 tbsp): This gives that classic red velvet tang.
- Distilled White Vinegar (½ tsp): Don't skip this it enhances the flavor.
- Red Food Coloring (2 tsp): For that stunning holiday red.
- All-Purpose Flour (2¼ cups): The foundation of our cookies.
- Unsweetened Cocoa Powder (¼ cup): Just enough for that hint of chocolate.
- Salt (¼ tsp): Makes all the flavors pop.
- Powdered Sugar (1 cup): Sift it for the smoothest results.
- Melted Butter (¼ cup): This helps the sugar stick beautifully.
- Additional Powdered Sugar (1½ cups): For that perfect snowy coating.
Let's Make Some Magic
- Create Your Base
- Start by creaming your butter and shortening until they're perfectly smooth. Mix in the egg buttermilk vinegar vanilla and that beautiful red coloring. Don't worry if it looks a bit uneven at first.
- Mix With Care
- Whisk your dry ingredients together and gently fold them in. The key word here is gentle we want tender cookies not tough ones.
- Chill Time
- This is non negotiable wrap up that dough and let it chill. I prefer three hours but one will do in a pinch.
- Shape and Bake
- Roll into neat little balls and space them well. They'll need 12-14 minutes at 350°F just until set.
- The Final Touch
- Here's where the magic happens dip those warm cookies in melted butter then roll in powdered sugar. Once they're cool give them one more sugar bath for that perfect snowy finish.
My Best Baking Tips
After making countless batches I can tell you chilling that dough is crucial. Room temperature ingredients blend so much better and if you're feeling festive try switching up the food coloring. Work quickly with the sugar coating that warm cookie helps it stick just right.
Keeping Them Fresh
These cookies need a little TLC when storing. I always layer them between parchment in an airtight container they'll stay perfect for a week. If you're planning ahead they freeze beautifully for up to three months. They're lovely with hot cocoa or a cup of afternoon tea.
Make Them Your Own
Sometimes I add mini chocolate chips or finely chopped pecans for extra texture. During Christmas I'll sprinkle some edible glitter on top and for Valentine's Day they're perfect in classic red. A tiny drop of orange extract gives them a wonderful twist.
Quick Fixes
If your cookies spread too much next time chill the dough longer. Gentle mixing is key keep it light to avoid tough cookies. For the best sugar coating make sure to roll them while they're still warm then again once cool they'll look like they're dusted with fresh snow.
Perfect for Any Celebration
While I love these for Christmas they're just as wonderful for other occasions. They're stunning on Valentine's Day dessert tables and you can switch up the colors for any theme. Your guests will never guess how easy they are to make.
 Pin it
Frequently Asked Questions
- → Why do I need to chill the dough?
- Chilling the dough is crucial to prevent the cookies from spreading while baking. Cold dough helps maintain the round snowball shape and creates the perfect texture.
- → Can I make these cookies ahead?
- Yes, these cookies store well in an airtight container with parchment paper between layers. They'll stay fresh for up to a week at room temperature.
- → Why coat the cookies twice in powdered sugar?
- The first coating while warm allows the sugar to stick well and create a base layer. The second coating after cooling adds the classic snowy appearance and extra sweetness.
- → Can I freeze these cookies?
- Yes, you can freeze the baked cookies for up to 3 months. Thaw at room temperature and roll in fresh powdered sugar before serving.
- → Why use both butter and shortening?
- The combination of butter and shortening creates the perfect texture - butter provides flavor while shortening helps maintain the shape and creates tenderness.