
 Pin it
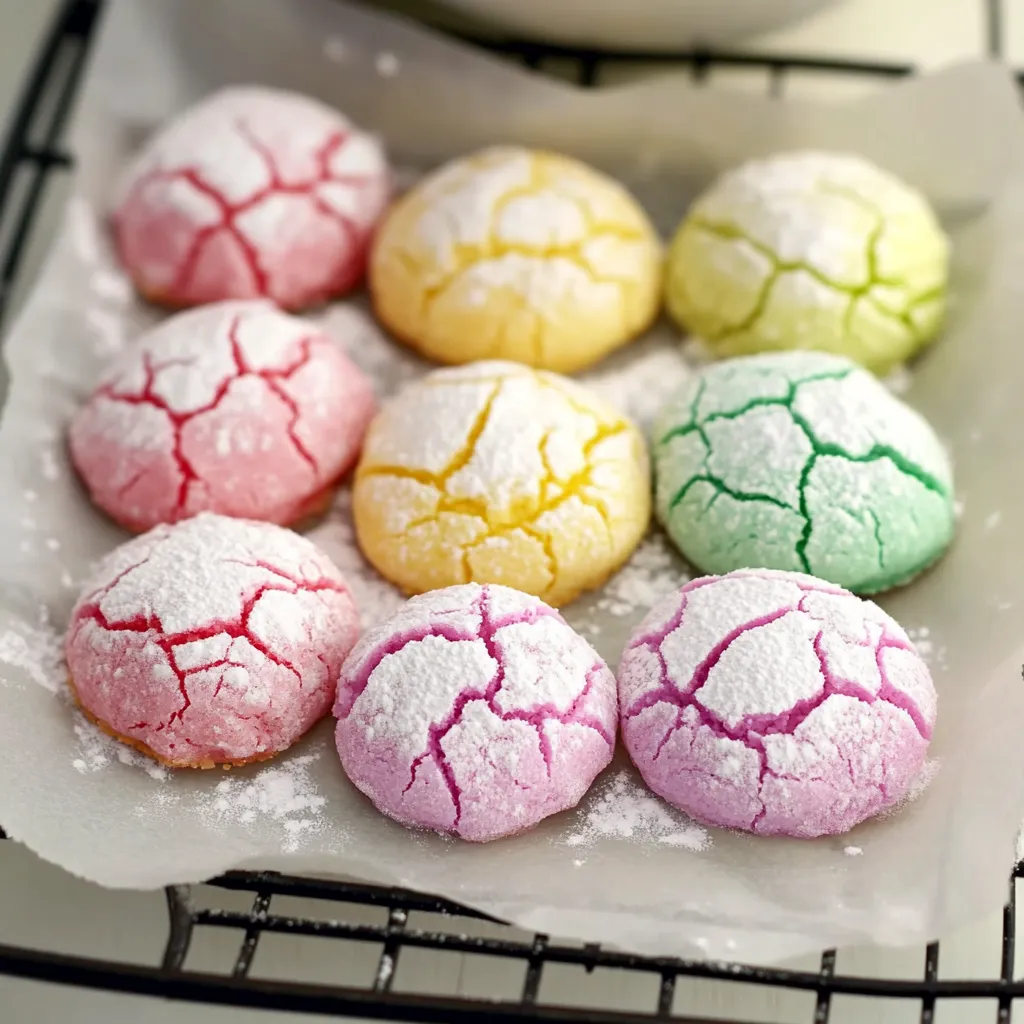
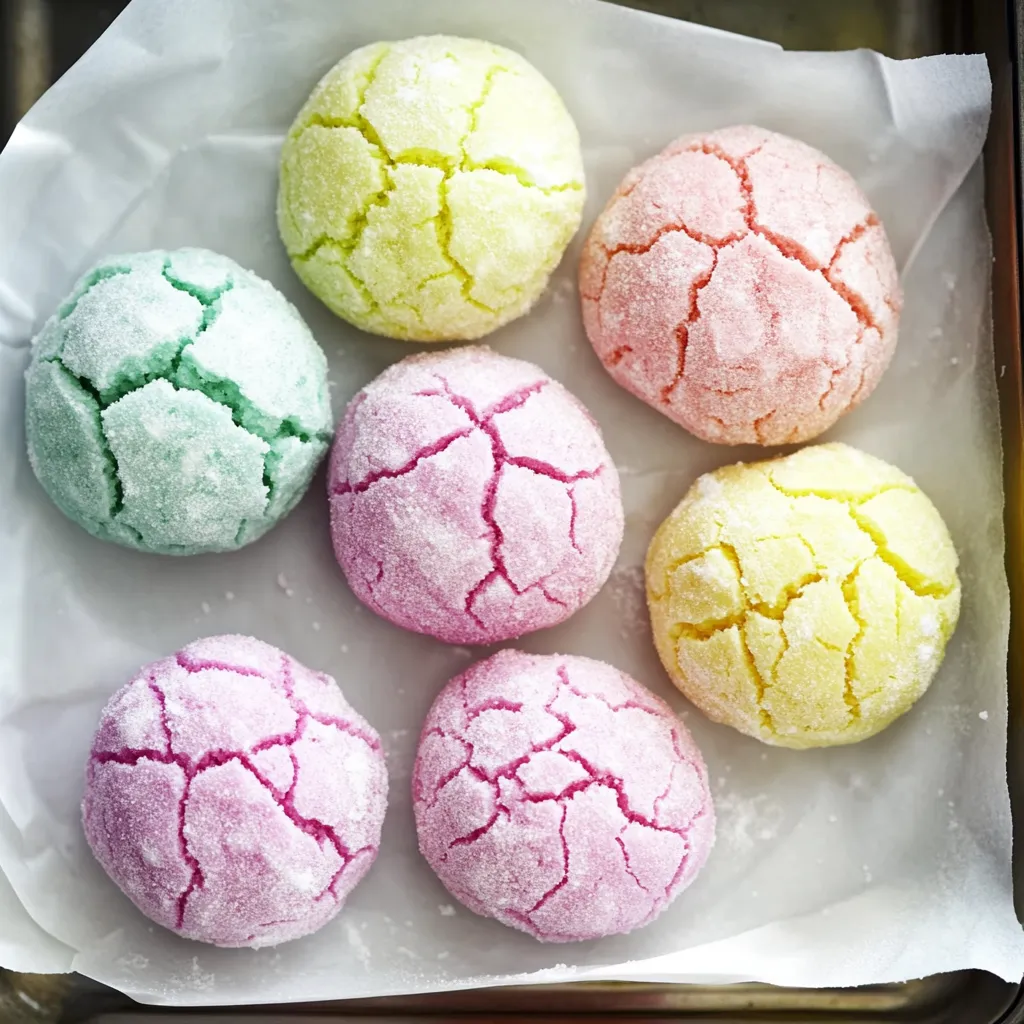
Springtime Crinkle Cookies are my go-to way to welcome warmer days and celebrate bright colors after a long winter. These cookies are soft and pillowy with crackly powdered sugar crusts and pastel hues that bring any spring gathering to life. Whether you are baking for Easter or a picnic, they turn an ordinary afternoon into something special.
I still remember the first time I served these at a family brunch. The colorful cookies disappeared in minutes, and my niece asked to help make them the next year. It has become a springtime tradition in our home.
Ingredients
- All-purpose flour: Essential for soft structure. Use a high-quality flour for even crumb.
- Baking powder: Assures the cookies puff and crinkle. Fresh baking powder gives best lift.
- Salt: Balances the sweetness and intensifies flavors. Fine sea salt blends especially well.
- Unsalted butter: Provides rich flavor and tender crumb. Choose fresh unsalted for pure taste.
- Granulated sugar: Adds sweetness and supports cookie texture. Organic or superfine sugar works beautifully.
- Large eggs: Bind and enrich the dough. Try to use room-temperature eggs for better mixing.
- Vanilla extract: Brings aroma and warmth. Pure extract is best for rich flavor.
- Almond extract: Optional but adds a lovely floral note. Natural almond extract gives the most delicate flavor.
- Powdered sugar: Creates the signature crackly coating. Sift to avoid clumps and ensure even coverage.
- Gel food coloring: Gives vibrant spring colors without watering down the dough. Use high-quality gel for the brightest shades.
Step-by-Step Instructions
- Preheat the oven:
- Set the oven to three hundred fifty degrees Fahrenheit or one hundred seventy-five degrees Celsius. Line a baking sheet with parchment paper for easy release and less cleanup.
- Mix dry ingredients:
- In a medium bowl, whisk together the flour, baking powder, and salt until very well combined. This helps distribute the leaveners evenly for uniform rise.
- Cream butter and sugar:
- In a large mixing bowl, beat the softened butter and granulated sugar together for at least three minutes until pale and fluffy. This process traps air for lighter, tender cookies. Add one egg at a time, mixing thoroughly after each. Add the vanilla extract and the almond extract (if using) and mix until blended.
- Combine wet and dry ingredients:
- Add the flour mixture to the wet ingredients gradually. Mix gently until just combined to prevent overworking the dough. You should stop mixing as soon as no streaks of flour remain. The dough will be thick and slightly sticky.
- Add color:
- Divide the dough into as many portions as you want colors. Drop a few dots of gel food coloring into each and mix until the color is smooth and even. You can use a spoon or your hands with gloves to work the color in.
- Chill the dough:
- Cover each bowl with plastic wrap or a lid and refrigerate for at least thirty minutes. Chilling solidifies the fat, making the dough easier to handle and helps the cookies hold their crinkled shape while baking.
- Roll in powdered sugar:
- Scoop out dough portions (about a tablespoon each) and roll them gently into balls. Roll each one generously in sifted powdered sugar to coat fully. The thicker the sugar layer, the better the final crackle.
- Bake:
- Place the dough balls on the prepared baking sheet, spacing two inches apart to allow for spreading. Bake for ten to twelve minutes until the tops crack and edges set but centers are still soft. The final cookies should look puffy with deep crinkles.
- Cool:
- Let the cookies cool for about five minutes on the baking sheet to firm up before moving them to a wire rack to cool completely. This prevents breaking and gives the perfect chewy texture.
 Pin it
My favorite part of making these cookies is swirling the gel food coloring into the dough with my daughter. We always compete for who can make the most vibrant shade. It is a lovely way to share kitchen time together.
Storage Tips
After the cookies cool completely, store them in an airtight container at room temperature. They will stay soft and fresh for up to four days. For longer storage, you can freeze them. Layer cookies with parchment paper in a freezer-proof container and they will keep their texture for up to one month. To thaw, just place them at room temperature for about an hour.
Ingredient Substitutions
If you do not have almond extract, you can use all vanilla for a classic flavor. Dairy-free butter works well if you need to avoid dairy, and gluten-free flour blends can be substituted in equal measure for an allergy-friendly batch. For the colors, liquid food coloring can be used—just reduce other liquids slightly to keep the dough from getting too sticky.
Serving Suggestions
Serve these cookies on a pretty platter for Easter brunch, baby showers, or spring picnics. Their pastel colors look lovely next to fresh fruit or tea. A small cookie bag tied with ribbon also makes a cheerful homemade gift for teachers and friends. These pair especially well with lemonade or a light herbal tea.
 Pin it
Making these cookies fills my kitchen with laughter and a sugary vanilla almond aroma. I love seeing everyone’s faces light up as they bite into a soft chewy center hidden beneath the crackly sugar crust. These cookies are a simple joy and a reminder that a little color goes a long way in the kitchen.
Frequently Asked Questions
- → How do I get vibrant colors in the cookies?
Use gel food coloring rather than liquid, as it provides intense, even coloring without thinning the dough.
- → Why chill the dough before baking?
Chilling helps firm the dough, making it easier to roll and enhances the crinkle finish during baking.
- → Can I omit almond extract?
Yes, you can use only vanilla extract or substitute with another flavor to suit your preference.
- → How do I ensure the cookies are soft?
Do not overbake—remove the cookies when the centers are just set and let them cool on the baking sheet briefly.
- → What’s the best way to coat with powdered sugar?
Roll the dough balls generously in powdered sugar just before baking to achieve a thick, snowy exterior.