
 Pin it
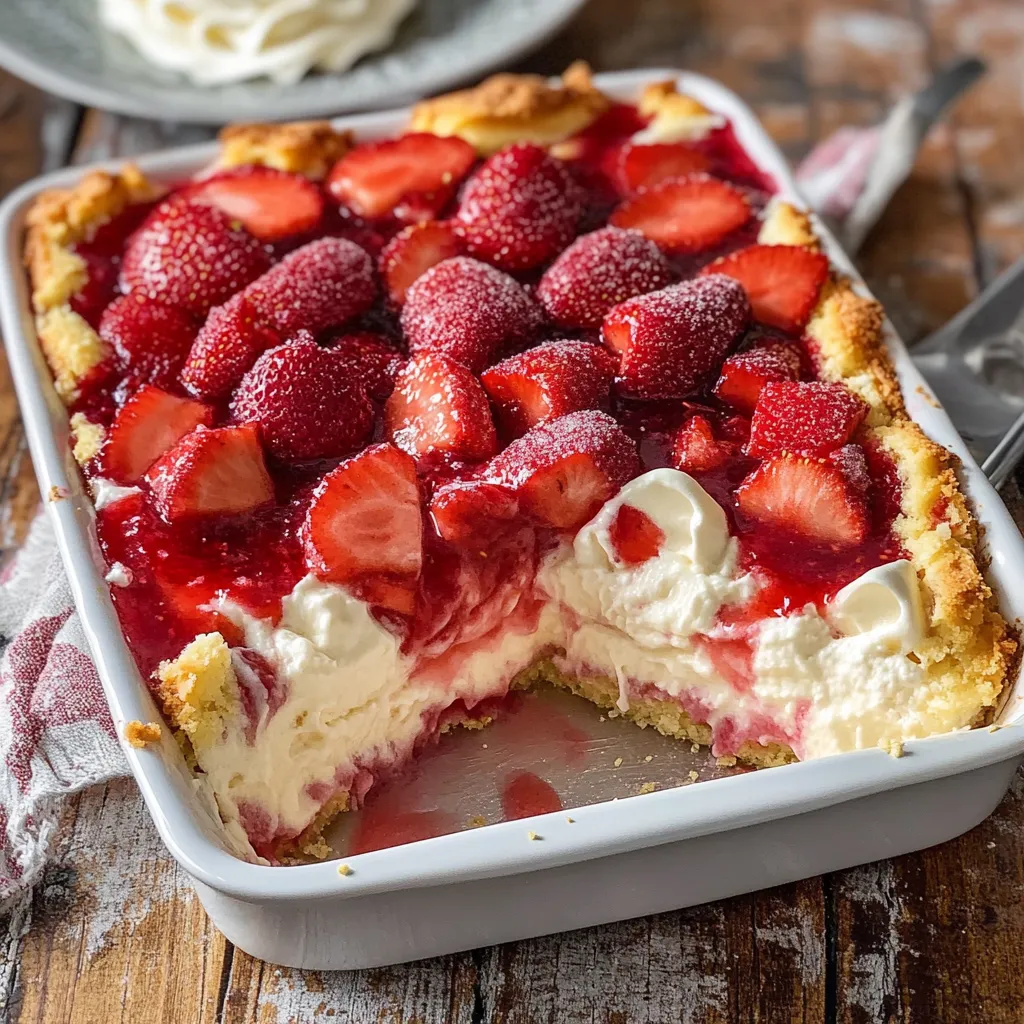
Imagine biting into layers of buttery cake, velvety cheesecake, and juicy strawberries all merged into one heavenly dessert. This Strawberry Cheesecake Dump Cake combines the comfort of traditional cake with the luxury of cheesecake, creating a dessert that's both impressive and wonderfully simple to prepare.
The first time I made this cake for my Sunday family dinner, everyone was amazed at how something so simple could taste so extraordinary. Now it's become our most requested dessert for special occasions.
Gathering Your Ingredients
- Fresh or frozen strawberries: Provide natural sweetness and vibrant berry flavor, enhancing the dessert’s freshness.
- Strawberry pie filling: Ensures the perfect consistency while intensifying the strawberry taste.
- Cream cheese: Adds a rich, creamy texture that balances the sweetness and creates a classic cheesecake-like depth.
- Granulated sugar: Helps balance the tanginess of the cream cheese while subtly enhancing the strawberry flavor.
- Pure vanilla extract: Brings warmth and depth, complementing both the cream cheese and strawberry layers.
- Yellow cake mix: Acts as the perfect buttery foundation, absorbing moisture while adding a soft, cake-like texture.
- Unsalted butter: When melted into the cake mix, it creates a crisp, golden topping that contrasts beautifully with the creamy layers beneath.
Crafting Your Cake
- Preparation:
- Ensure your oven reaches the perfect temperature of 350°F. A properly heated oven guarantees even baking and that desirable golden top.
- Berry Foundation:
- Create an even layer of strawberries across your baking dish. This forms the foundation of fresh fruit flavor that will infuse throughout the cake.
- Cheesecake Magic:
- Blend cream cheese until it reaches silky smoothness. Incorporate sugar and vanilla until the mixture becomes light and fluffy. This creates pockets of creamy cheesecake throughout the finished dessert.
Final Assembly
Sprinkle your cake mix evenly across the creamy mixture, ensuring complete coverage from edge to edge. Drizzle melted butter slowly over every inch of the cake mix, taking extra care to reach the corners. The butter must coat all dry cake mix to prevent any powdery patches in your finished dessert. Watch as the butter begins to seep into the cake mix, creating tiny rivulets that will eventually become a gorgeous golden crust.
 Pin it
My family discovered that letting the cake rest for fifteen minutes after baking allows the layers to settle perfectly. The first time we rushed to serve it immediately, the layers weren't quite set. Now we use this short rest period to fill the kitchen with anticipation while the cake reaches the ideal serving temperature.
Perfect Timing and Temperature
Watch your cake carefully during the final ten minutes of baking. The surface should achieve a deep golden brown color, and the edges will bubble gently with strawberry goodness. Look for spots where the cheesecake mixture has peeked through and turned slightly golden. These patches indicate perfectly done areas that will provide delightful textural contrast in every bite.
Mastering The Layers
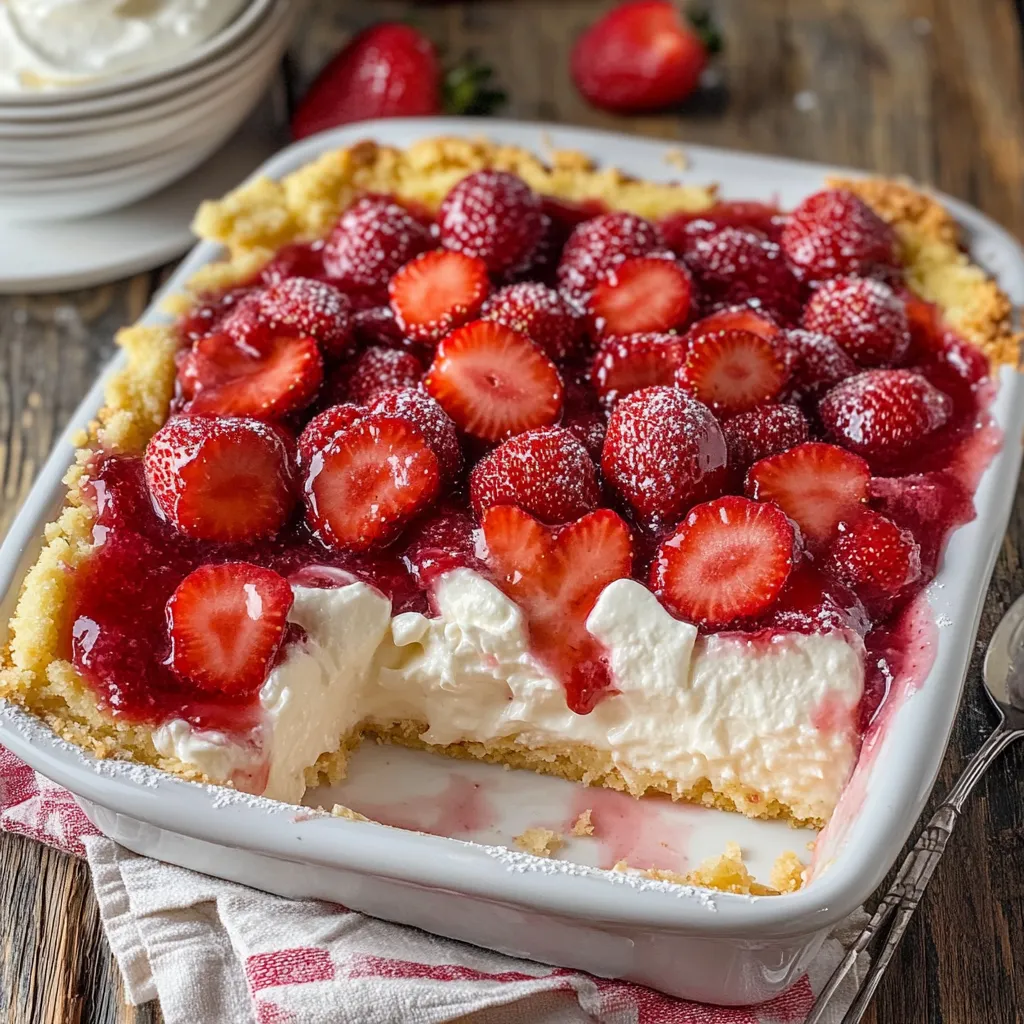
Understanding how each layer interacts creates the perfect dump cake. The bottom strawberry layer should be juicy but not watery. The cheesecake pockets must be creamy without being runny. The top cake layer needs to achieve that ideal balance between crispy and tender. Each component plays a crucial role in the overall success of your dessert.
Serving Your Creation
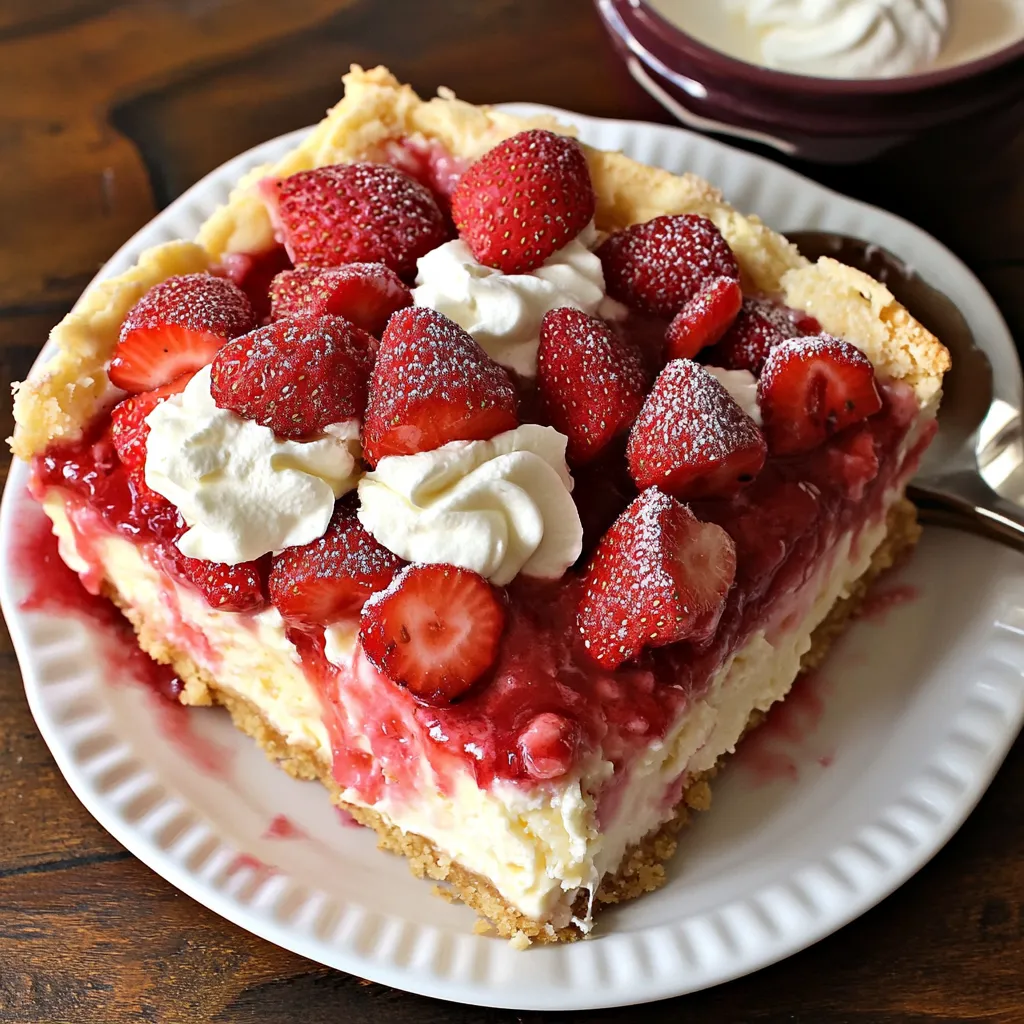
Present this cake while it's still slightly warm, when the contrast between the crispy top and creamy center is at its peak. Consider serving individual portions in shallow bowls to capture every precious drop of the strawberry sauce. A dollop of freshly whipped cream slowly melting into the warm surface creates an extra layer of indulgence.
Sweet Variations
Transform this basic recipe by introducing complementary flavors. Consider swirling caramel sauce through the cheesecake layer, or sprinkling chocolate chips between the strawberry and cheesecake components. White chocolate shavings added just before serving bring elegant visual appeal and delicate sweetness.
Keeping It Fresh
Store any leftover cake in an airtight container in your refrigerator, where it will maintain its delicious qualities for up to four days. When reheating, place individual portions in the microwave for 20-30 seconds to recreate that freshly baked warmth. The texture may change slightly, but the flavors will continue to develop and meld.
 Pin it
This Strawberry Cheesecake Dump Cake has become a treasured recipe in my collection, not just for its incredible taste but for the memories it helps create. Whether served at casual family gatherings or elegant dinner parties, it never fails to draw smiles and recipe requests. The beauty of this dessert lies in its ability to bring together simple ingredients in a way that creates something truly spectacular. Each time I make it, I'm reminded that sometimes the most uncomplicated recipes yield the most extraordinary results.
Frequently Asked Questions
- → Can I use frozen strawberries?
- Yes, frozen strawberries work just as well as fresh ones. No need to thaw them first - just layer them in frozen.
- → How do I know when it's done baking?
- The top should be golden brown and you'll see the edges bubbling. This usually takes 45-50 minutes at 350°F.
- → Can I make this ahead of time?
- You can make it up to a day ahead. Just cover and refrigerate, then warm slightly before serving.
- → How should I store leftovers?
- Cover the pan with foil and keep in the fridge for up to 4 days. Warm portions before serving.
- → Why is it called a dump cake?
- Because you simply dump the ingredients in layers into the pan - no mixing or complicated steps needed.