
 Pin it
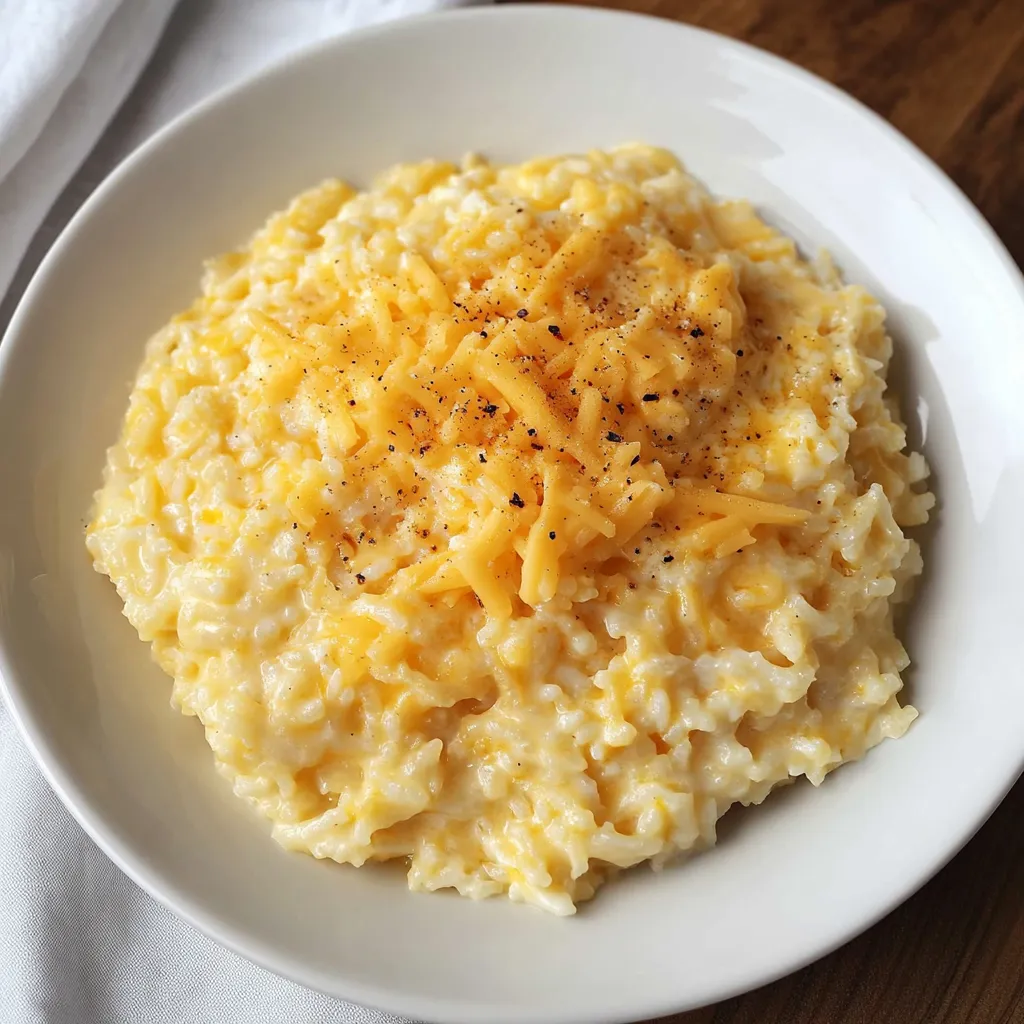
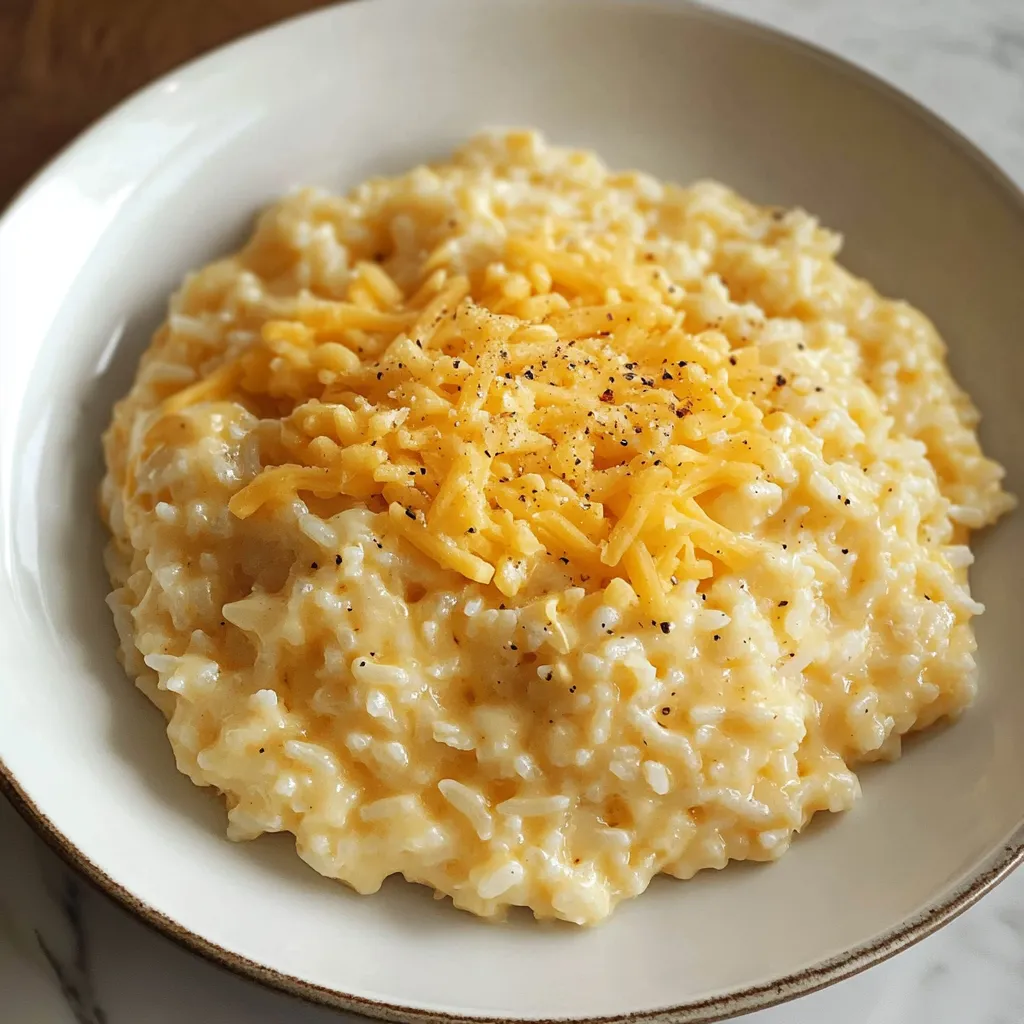
Some recipes become part of your family's story, and this cheesy rice is one of those treasures. On busy weeknights or lazy Sundays, this creamy, comforting dish has saved dinner countless times in my kitchen. The beauty lies in its simplicity – a handful of everyday ingredients transforming into something truly special. Every time I make it, my kitchen fills with the irresistible aroma of sautéed onions and melting cheese that never fails to bring my family to the table.
The first time I made this cheesy rice, it was a desperate attempt to use up leftover cheese and create something my picky eater would enjoy. Now it's requested at least once a week, and I always keep the ingredients stocked in my pantry.
Perfect Ingredients Make Perfect Rice
- Fresh onions: Provide the aromatic base that makes this dish special.
- Long-grain white rice: Creates the ideal texture.
- Real butter: Adds richness you can't get any other way.
- Good quality broth: Builds depth of flavor.
- Whole milk: Creates that perfect creamy consistency.
- Freshly grated cheese: Melts into silky perfection.
- Paprika: Adds a subtle warmth and beautiful color.
- Salt and pepper: Balance all the flavors perfectly.
Creating Your Cheesy Rice
- Preparing Your Base:
- Start by pulling out your heaviest pot with a tight-fitting lid. This will help prevent hot spots and ensure your rice cooks evenly. Dice your onion into small, uniform pieces about the size of your pinky nail. They should be small enough to distribute throughout the rice but large enough to add texture to each bite.
- Building Flavors:
- Melt your butter over medium heat until it starts to foam gently. Add your diced onions and watch them transform from crisp and bright to soft and translucent. This usually takes about five minutes, and you'll know they're ready when your kitchen fills with their sweet aroma. This is when you add your paprika, letting it bloom in the warm butter to release its full flavor.
- The Rice Addition:
- Add your well-rinsed rice to the pot, stirring gently to coat each grain with the buttery, onion-flavored goodness. Let it toast for just a minute until it smells slightly nutty. This extra step adds another layer of flavor that makes this recipe special.
- Creating the Perfect Texture:
- Pour in your broth and milk, stirring gently to combine. This is where patience becomes important. Bring the mixture to a gentle simmer, then lower the heat until you see just tiny bubbles around the edges. Cover the pot with your lid and resist the urge to peek for the next 18 minutes. Every time you lift that lid, precious steam escapes, and your rice needs that steam to cook properly.
- The Cheese Magic:
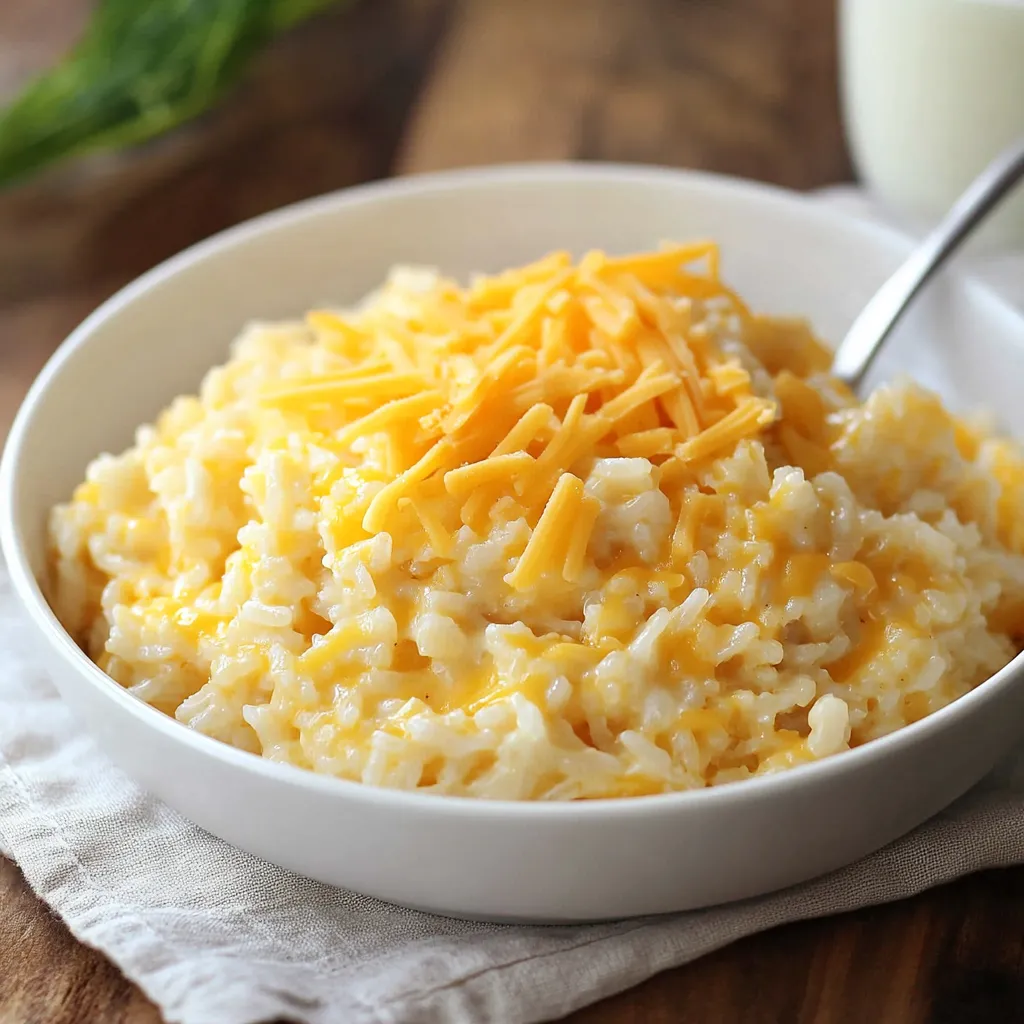
- Once your rice is tender, turn off the heat but keep the lid on for another five minutes. This allows any remaining liquid to be absorbed evenly. Now comes the fun part - adding the cheese! Remove the lid and stir in your freshly grated cheese in three portions. This gradual addition helps create that perfectly creamy texture we're looking for.
 Pin it
Some of my fondest memories involve teaching my children to cook with this recipe. My youngest always gets the job of slowly stirring in the cheese, watching with wonder as it melts into creamy perfection. It's these simple moments that make cooking such a joy.
The Art of Rice Selection
Walking down the rice aisle can feel overwhelming, but for this recipe, you want to look for long-grain white rice. It maintains its shape and texture beautifully while still becoming creamy. Short-grain rice can become too sticky, and instant rice simply won't give you the same luxurious texture we're aiming for.
Making It Your Own
Over the years, I've discovered countless ways to adapt this basic recipe. In spring, I add fresh peas and a handful of herbs. Summer brings the addition of sweet corn and diced bell peppers. Fall calls for butternut squash and sage, while winter welcomes mushrooms and thyme. Each variation has become a seasonal favorite in our home.
Troubleshooting Your Rice
Sometimes, even with the best intentions, rice can be tricky. If your rice seems too firm after the cooking time, add a splash of hot broth, cover, and let it steam for another five minutes. If it's too wet, remove the lid and let it stand for a few minutes - the excess moisture will evaporate.
 Pin it
This cheesy rice has become more than just a recipe in our house - it's comfort in a bowl, a teaching tool for young cooks, and a canvas for creativity. Whether you're making it for a quiet family dinner or doubling the recipe for a potluck, I hope it brings as much joy to your table as it has to mine. Remember, cooking is about more than following instructions - it's about creating memories, one pot of rice at a time.
Frequently Asked Questions
- → Can I make this cheesy rice ahead of time?
- Yes, you can make it ahead and store in an airtight container in the fridge for 3-4 days. Reheat gently with a splash of milk if needed.
- → What's the best type of rice to use?
- Long grain white rice works best. Avoid instant or brown rice as they require different cooking times and liquid ratios.
- → Why do I need to rinse the rice first?
- Rinsing removes excess starch from the rice surface, helping it cook up fluffy instead of sticky or gummy.
- → Can I use different types of cheese?
- While sharp cheddar is recommended, you can experiment with other melting cheeses like monterey jack or colby jack.
- → Why shouldn't I lift the lid while cooking?
- Lifting the lid releases steam and can make the rice dry or extend cooking time. Keep it covered until the rice is tender.