
 Pin it
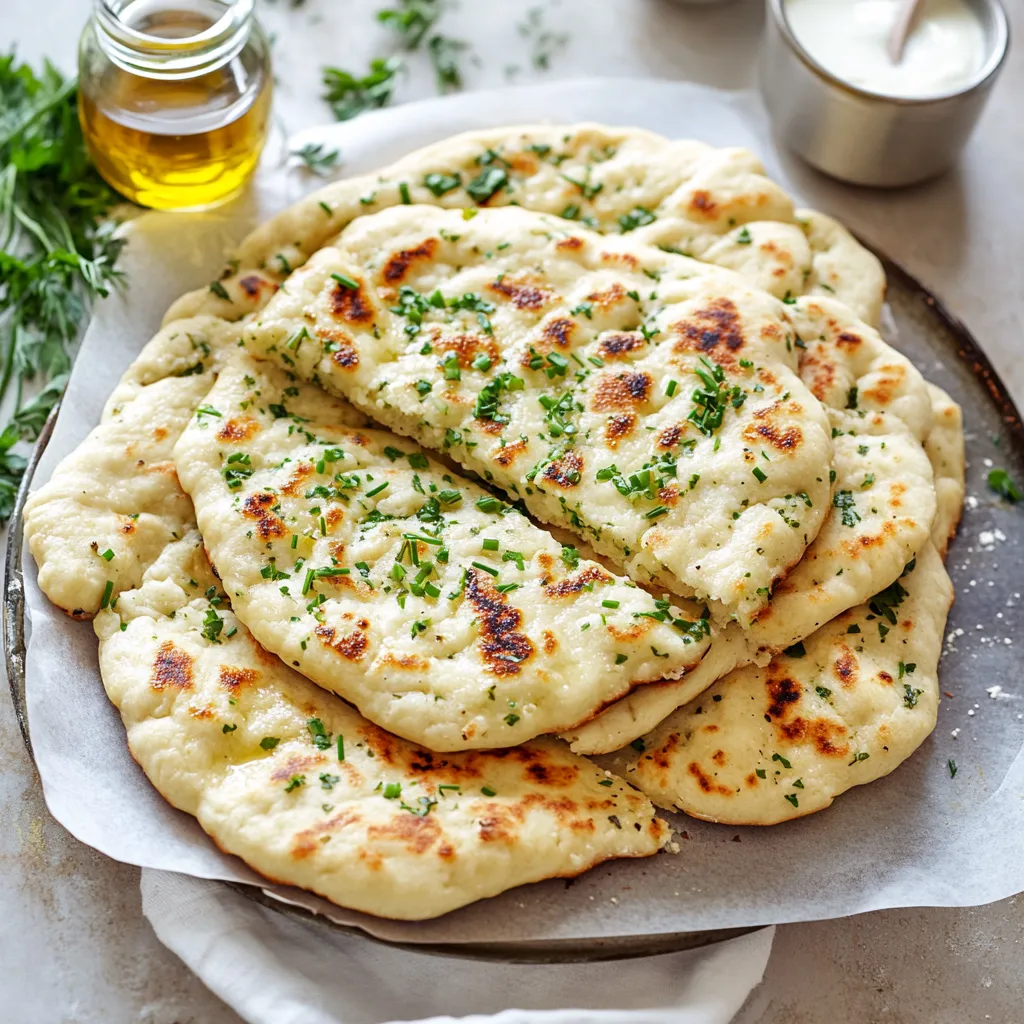
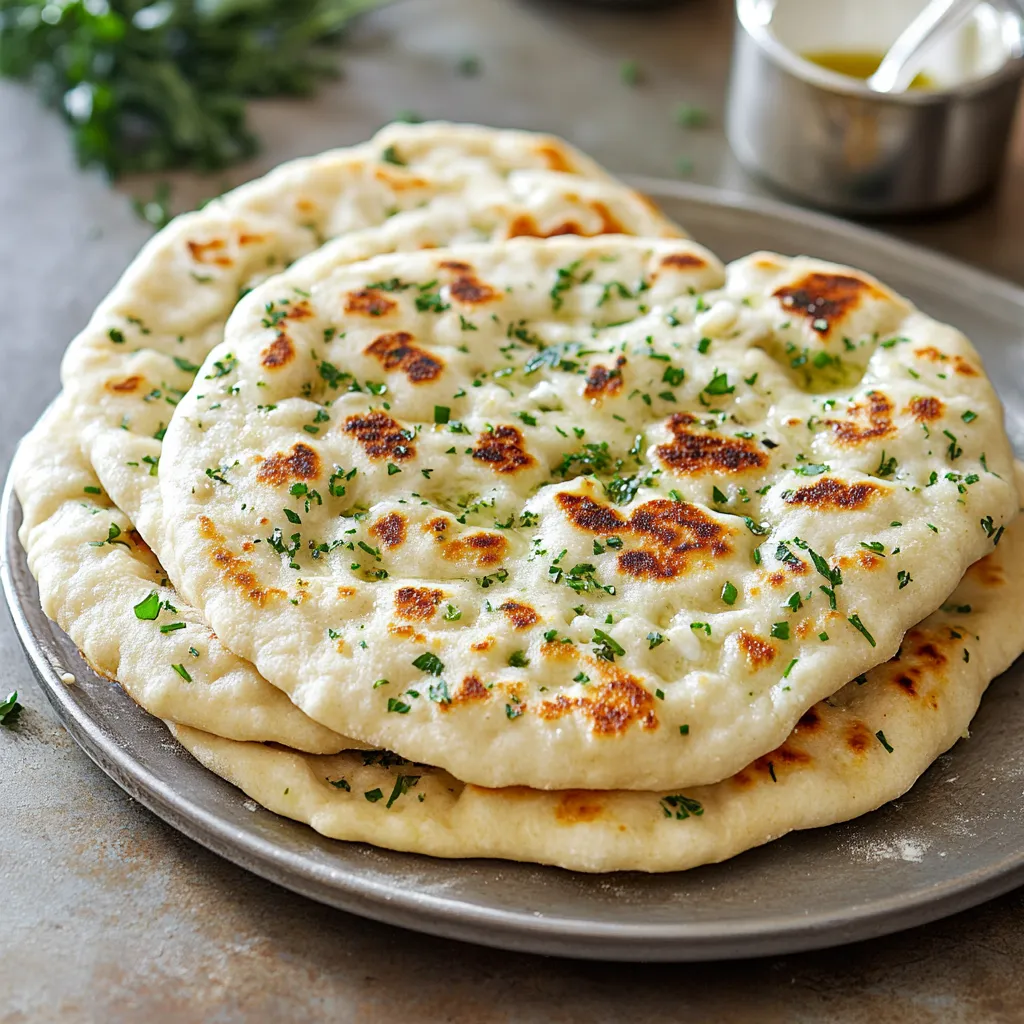
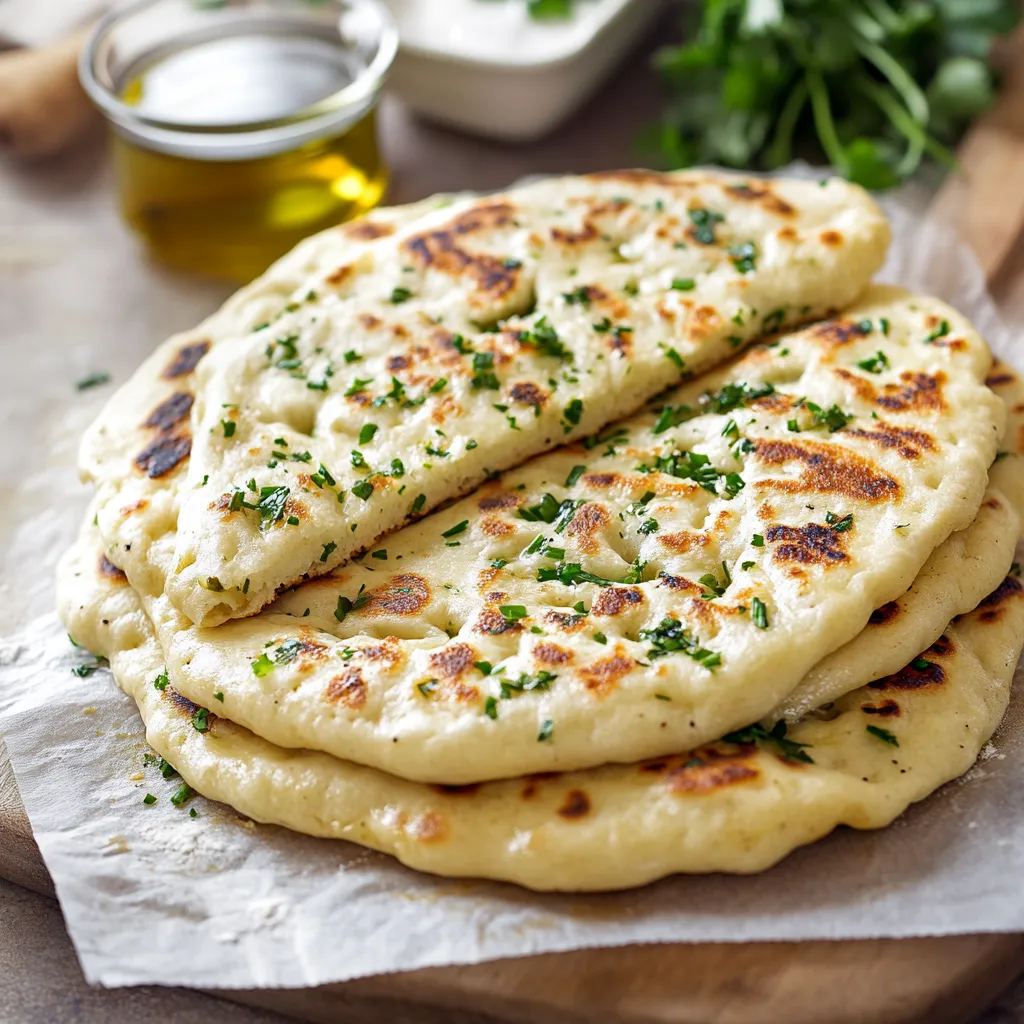
Garlic and herb flatbread combines pillowy soft texture with aromatic flavors in a recipe that proves homemade bread doesn't require complicated techniques or special equipment. This skillet-cooked creation features a perfect contrast between the golden, slightly crisp exterior and the tender, fluffy interior studded with fresh herbs and garlic. Unlike yeasted breads that demand hours of rising time, this flatbread comes together in minutes using everyday pantry ingredients. The yogurt provides both tanginess and tenderness while creating a wonderfully pliable dough that cooks quickly on the stovetop. Whether serving alongside soups, using as a foundation for creative toppings, or simply enjoying warm from the pan with a drizzle of olive oil, this versatile bread delivers restaurant-quality results with minimal effort.
I made these flatbreads for an impromptu dinner party last weekend when I realized I had forgotten to buy bread. My guests were absolutely convinced I had picked them up from an artisanal bakery and refused to believe they had come together in minutes from scratch. My neighbor asked for the recipe before dessert was even served, and my brother-in-law, who claims he "doesn't like herbs," ate three pieces back-to-back.
Perfect Ingredient Selection
- All-Purpose Flour: Provides just enough structure while maintaining tenderness. Look for unbleached flour for the best flavor without specialty flours.
- Greek Yogurt: Creates exceptional moisture and slight tanginess. Full-fat varieties produce the most tender results, but reduced-fat options work surprisingly well.
- Olive Oil: Adds richness and prevents sticking while creating beautiful browning. Extra virgin olive oil delivers the most pronounced flavor that complements the herbs perfectly.
- Fresh Herbs: Bright herbs like parsley, chives, and dill bring vibrant color and aroma. Growing your own ensures the freshest flavor, but store-bought work beautifully when finely chopped.
- Garlic: Provides aromatic depth and savory notes throughout the bread. Fresh minced garlic offers significantly more flavor than pre-packaged alternatives.
Preparation Success Steps
- Perfect Dough Creation:
- Begin by thoroughly whisking your dry ingredients together in a large bowl, ensuring even distribution of the salt and baking powder throughout the flour. This crucial step prevents pockets of saltiness or bitter baking powder in the finished flatbreads. Add your finely chopped fresh herbs directly to the dry mixture, coating them with flour to prevent clumping and ensure even distribution throughout the dough. In a separate small bowl, combine room temperature Greek yogurt with olive oil and freshly minced garlic, whisking until smooth and homogeneous. Create a well in the center of your dry ingredients, pour in the yogurt mixture, and begin incorporating with a fork or wooden spoon. Add room temperature water gradually, using just enough to create a cohesive, slightly sticky dough that pulls away from the sides of the bowl.
- Shaping Technique Mastery:
- Turn your dough onto a lightly floured surface and divide it into six equal portions using a bench scraper or knife. The precision of these divisions ensures even cooking time across all pieces. Roll each portion into a smooth ball, then gently flatten with your palm to begin the shaping process. Using a lightly floured rolling pin, roll each piece into a rustic circular shape approximately 1/8-inch thick. Avoid rolling too thin, which creates crackers rather than flatbreads, or too thick, which prevents proper cooking throughout. The natural irregularity of hand-rolled shapes adds authentic character to the finished product. Allow the shaped dough to rest for five minutes before cooking, which relaxes the gluten slightly for more tender results.
- Skillet Cooking Excellence:
- Heat a heavy-bottomed skillet or cast iron pan over medium heat until thoroughly hot but not smoking. This moderate temperature allows the flatbread to cook through properly without burning the exterior. Brush one side of the shaped dough with high-quality olive oil before placing it oil-side down in the hot skillet. Cook until the surface begins to bubble slightly and the underside develops deep golden-brown spots, approximately 90 seconds. Brush the top surface with additional olive oil before flipping, which ensures proper browning on the second side and adds richness. Cook the second side until properly browned, about 75-90 seconds more, adjusting heat as needed to prevent scorching. The flatbread should puff slightly in places, indicating proper cooking technique.
- Finishing Touch Perfection:
- Remove each flatbread from the skillet and place on a clean kitchen towel, folding the edges over to keep them warm and prevent drying while cooking the remaining pieces. For maximum flavor impact, brush each warm flatbread with a final light coating of olive oil infused with a small amount of minced garlic and sprinkle with additional fresh herbs and flaky sea salt. This final treatment creates a burst of aromatic flavor and visual appeal that elevates the entire experience. Stack the finished flatbreads inside the towel, allowing their steam to keep each other perfectly soft until serving. Present them in a cloth-lined basket for the most appetizing presentation.
 Pin it
My mother taught me the importance of not overworking flatbread dough. When I was learning to cook, I would knead and knead thinking it would improve the texture. She showed me that minimal handling creates the most tender results, explaining that we weren't developing gluten like in yeasted breads. This simple tip transformed my flatbreads from tough and chewy to perfectly tender.
Serving Inspirations
Transform these versatile flatbreads into spectacular meal components with thoughtful serving ideas. Create a Mediterranean mezze spread featuring the warm breads alongside hummus, baba ghanoush, and muhammara for dipping. For lunch, use them as wraps filled with crisp vegetables, feta, and grilled chicken or roasted chickpeas. Turn them into quick personal pizzas by topping with pesto, fresh mozzarella, and cherry tomatoes, then broiling briefly until the cheese melts. For breakfast, serve warm flatbreads with labneh or thick yogurt drizzled with honey and topped with fresh berries and chopped pistachios.
 Pin it
Storage Solutions
Preserve freshness by allowing flatbreads to cool completely before storing. For room temperature storage lasting up to two days, wrap tightly in a clean kitchen towel, then place in a sealed plastic bag. For longer refrigeration of four to five days, separate each flatbread with parchment paper before placing in an airtight container to prevent sticking. Freeze cooled flatbreads by wrapping individually in plastic wrap followed by aluminum foil or placing in freezer bags with parchment between layers. They maintain quality for up to two months frozen. Reheat refrigerated or frozen flatbreads in a dry skillet over medium-low heat until warmed through, or wrap in foil and heat in a 350°F oven for 5-7 minutes.
Frequently Asked Questions
- → Can I make these flatbreads ahead of time?
- Yes, you can prepare the dough up to 24 hours ahead and store it covered in the refrigerator. Let it come to room temperature for about 30 minutes before shaping. The cooked flatbreads are best enjoyed fresh, but can be stored in an airtight container at room temperature for up to 2 days and briefly reheated in a dry skillet or 300°F oven before serving.
- → Can I substitute the Greek yogurt?
- Greek yogurt provides the perfect thickness and tanginess for these flatbreads, but you can substitute with regular plain yogurt that's been strained through a cheesecloth for about an hour. In a pinch, sour cream will also work, though the texture may be slightly different. For a dairy-free version, thick coconut yogurt can work, but you may need to adjust the water content.
- → How can I make gluten-free flatbreads?
- To make these flatbreads gluten-free, substitute the all-purpose flour with a good quality gluten-free flour blend that contains xanthan gum. You may need to add an extra tablespoon or two of yogurt as gluten-free flours tend to absorb more moisture. The texture will be slightly different, but still delicious.
- → What can I serve with these garlic herb flatbreads?
- These versatile flatbreads pair beautifully with many dishes. Serve them alongside Mediterranean dips like hummus, baba ganoush, or tzatziki. They're perfect for scooping up curries, stews, or soups. You can also use them as a base for quick pizzas, as wraps for sandwich fillings, or simply torn into pieces and enjoyed with olive oil and za'atar spice blend.
- → Can I freeze these flatbreads?
- Absolutely! Let the cooked flatbreads cool completely, then stack them with pieces of parchment paper between each flatbread to prevent sticking. Place the stack in a freezer-safe bag or container and freeze for up to 3 months. Thaw at room temperature and reheat in a dry skillet or warm oven before serving.