
 Pin it
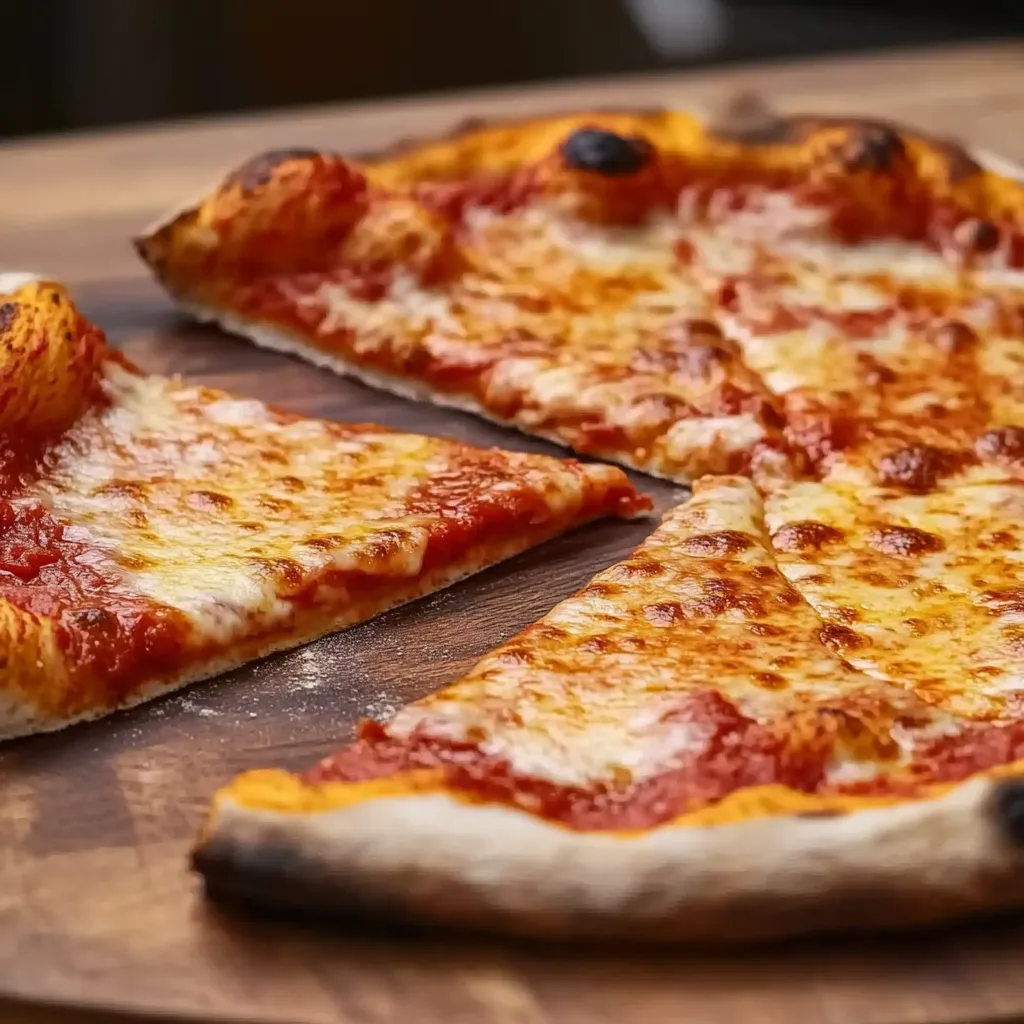
This New York-Style Pizza brings authentic pizzeria flavor right into your kitchen. After perfecting this recipe over dozens of attempts, I can promise it delivers that signature chewy-yet-crispy crust that folds just right – the true test of NY pizza!
I originally developed this recipe during a snowstorm when we couldn&t get delivery from our favorite pizzeria. Now my family actually prefers this homemade version and requests it every Friday night without fail.
Ingredients
- Bread flour: Creates that chewy texture and perfect structure. The higher protein content is essential for authentic NY pizza
- Granulated sugar: Feeds the yeast and helps develop the crust&s golden color
- Kosher salt: Enhances all the flavors without making the dough taste salty
- Instant yeast: Provides reliable rising without proofing first
- Lukewarm water: Activates the yeast properly. Temperature matters here
- Extra virgin olive oil: Adds subtle flavor and helps with browning
- Full fat dry mozzarella cheese: Is the authentic choice. Fresh mozzarella is too wet
- Pizza sauce: Made with quality San Marzano tomatoes provides the perfect tangy base
Step-by-Step Instructions
- Mixing the Dough:
- Combine dry ingredients with quick pulses in the food processor to distribute evenly. Add water and oil then process until a smooth ball forms that rides above the blade. The food processor develops gluten quickly without overworking the dough which would make it tough. Process exactly as directed for perfect texture.
- Kneading and Dividing:
- Transfer to a floured surface and knead briefly until smooth. The dough should pass the windowpane test meaning you can stretch a small piece thin enough to see light through without tearing. Divide into three equal portions and place in containers. The initial dividing saves time later and ensures even portions.
- Cold Fermentation:
- Refrigerate dough for at least 24 hours and up to 5 days. This slow rise develops complex flavors and improves texture dramatically. The longer it ferments the more depth of flavor you will achieve. I find 2-3 days is the sweet spot for my family.
- Final Rise:
- Remove dough from refrigerator two hours before baking. Shape into tight balls and let rise until doubled. This final rise at room temperature wakes up the yeast and makes the dough easier to stretch. Look for the dough becoming puffy and more relaxed.
- Stretching the Dough:
- Press dough into a disc leaving the edges thicker. Use your knuckles to gently stretch the dough into a 12-14 inch circle. The knuckle technique prevents tearing and ensures even thickness. Avoid using a rolling pin which would crush valuable air bubbles.
- Topping and Baking:
- Spread sauce leaving a border for the crust. Add cheese evenly and bake on a preheated stone. The stone mimics pizzeria ovens by providing intense bottom heat. Watch carefully as timing varies depending on your oven.
 Pin it
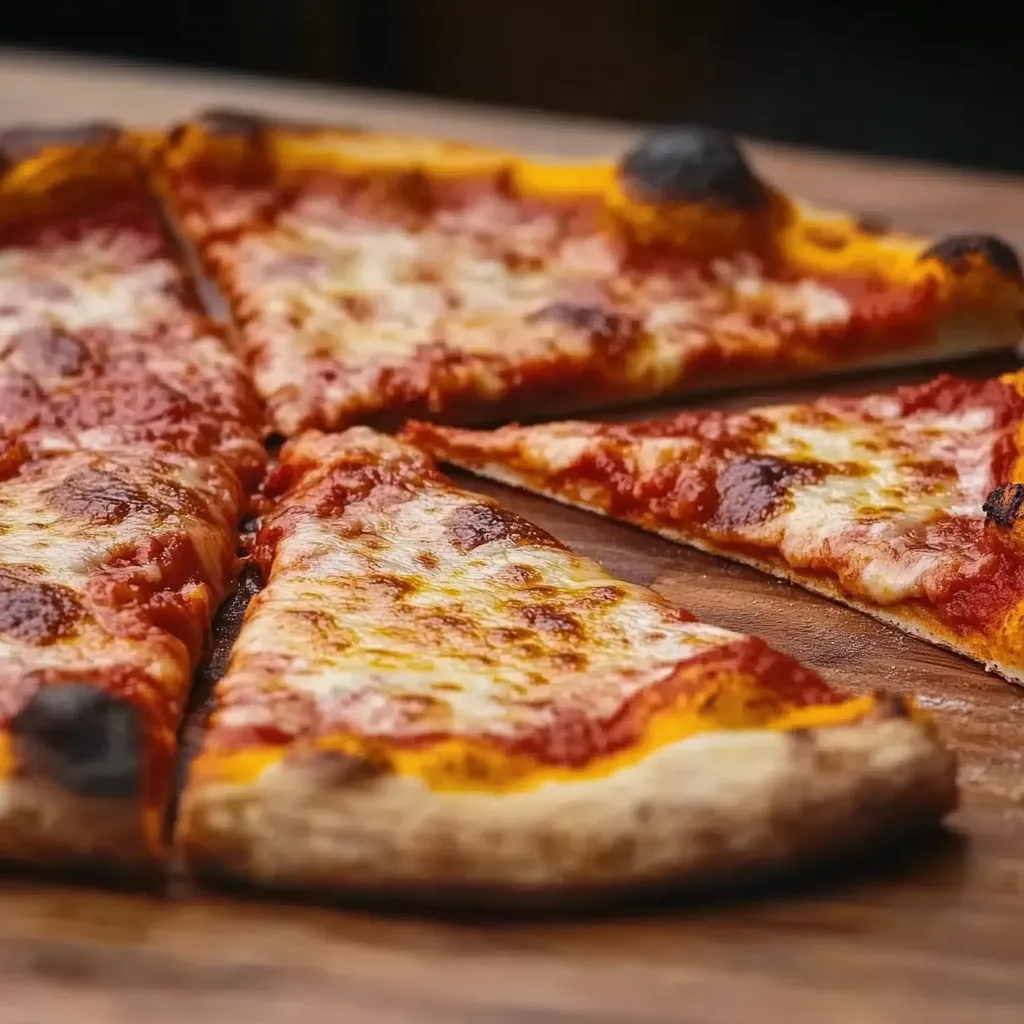
The secret ingredient that transformed my pizza making was investing in a quality pizza stone. After years of using baking sheets, the difference was immediate and dramatic. My daughter actually asked if we had ordered takeout the first time we used it.
The Science Behind Cold Fermentation
The magic of New York pizza lies in its extended cold fermentation process. During refrigeration, enzymes slowly break down complex carbohydrates into simpler sugars. This creates not only better flavor but also improves browning capabilities. The cold temperature slows yeast activity while allowing beneficial bacteria to thrive, creating those subtle sourdough notes without actually using sourdough starter. I discovered this technique after years of making mediocre pizza and it completely transformed my results.
Troubleshooting Common Issues
If your dough tears easily during stretching, it likely needs more rest time at room temperature. Cold dough is tight and resistant. Give it 30 more minutes to relax. If your crust is pale instead of golden brown, your oven may not be hot enough. Most home ovens benefit from maximum preheating time. For soggy middle issues, try using less sauce or patting your cheese dry before applying. Too much moisture prevents proper browning of both cheese and crust.
Authentic Toppings For New York Pizza
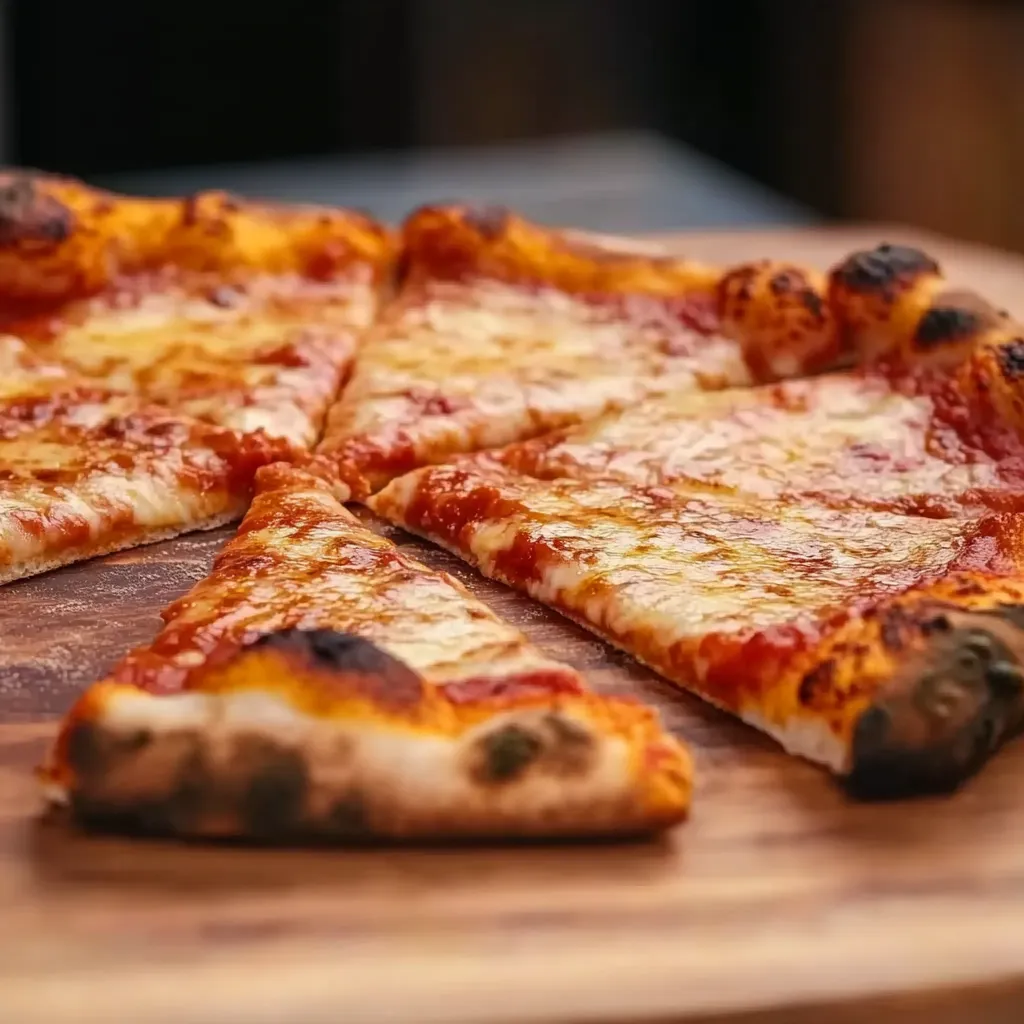
Traditional New York pizza is relatively minimalist compared to many modern styles. Classic toppings include pepperoni, Italian sausage, or simply plain cheese. When adding meat toppings, less is more. Overloading creates steam that prevents proper crust cooking. If using vegetables, consider pre-cooking watery ones like mushrooms or fresh tomatoes to remove excess moisture. For the most authentic experience, fold your slice lengthwise before eating. This New York technique helps contain the toppings and creates the perfect bite ratio.
 Pin it
Follow these steps and tips, and you’ll be enjoying authentic New York pizza that rivals your favorite pizzeria in no time!
Frequently Asked Questions
- → What is unique about New York-style pizza?
New York-style pizza features a thin and crispy crust that is sturdy enough to hold its toppings but flexible enough to fold for eating on the go.
- → How do I get the right texture for the crust?
The 26-hour cold fermentation allows the dough to develop flavor and achieve the perfect chewy yet crispy texture after baking.
- → Can I make this pizza without a pizza stone?
Yes, you can use an inverted baking sheet as a substitute, but a pizza stone will provide better heat distribution and a crisper crust.
- → How should I shape the dough for best results?
Gently stretch the dough over your knuckles into a 12- to 14-inch circle, keeping the edges slightly thicker for the characteristic crust.
- → What is the ideal oven temperature for baking this pizza?
Preheat your oven to 500°F (260°C) with the pizza stone inside to achieve the high heat necessary for a crispy crust.
- → Why freeze the mozzarella before using it?
Freezing the grated mozzarella prevents it from clumping and ensures even melting across the pizza surface.