
 Pin it
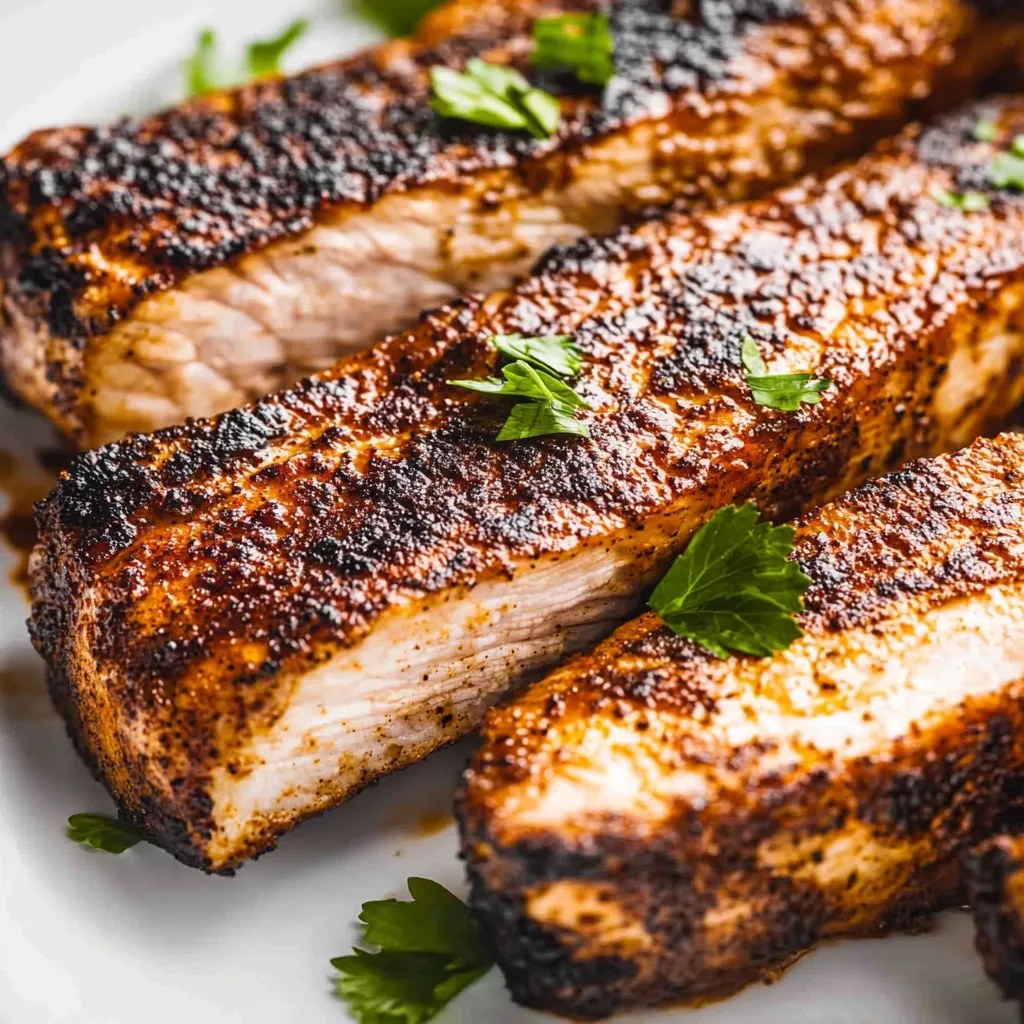
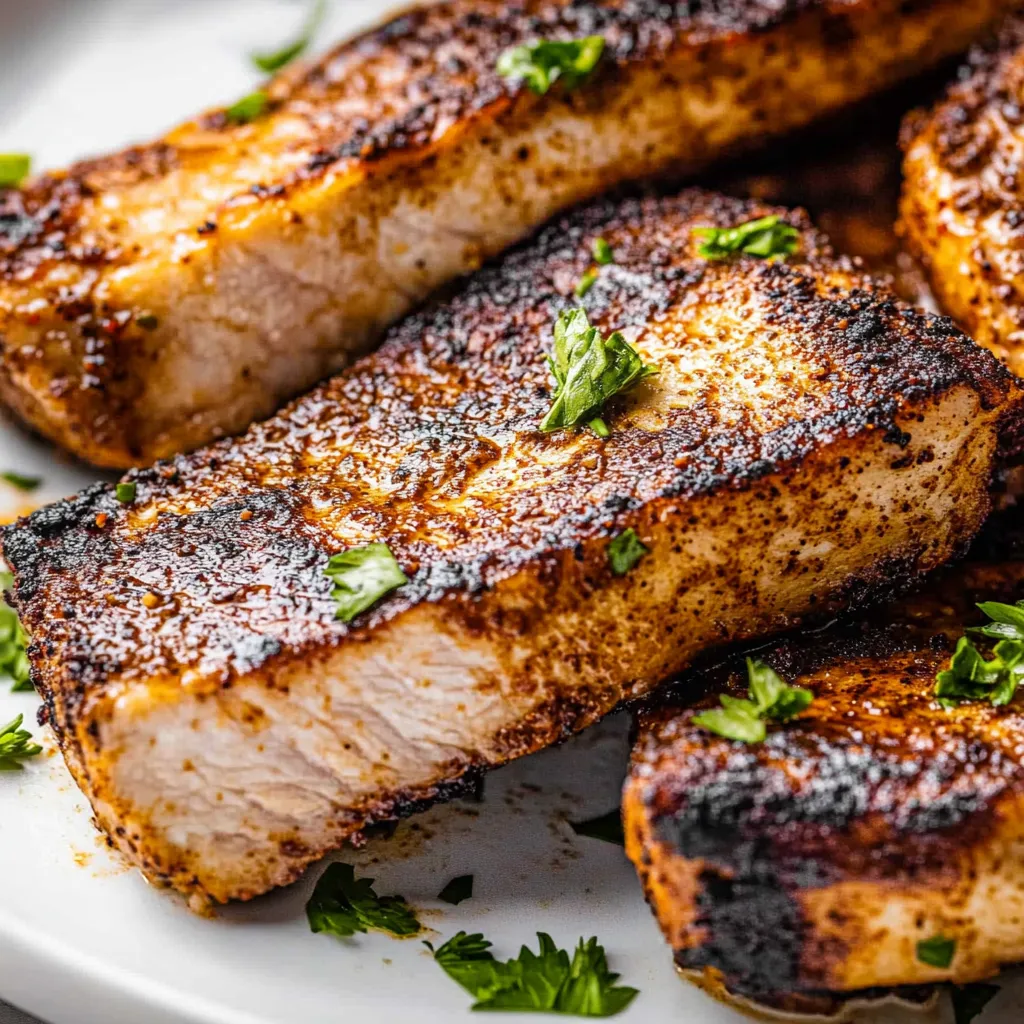
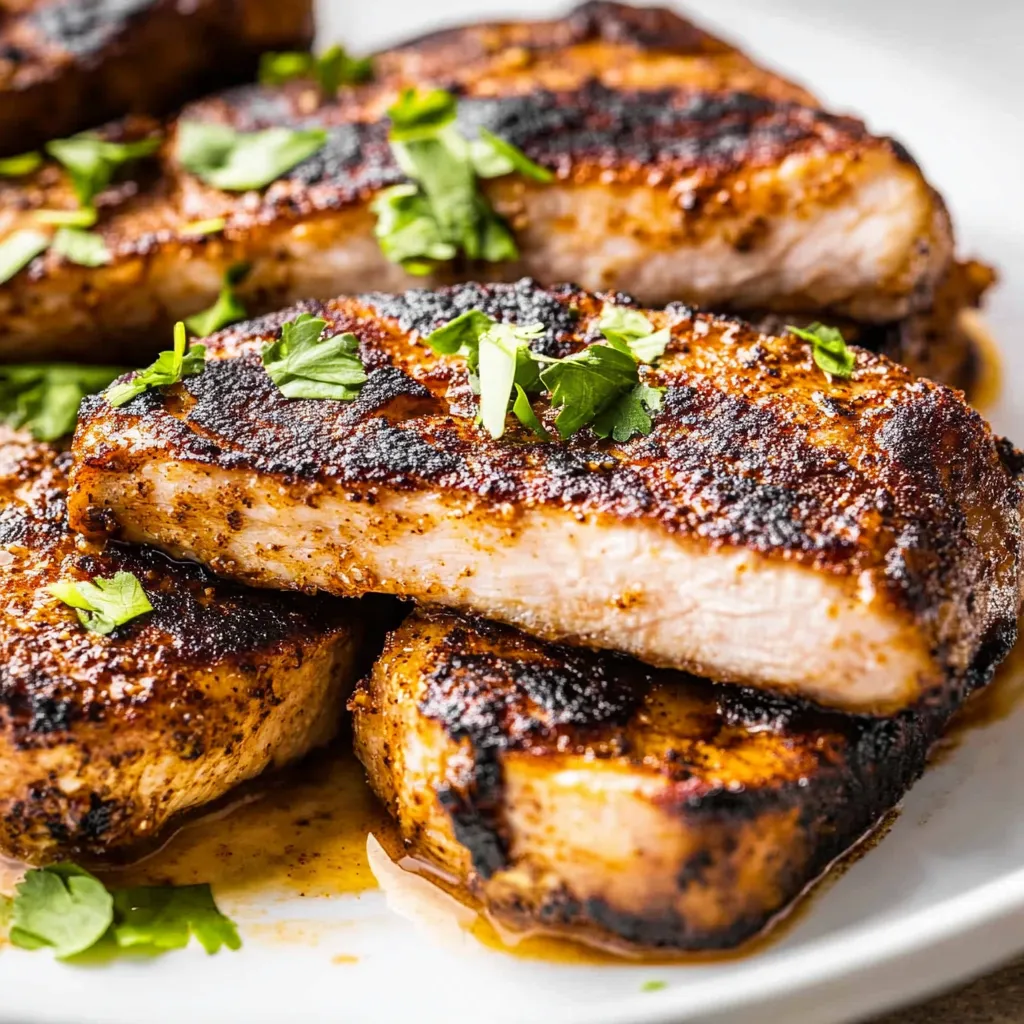
This blackened pork chop recipe transforms simple ingredients into a restaurant-quality meal right on your Blackstone griddle. The perfect blend of smoky spices creates a flavorful crust while the butter keeps everything juicy and tender. I've been making these for years, and they never fail to impress even the pickiest eaters in my family.
I discovered this technique after watching countless cooking shows and experimenting on my Blackstone. What started as a weeknight experiment has become our Sunday dinner tradition, with everyone gathering around as the griddle sizzles.
Ingredients
- 4 boneless pork chops: Look for cuts about 1 inch thick with some marbling for the juiciest results
- 6 Tablespoons butter (divided): The butter is essential for creating that perfect blackened crust
- 1 Tablespoon smoked paprika: Provides that signature smokiness without actual smoking
- 1 teaspoon onion powder: Adds depth without raw onion texture
- 1 teaspoon garlic powder: Infuses garlicky flavor throughout the crust
- ½ teaspoon dried oregano: Brings a subtle Mediterranean note
- ½ teaspoon dried thyme: Pairs beautifully with pork and adds earthiness
- ½ teaspoon ground black pepper: Freshly ground makes a noticeable difference
- ½ teaspoon Kosher salt: Kosher salt adheres better to the meat than table salt
- ½ teaspoon cayenne pepper: Adjustable based on your heat preference
Step-by-Step Instructions
- Preheat Your Blackstone:
- Turn all burners to high and allow your griddle to get extremely hot, around 450-500°F. This high heat is crucial for creating that perfect blackened crust. Let it preheat for at least 10 minutes to ensure even cooking temperature across the surface.
- Create Your Blackened Rub:
- Combine all spices in a small bowl and mix thoroughly with a fork or whisk. Make sure there are no clumps of cayenne pepper which could create overly spicy spots. The beauty of this mix is how each spice contributes something unique to the flavor profile.
- Prepare The Pork Chops:
- Pat the pork chops completely dry with paper towels. Any moisture will prevent proper searing and cause the spices to steam rather than blacken. This step is often overlooked but makes a huge difference in the final texture of your crust.
- Apply Butter And Seasoning:
- Melt 3 tablespoons of butter in a microwave safe bowl. Using a basting brush, liberally coat both sides of the pork chops with melted butter. This helps the seasonings stick and contributes to the amazing crust. Sprinkle the blackened rub generously on both sides, pressing gently to adhere.
- Cook First Side:
- Place the remaining 3 tablespoons of butter directly onto the hot Blackstone surface. Once melted, carefully lay the seasoned pork chops onto the griddle. The initial sizzle should be intense. Let them cook undisturbed for 4 to 5 minutes until a dark flavorful crust forms.
- Flip And Continue Cooking:
- Flip the pork chops using tongs or a spatula. You should see a beautiful dark crust. Cook the second side for another 4 to 5 minutes until it matches the first side. The caramelization of the spices and butter creates incredible flavor complexity.
- Finish With Dome Method:
- Reduce the heat to medium, then carefully slide all pork chops close together. Cover with a dome lid to create an oven environment that will finish cooking the interior without burning the exterior. Cook until internal temperature reaches 145°F, approximately 5 to 6 minutes depending on thickness.
- Rest And Serve:
- Remove the perfectly blackened pork chops from the griddle and let them rest for 3 to 5 minutes. This allows the juices to redistribute throughout the meat. Slice into one pork chop to reveal a juicy slightly pink center before serving with your favorite sides.
 Pin it
The cayenne pepper is my secret weapon in this recipe. I discovered its importance when I accidentally left it out once and my husband immediately noticed something was missing. Now I keep a special jar of high quality cayenne just for these pork chops.
Temperature Guide For Perfect Pork
The USDA recommends cooking pork to an internal temperature of 145°F followed by a three minute rest. This results in a juicy slightly pink center that is completely safe to eat. Using a good instant read thermometer takes all the guesswork out of cooking these pork chops. Remember that thicker chops will need slightly longer under the dome to reach the proper temperature without charring the exterior too much.
Spice Level Customizations
The beauty of making your own blackening seasoning is the ability to adjust the heat level. For a mild family friendly version reduce or omit the cayenne pepper entirely. For spice lovers increase the cayenne to a full teaspoon or add a pinch of chipotle powder for smoky heat. I often make separate batches of seasoning when cooking for mixed company some with extra heat for the adults and a milder version for children or those sensitive to spicy foods.
Perfect Side Dish Pairings
These blackened pork chops pair beautifully with sides that balance their bold flavor. Try serving them with creamy mashed potatoes which provide a cooling counterpoint to the spicy crust. Roasted vegetables like asparagus or Brussels sprouts cooked right alongside on the Blackstone make for an easy complete meal. My family particularly loves these chops with a tangy coleslaw that cuts through the richness of the butter and spices.
 Pin it
Now it's your turn to impress your family with these perfectly blackened pork chops in under 20 minutes!
Frequently Asked Questions
- → How do I know when the pork chops are done cooking?
The pork chops are done when they reach an internal temperature of 145°F. This should take about 4-5 minutes per side on high heat, plus an additional 5-6 minutes covered with a dome on medium heat. The exact time will vary depending on the thickness of your pork chops.
- → Can I adjust the spice level of the blackened seasoning?
Yes! The cayenne pepper provides the heat in this seasoning blend. The recipe calls for ½ teaspoon, but you can increase or decrease this amount based on your preference. For a milder flavor, reduce to ¼ teaspoon or omit entirely. For extra heat, increase to 1 teaspoon or more.
- → Can I make these pork chops without a Blackstone griddle?
Absolutely. While a Blackstone griddle provides excellent heat distribution for the perfect sear, you can also use a cast iron skillet on high heat, a regular grill, or even a grill pan. Just ensure whatever cooking surface you use is properly preheated to get a good char on the meat.
- → Why do I need to pat the pork chops dry before seasoning?
Patting the pork chops dry with paper towels removes excess moisture from the surface. This is crucial for achieving a good sear and developing that characteristic blackened crust. Moisture on the meat surface creates steam, which prevents proper browning and flavor development.
- → Can I prepare the blackened seasoning in advance?
Yes! The blackened seasoning blend can be prepared in advance and stored in an airtight container at room temperature for up to 3 months. Making a larger batch saves time for future meals and ensures you always have this flavorful blend on hand for pork chops, chicken, fish, or even vegetables.
- → Why is resting the pork chops important?
Resting the pork chops for a few minutes after cooking allows the juices to redistribute throughout the meat. If you cut into them immediately, those flavorful juices will run out onto your plate instead of remaining in the meat. Resting ensures your pork chops stay juicy and tender when served.