
 Pin it
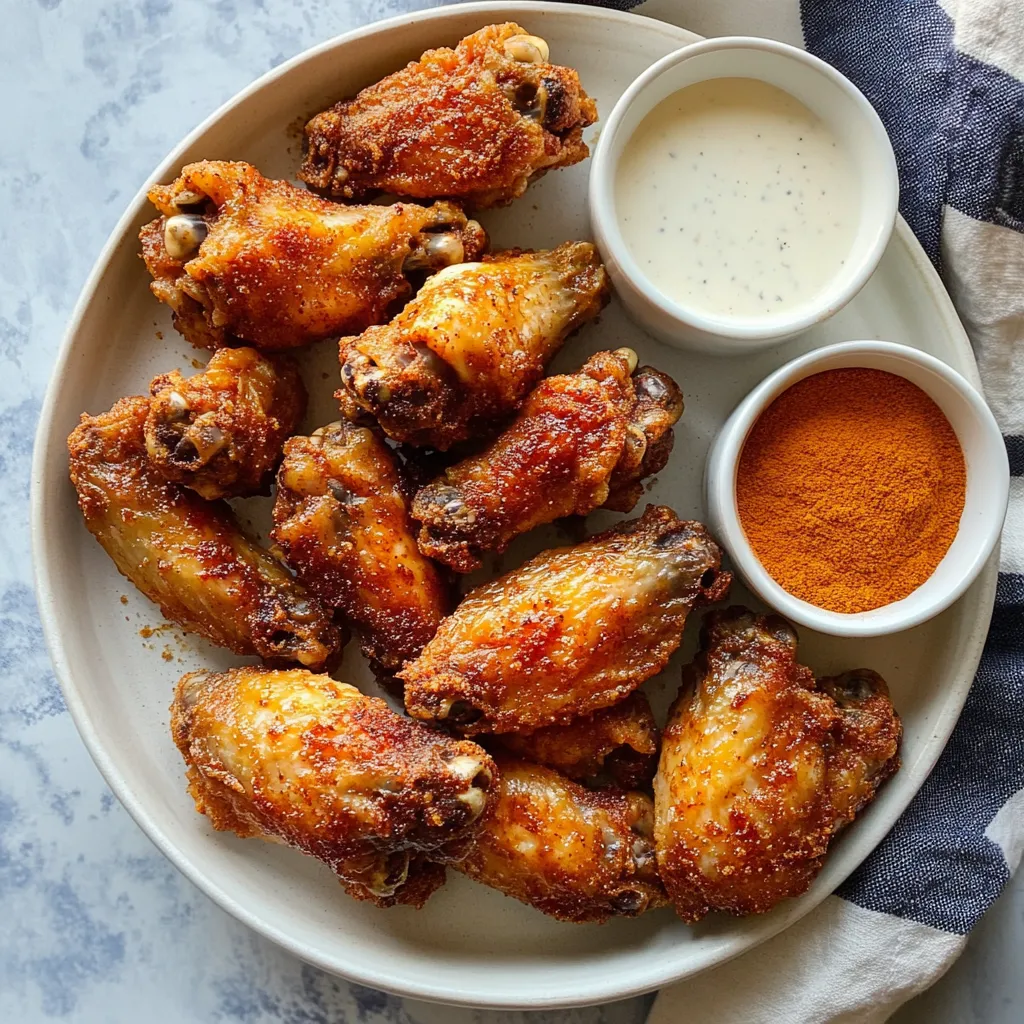
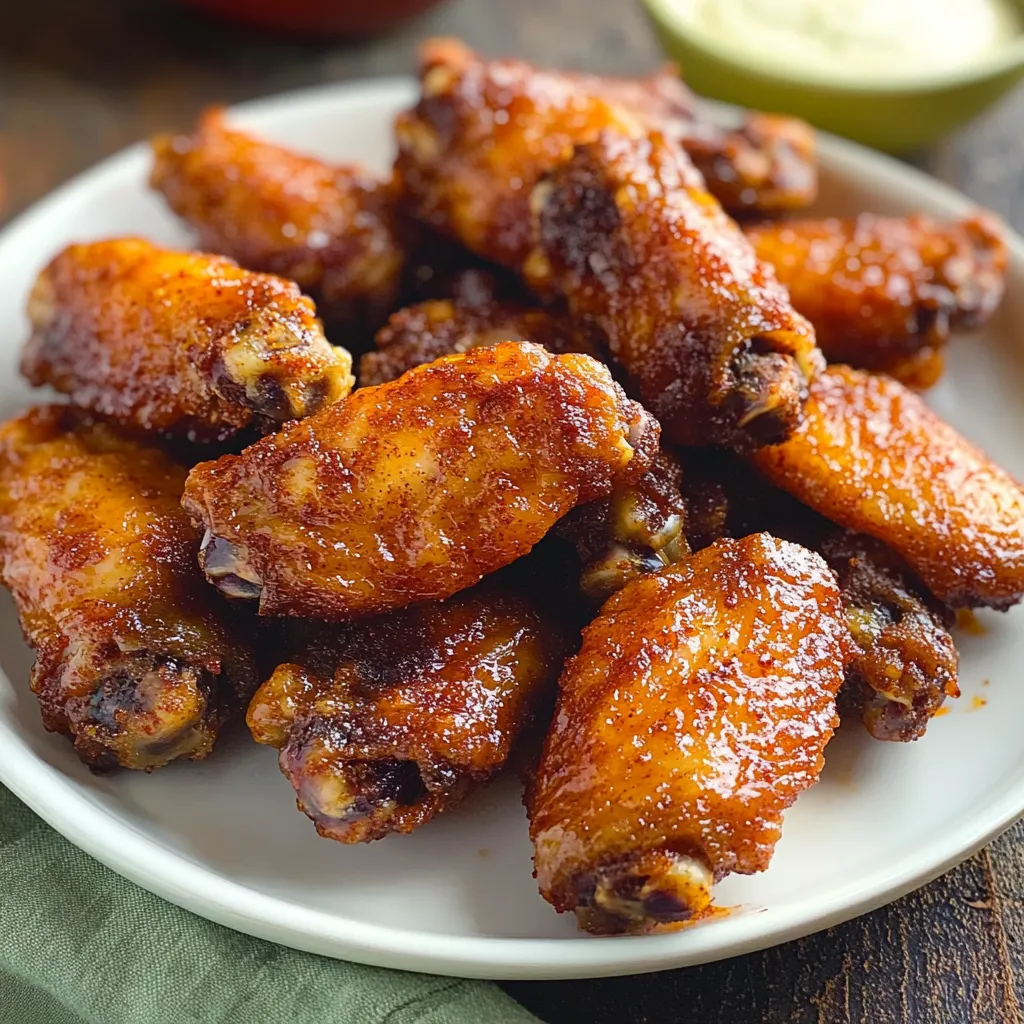
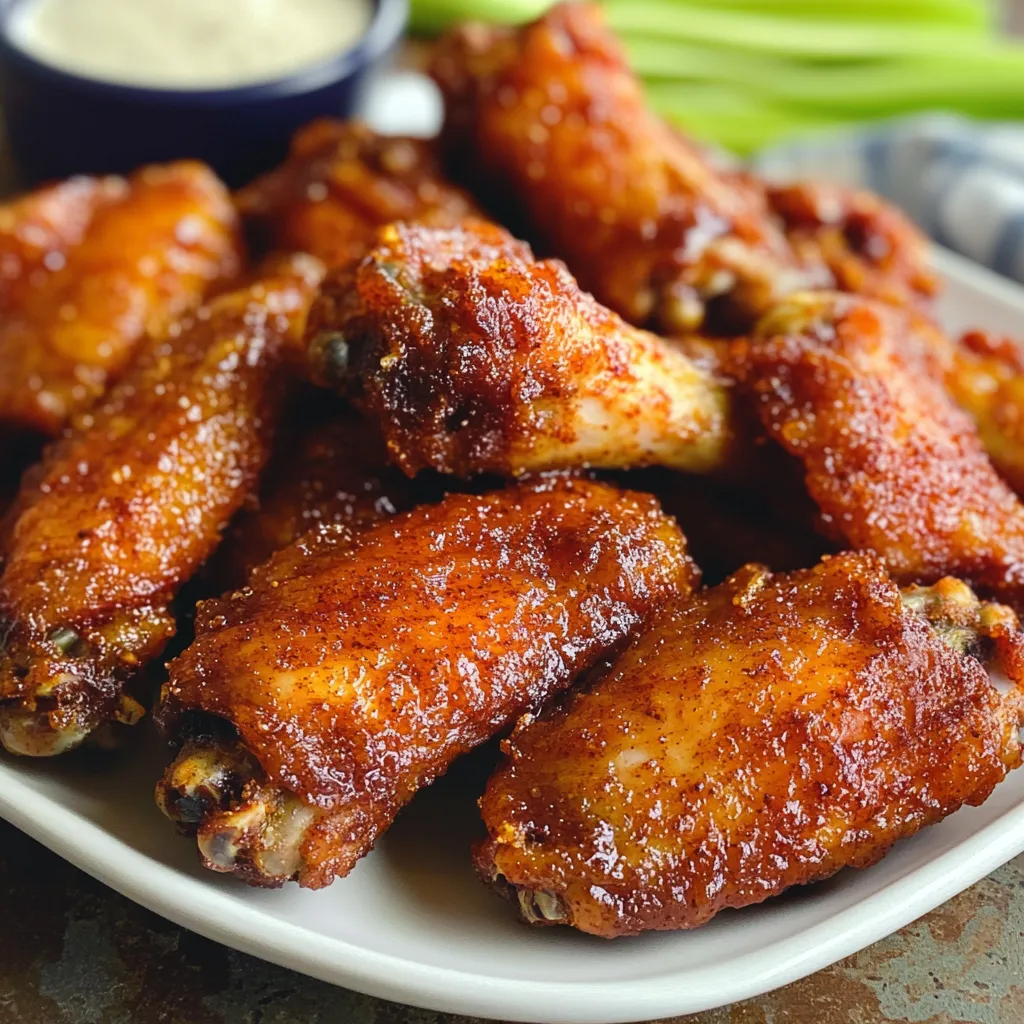
Perfectly seasoned dry rub chicken wings deliver an explosion of flavor in every crispy, golden-brown bite. The magic lies in the carefully crafted spice blend that creates an irresistible crust, transforming ordinary wings into a memorable feast. These wings prove that fantastic flavor doesn't require lengthy marinating or complicated sauces—just quality ingredients and proper technique.
When I first developed this recipe, my family was skeptical about wings without sauce. But after that first batch, they were completely converted. Now they request these wings for every game day and family gathering. The empty platter at the end of each meal tells the whole story.
Wing Master Ingredients
- Fresh Chicken Wings: Choose plump, meaty wings with good color and no bruising. Party wings or whole wings both work beautifully, though party wings offer more surface area for that delicious seasoning
- Premium Smoked Paprika: Look for paprika with a deep red color and strong aroma. Spanish paprika offers exceptional flavor depth that elevates your wings
- Dark Brown Sugar: The molasses content adds complexity to your spice blend. Fresh, soft brown sugar blends more easily with other spices
- Aromatic Garlic Powder: Select fine powder rather than granulated for better adhesion to the wings
- Pure Onion Powder: Fresh onion powder should smell sweet and intense, never bitter or dusty
Creating Perfect Wings
- Initial Preparation:
- Remove your wings from the refrigerator 30 minutes before cooking. Pat each wing meticulously with paper towels until completely dry. A dry surface is crucial for achieving that coveted crispy exterior.
- Spice Blend Creation:
- Combine your carefully measured spices in a large bowl, using your fingers to break up any clumps of brown sugar. The texture should be uniform and free-flowing. Take a moment to smell your blend—this helps you adjust seasonings if needed.
- Wing Coating Technique:
- Place your dried wings in a large mixing bowl. Pour your spice blend over the wings in stages, using your hands to massage the seasonings into every crevice. Lift and toss the wings repeatedly, ensuring each piece gets thorough coverage.
- Perfect Cooking Setup:
- Position your oven rack in the upper third position for optimal heat circulation. Arrange your seasoned wings on a baking rack set inside a foil-lined baking sheet. This elevation allows hot air to circulate completely around each wing.
- Crispy Wing Creation:
- Slide your prepared wings into the preheated oven. After the first 20 minutes, flip each wing carefully using tongs. Continue baking until the skin becomes deeply golden and crackly, about 15-20 minutes more.
- Final Crisping Stage:
- For extra crispiness, switch your oven to broil for the final 2-3 minutes. Watch carefully during this stage to achieve perfect caramelization without burning your carefully seasoned crust.
 Pin it
My absolute favorite part of this recipe is the smoked paprika. It adds such a beautiful depth that makes these wings taste like they came straight from a professional kitchen. My son once said these wings ruined restaurant wings for him because nowhere else gets the seasoning quite right.
Perfect Pairing Ideas
Serve these flavorful wings alongside cool and crispy celery sticks and fresh carrot batons. A side of creamy blue cheese dressing or tangy ranch provides delicious contrast. For a complete meal, pair with a crisp coleslaw or a light mixed green salad dressed with lemon vinaigrette.
Creative Wing Variations
Adjust the seasoning blend to create Asian-inspired wings with Chinese five spice and ginger powder, or go Mediterranean with oregano and lemon zest. For heat lovers, increase the cayenne or add ground chipotle. Create a BBQ version by doubling the brown sugar and adding extra smoked paprika.
Leftover Management
Store cooled wings in an airtight container in your refrigerator for up to three days. To reheat, place them on a wire rack in a 180°C oven for 8-10 minutes until heated through and crispy again. Avoid microwaving as this makes the skin soggy and ruins the beautiful texture.
 Pin it
After years of wing experimentation, this dry rub version stands as my proudest creation. They prove that sometimes the simplest approach yields the most impressive results. Every time I serve these wings, someone asks for the recipe, and watching their faces light up with that first bite brings me pure joy. These wings aren't just food—they're conversation starters, mood lifters, and memory makers all wrapped up in one crispy, spicy package.
Frequently Asked Questions
- → Do I need to flip the wings while cooking?
- Yes, flip the wings halfway through cooking and give them another spritz of oil for even crispiness on both sides.
- → Can I make these wings ahead of time?
- For best results, serve these wings fresh and hot. You can mix the dry rub ahead of time and store it in an airtight container.
- → What's the best way to store leftover wings?
- Store leftovers in an airtight container in the fridge for up to 3 days. Reheat in the oven or air fryer to restore crispiness.
- → Why do you use flour on the wings?
- The flour helps create a crispy exterior and helps the seasonings stick better to the wings. You can skip it for a low-carb version.
- → How do I know when the wings are done?
- Wings are done when they reach an internal temperature of 165°F and the outside is golden brown and crispy.