
 Pin it
This apple pie recipe has been passed down through generations in my family. It’s filled with tender, spiced apples tucked into a flaky, golden crust. Every time I bake it, the sweet aroma fills my kitchen, bringing back memories of holidays spent with loved ones.
Why This Recipe is Special
What sets this pie apart is the buttery homemade crust and a secret mix of spices. It’s the perfect balance of sweet and tart, with a texture that melts in your mouth. Every slice feels like a warm hug on a cold day.
What You’ll Need
- Apples: 6 large Granny Smith apples for tartness.
- Brown Sugar: 3/4 cup, for a rich sweetness.
- Cinnamon & Nutmeg: 1 teaspoon each, for warming spice.
- Flour: 2 tablespoons, to thicken the filling.
- Lemon Juice: 1 tablespoon, to prevent browning and enhance flavor.
- Butter: 1/4 cup, for dotting over the filling.
- Pie Crust: Homemade or store-bought, enough for a double crust.
- Egg Wash: 1 egg mixed with 1 tablespoon of water for a glossy finish.
How to Make It
- Prepare the Apples
- Peel, core, and slice the apples into thin wedges. Toss them in a bowl with lemon juice, sugar, spices, and flour. Set aside.
- Roll the Dough
- Roll out one portion of pie dough to fit a 9-inch pie pan. Place the dough in the pan and trim the edges.
- Fill the Pie
- Pour the apple mixture into the prepared crust and dot with butter. Roll out the second crust and place it over the apples. Seal and crimp the edges.
- Add the Finishing Touch
- Brush the top crust with egg wash and cut a few slits for steam to escape.
- Bake
- Bake at 375°F (190°C) for 50-60 minutes, or until the crust is golden brown and the filling is bubbling.
Tips for the Best Pie
Chilling the dough before rolling ensures a flaky crust. For an extra glossy finish, sprinkle sugar over the egg wash before baking. If the edges brown too quickly, cover them with foil. Let the pie cool for at least an hour before slicing—it helps the filling set perfectly.
Make It Your Own
Feel free to use a mix of apples for varied texture and flavor. My friend loves adding a handful of raisins or dried cranberries for a festive touch. For a nutty twist, sprinkle chopped pecans or walnuts over the filling before adding the top crust.
What to Serve With It
A warm slice of this pie pairs beautifully with a scoop of vanilla ice cream or a dollop of whipped cream. For something different, try it with sharp cheddar cheese—it’s an old-fashioned favorite that really works. A drizzle of caramel sauce makes it extra indulgent.
 Pin it
Saving Leftovers
Store leftover pie in the fridge for up to 3 days. I love reheating slices in the oven to keep the crust crisp. If you’re planning ahead, the baked pie freezes beautifully—just wrap it tightly in foil and plastic wrap. Thaw overnight in the fridge before warming.
Common Questions
People often ask about thickening the filling. Flour works great, but you can use cornstarch or tapioca starch instead. Don’t skip the lemon juice—it prevents the apples from turning brown and balances the sweetness. If your crust shrinks, it’s likely because the dough wasn’t chilled long enough.
Why You’ll Love It
This pie is everything you want in a dessert: sweet, spiced, buttery, and nostalgic. It’s easy enough for a casual weekend bake but impressive enough for holiday gatherings. Every bite reminds me why this recipe has been in our family for generations.
A Seasonal Treat
While it’s perfect in fall, this pie works year-round. In summer, pair it with fresh berries for a twist. During the holidays, I add a dash of allspice for extra warmth. No matter the season, it’s always a crowd-pleaser.
More Than Just Dessert
This apple pie isn’t just a treat—it’s a connection to my family’s history. Making it brings back cherished memories and creates new ones with every bake. Whether you’re sharing it with friends or savoring a slice on your own, it’s a recipe that warms the heart.
 Pin it
Frequently Asked Questions
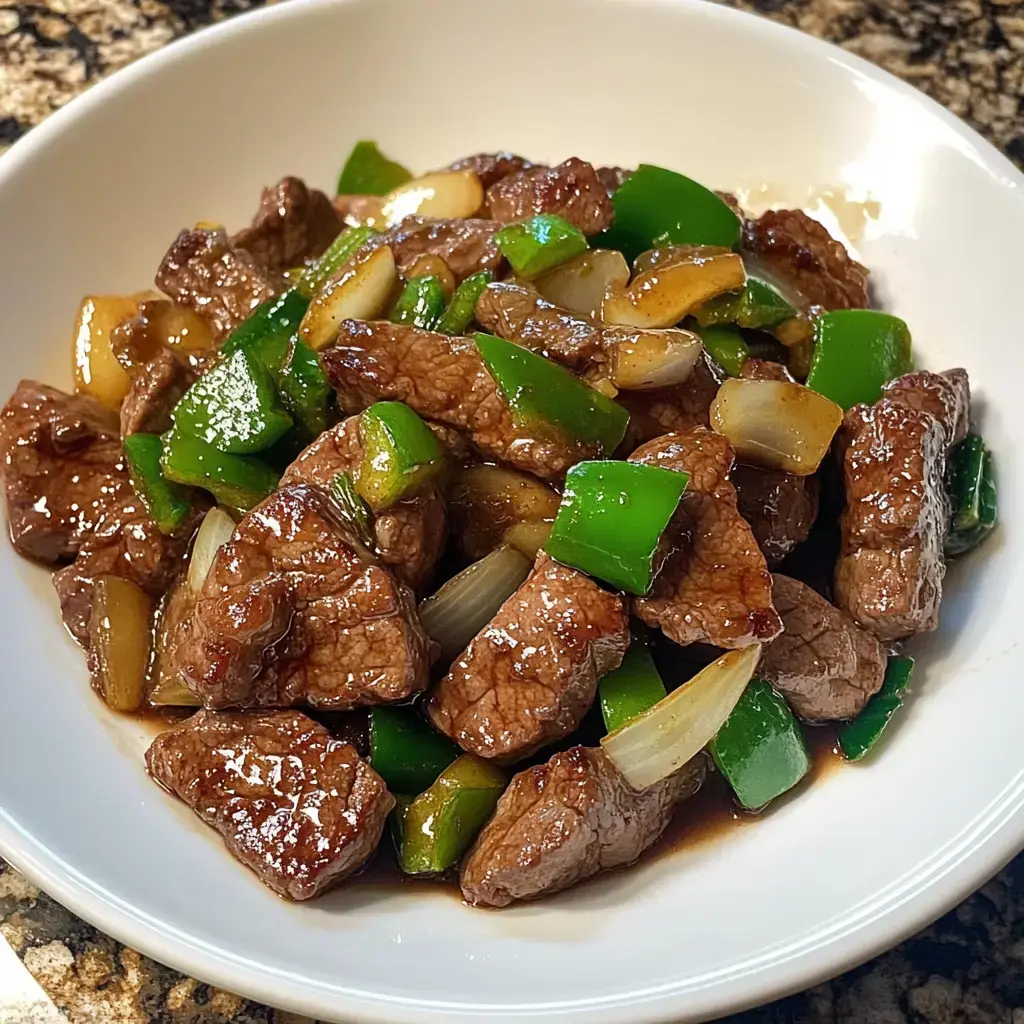
- → What cut of beef works best?
- Flank steak or sirloin work great for stir fries. Cut against the grain into uniform pieces for the most tender result.
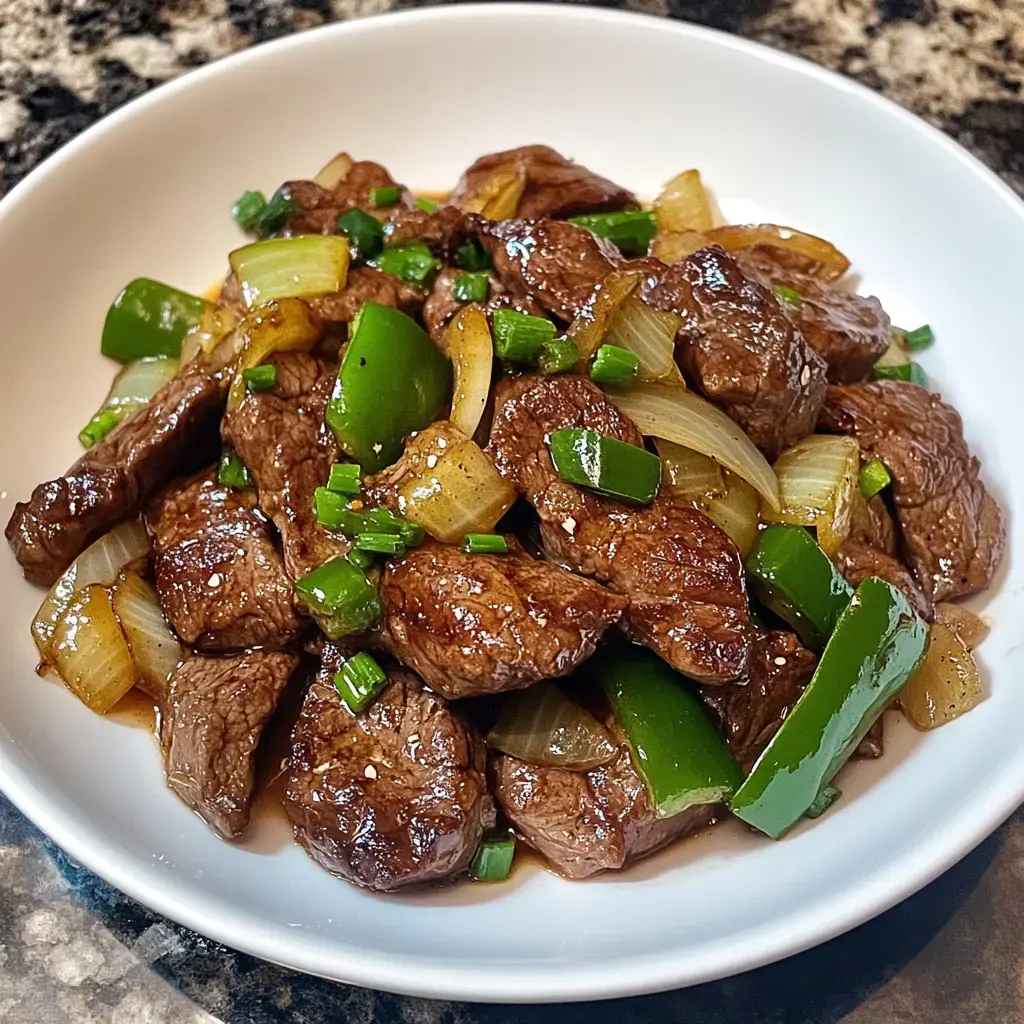
- → Can I marinate the beef longer?
- Yes, you can marinate the beef for up to 4 hours in the refrigerator. Don't exceed this time as the meat can become too soft.
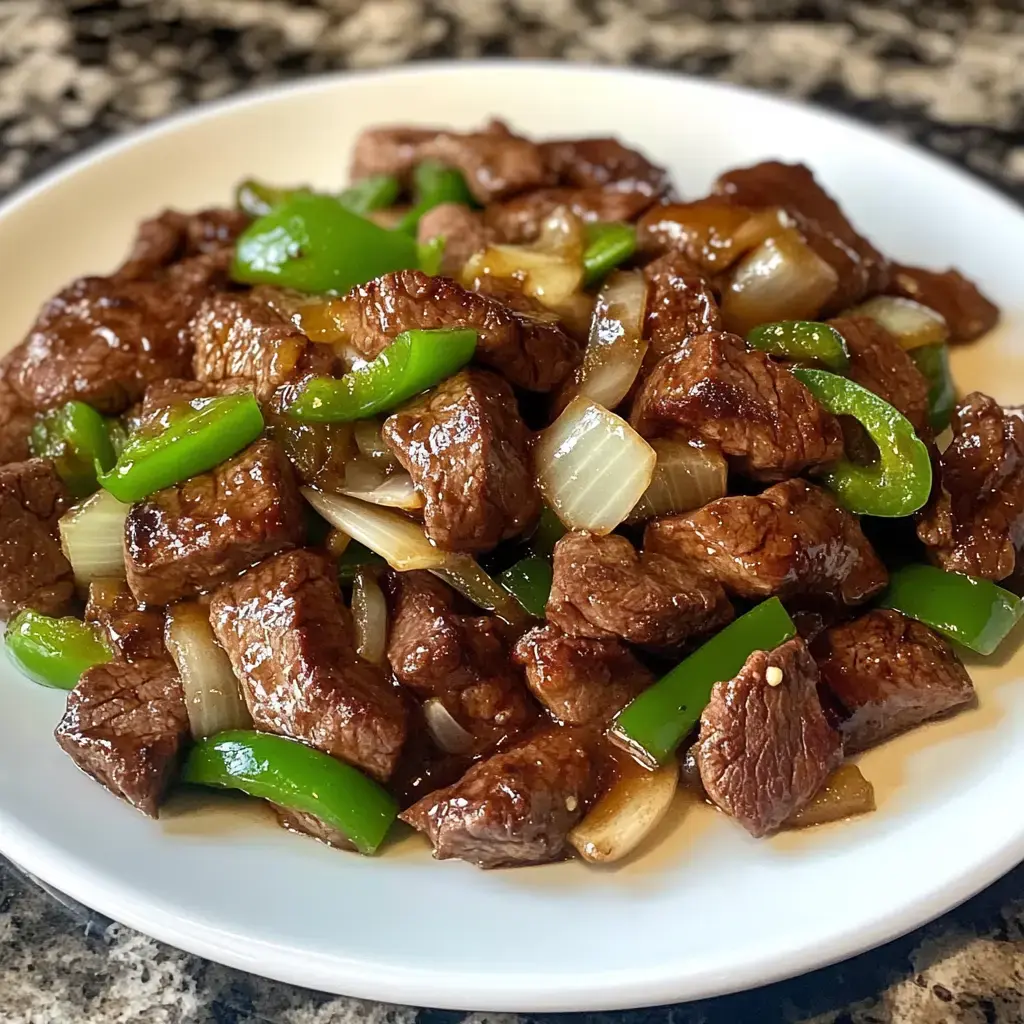
- → What vegetables can I add?
- You can add mushrooms, carrots, or snap peas. Just make sure to cut them in similar sizes for even cooking.
- → Can I make this spicier?
- Add more dried red peppers or include fresh chili peppers with the vegetables for extra heat.
- → Why are the vegetables cooked separately?
- Cooking vegetables separately ensures the beef gets a good sear and the vegetables stay crisp rather than becoming soggy.